4
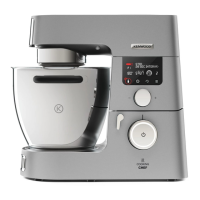
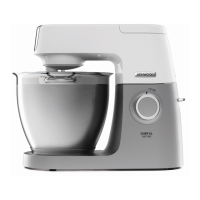
Know Your Kenwood Cooking Chef
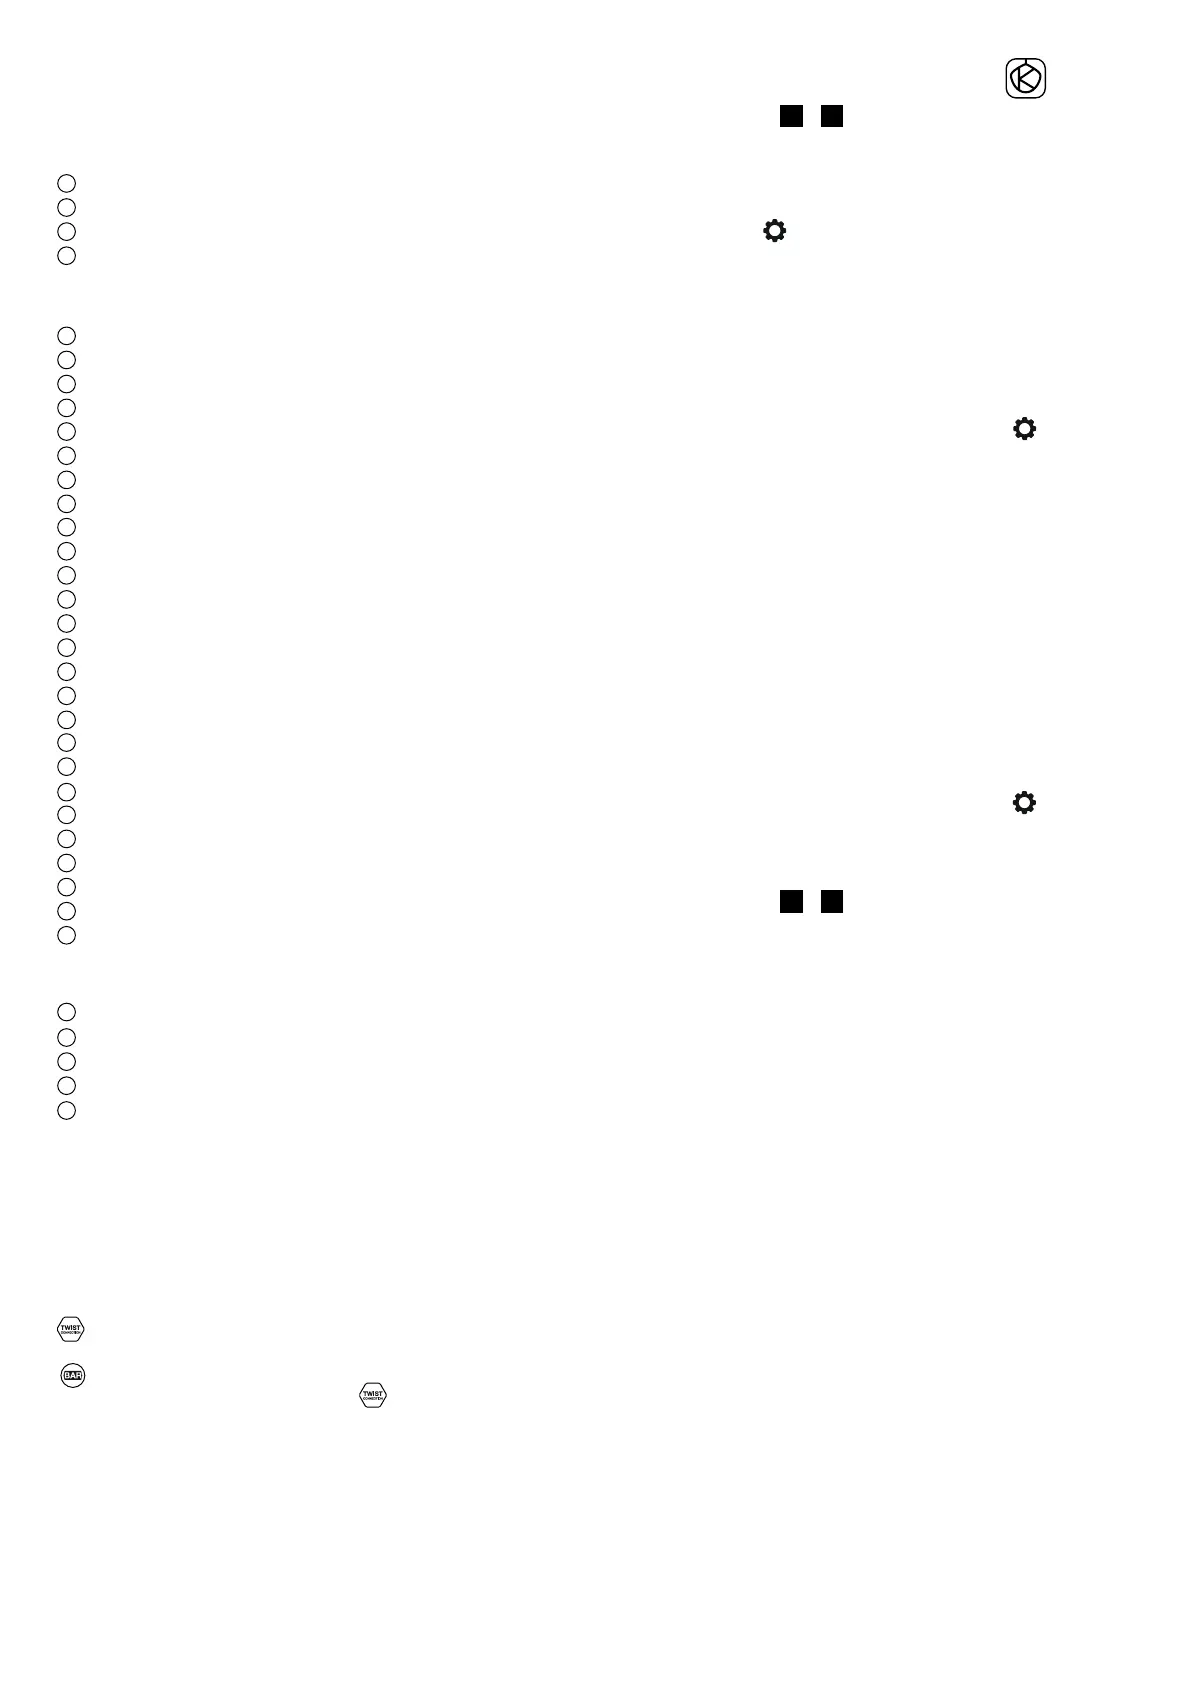
Key
Attachment outlets
1
High speed outlet (HSO)
2
Slow speed outlet (SSO)
3
Bowl tool socket
4
Stir tool socket
Mixer
5
High speed outlet cover
6
Mixer head
7
Slow speed outlet cover
8
Cooking chef bowl
9
Head - lift lever
10
Control dial
11
On/Off switch
12
Display screen
13
Work surface protection mat
14
Drain hole
15
Bowl pedestal/induction area
16
Air vents
17
Temperature sensors
18
Heat shield
19
Rubber seal (removable)
20
Splashguard
21
Feed chute lid
22
K-beater
23
High temperature creaming beater
24
Whisk
25
Dough tool
26
Stir tool
27
Stir assist clip
28
High temperature spatula
29
Dough scraper
30
Spanner
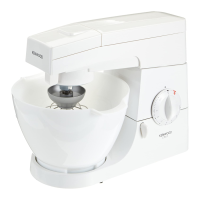
Steamer Attachment
31
Handle supports
32
Supporting ring
33
Folding handles
34
Removeable tray
35
Egg holders
Note: Slow Speed outlet attachments
The slow speed outlet on your Stand mixer model features
the Twist Connection System. It is designed to accept Twist
Connection System attachments.
When purchasing new attachments for the slow speed outlet
you should check compatibility with your Stand mixer. All
Twist Connection System attachments can be identified by the
product code which starts with KAX and also by the Twist logo
which is visible on packaging.
If you own attachments featuring the Bar Connection System
you will need to use the KAT002ME adaptor to connect
these to the Twist Connection System
on your Stand
mixer.
For more information visit
www.kenwoodworld.com/twist.
Connecting to Kenwood World App
Refer to Illustrations
A
–
D
The Kenwood World App will allow you to control your
appliance through your smart phone or tablet.
1 Plug in and press the On/O switch on the side of the
power unit.
2 Select Settings
> WiFi > Connect and follow the
instructions on the touch screen.
PIN number
O
This will be required when prompted by the Kenwood
World App.
O
The appliance can only be connected when the PIN
Number is shown on the display screen. If the PIN is
entered incorrectly, follow the instructions on the app and
retry.
O
To display the unit’s PIN number, select Settings
> WiFi > Connect and follow the instructions on the display
screen (only when connected to WiFi).
Note:
WiFi
Operates with IEEE802.11 b, g and n at 2.4 GHz only, and
connects to networks using WPA2-PSK
Compatibility
Kenwood World App compatible with latest versions of iOS
and Android.
Factory reset
Important
O
When disposing of the appliance, it is important to factory
reset it to protect your personal data.
O
Selecting this option will erase all WiFi data stored on the
appliance and restore it to factory settings.
O
To factory reset your appliance, select Settings
>Factory Reset.
To Set Up Your Cooking Chef Connect
Refer to Illustrations
E
–
I
IMPORTANT
O
Make sure the induction area, temperature sensors and
external surface of the bowl base are clean. Failure to do
this will affect the heat sensor, resulting in poor cooking
performance.
O
Check that all the outlet covers including the heat shield
are fitted. If they are not correctly fitted the heating
function will not operate.
1 Plug in and press the On/Off switch.
2 Turn the head-lift lever clockwise and raise the mixer head
until it locks.
3 Push the heat shield upwards onto the underside of the
mixer head until fully located. The heat shield must never
be used without the rubber seal fitted correctly.

 Loading...