●
T
he Auto Button will not operate if a speed is
selected on the speed control.
●
A
lways switch off and unplug before removing the lid.
i
mportant
●
Your processor is not suitable for crushing or grinding coffee
beans, or converting granulated sugar to caster sugar.
Eco function
I
f the food processor is left plugged in for over 30 minutes
w
ithout being used, it will go into standby mode to reduce
energy consumption.
●
T
he Power On light will pulse slowly and the food processor will
n
ot operate until one of the following actions are carried out:-
●
The Auto Button is pressed.
●
The speed control is turned to a speed and then turned back to
the ‘O’ off position.
The light will change to being constantly lit when ready to use.
Note: If the bowl or lid are not engaged into the interlock the
power on light will pulse more rapidly than the Eco function.
weighing function (Type FPM91)
Your food processor is fitted with a built in weighing function to
allow ingredients to be weighed straight into the bowl or blender
goblet.
●
The Maximum weighing capacity is 3Kg. This is the total weight
of all the ingredients including the weight of the bowl or goblet.
to use the weighing function
1 Always fit the detachable drive shaft, bowl and attachment or
blender goblet onto the power unit before adding ingredients.
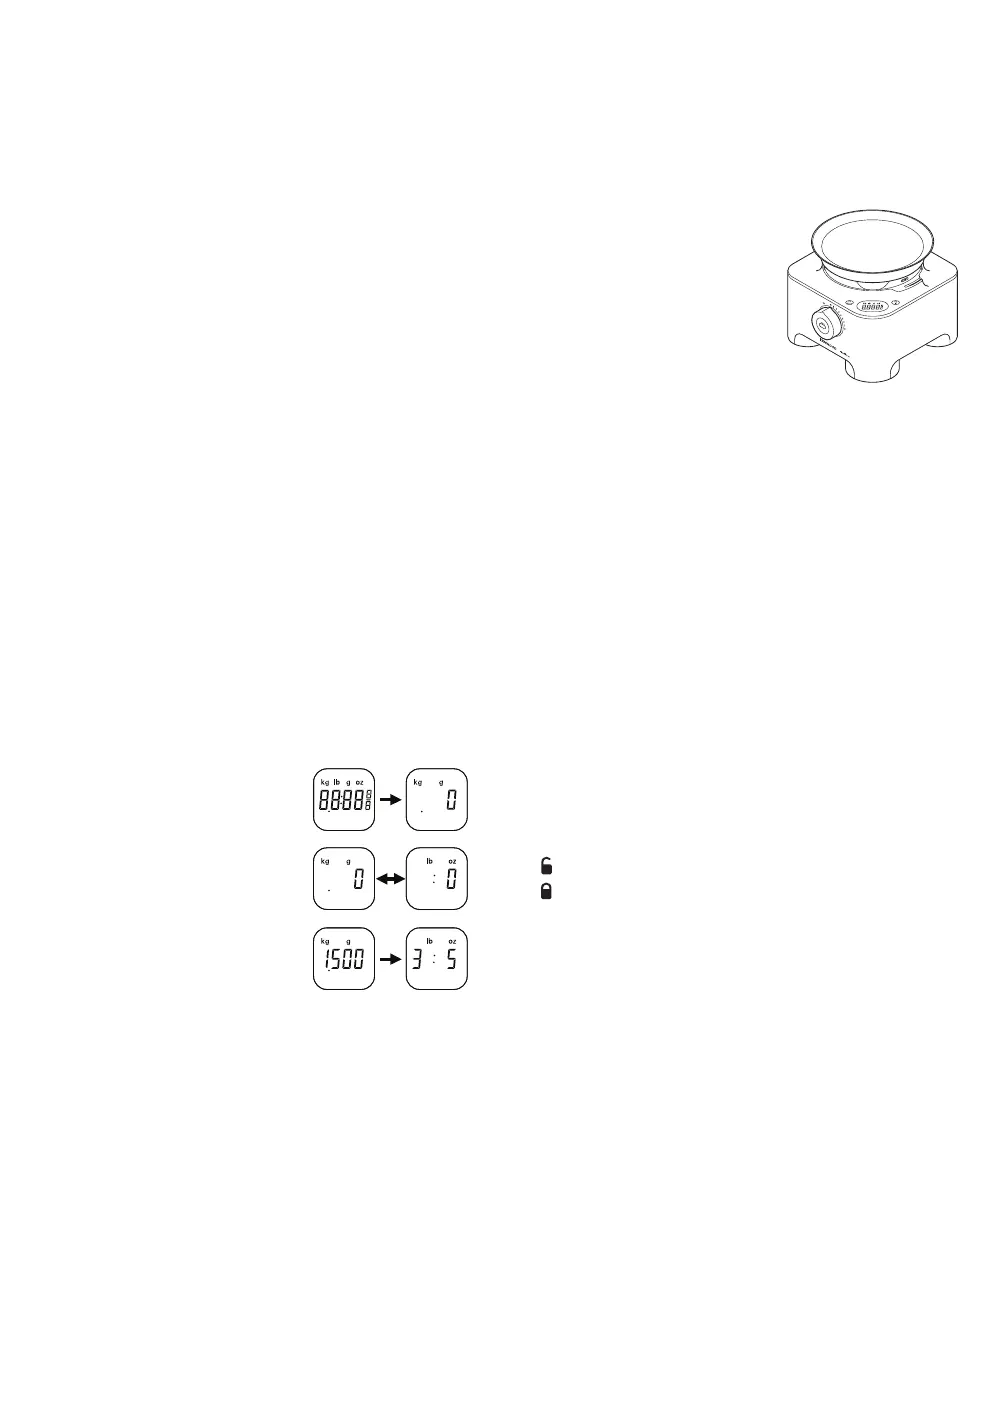
2 Plug in – the display screen will remain
blank.
3 Press the ON/ZERO button once and
the display screen will light up.
4 Press the (kg/lb) button to select either
grams or ounces. The display will
default to kg/g when first switched on.
●
The unit weighs in 2g increments and
teaspoon/tablespoon measures are
recommended for weighing small
quantities.
5 Check the display shows ‘0’, if not,
zero by pressing the ON/ZERO button.
Then weigh the required ingredients straight into the bowl or
goblet. After the weight is displayed, press the ON/ZERO button
and the display will return to ‘0’. Add the next ingredients and
that weight will be displayed. Repeat until all ingredients are
weighed.
●
If the display is not zeroed and either the ingredients or the
bowl/attachment/lid are removed the display will show [ - - - -] to
represent a minus reading.
To zero press the ON/ZERO button once.
6 Add the lid and select a speed to operate the processor.
●
During operation the display screen will freeze [- - - -] until the
speed control returned to the ‘O’ off position.
●
After processing the last weight will be displayed on the screen
when the speed control is returned to the ‘O’ off position. Note:
The weight of the lid will be included if the display is not zeroed
before switching on.
●
T
he weight of any additional ingredients added down the feed
tube whilst the processor is running will not be shown on the
d
isplay screen.
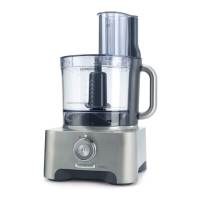
bp
weighing tray
A
removable weighing tray is
supplied for weighing ingredients
without the bowl or blender.
To use, place the tray on top of the
p
ower unit. Then follow steps 2 to 5
u
nder ‘to use the weighing function’.
To remove, just lift the tray off.
a
uto switch off
●
The display screen will turn off automatically if the same weight
reading is shown after 5 minutes.
●
The display screen can be turned off manually by pressing and
holding down the ON/ZERO button for a few seconds.
important
●
Do not overload by exceeding the maximum weighing capacity of
3Kg. The display will show [0 – Ld] if the weighing function is
overloaded.
●
Do not subject the power unit to excessive force as this may
damage the weighing sensor.
●
Always place the processor on a dry flat surface prior to
weighing.
●
Do not move the power unit during operation of the weighing
function.
to use your thermoresist blender
1 Fit the sealing ring
bt
into the blade unit
ck
- ensuring the seal is
located correctly in the grooved area.
●
Leaking will occur if the seal is damaged or
incorrectly fitted.
2 Hold the underside of the blade unit
ck
and insert the blades
into the goblet - turn anti-clockwise until it clicks
5
. Refer to the
graphics on the underside of the blade unit as follows:
- unlocked position
- locked position
The blender will not work if incorrectly assembled.
3 Put your ingredients into the goblet.
4 Fit the lid to the goblet and push down to secure
6
. Fit the filler
cap.
5 Place the blender onto the power unit, and turn clockwise
7
to
lock.
●
The appliance will not operate if the blender is
incorrectly fitted to the interlock.
6 Select Auto, or a speed (refer to the recommended speed chart)
or use the pulse control.
hints
●
When making mayonnaise, put all the ingredients, except the oil,
into the blender. Remove the filler cap. Then, with the appliance
running, add the oil slowly through the hole in the lid.
●
Thick mixtures, e.g. pâtés and dips, may need scraping down. If
the mixture is difficult to process, add more liquid.
●
Ice crushing - operate the pulse in short bursts until crushed to the
desired consistency.
●
The processing of spices is not recommended as they may
damage the plastic parts.
●
The appliance will not work if the blender is incorrectly fitted.
8
 Loading...