EasyManua.ls Logo

Keter DETROIT TALL User Manual

Keter DETROIT TALL
16 pages
To Next Page IconTo Next Page
Page #1 background imageLoading...
Page #1 background image
290859_rev.00_07/20
Keter Italia
Via Ing. Taliercio 2, 31024 Ormelle TV
Tel: +39 0422 745900, Fax +39 0422 745929
DETROIT  TALL
EN - Assembly instructions FR - Instructions de montage DE - Montageanleitung IT - Istruzioni di montaggio ES - Instrucciones de
montaje PT - Instruções de montagem NL - Montagevoorschrift EL - Οδηγίες συναρµολόγησης PL -Instrukcja montażu ZH -
装配说
HU- Összeszerelési útmutató HR - Upute za montažu RO - Instruciuni de asamblare SL - Navodila za montažo BG - Инструкция
за монтаж RU - Инструкция по монтажу UA - Інструкція з монтажу CZ - Návod k montáži SK - Montážne pokyny LT - Montavimo
instrukcija LV - Uzstādīšanas instrukcija ET - Paigaldamise juhend
Question and Answer IconNeed help?

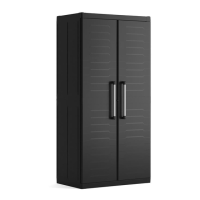
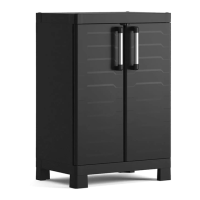
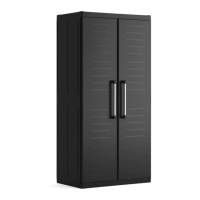
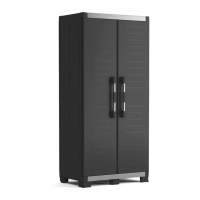
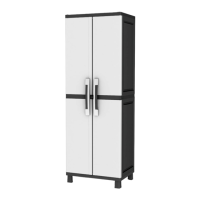
Do you have a question about the Keter DETROIT TALL and is the answer not in the manual?

Keter DETROIT TALL Specifications

General IconGeneral
BrandKeter
ModelDETROIT TALL
CategoryIndoor Furnishing
LanguageEnglish

Summary

DETROIT - TALL Assembly Instructions

Parts Identification

General Assembly Precautions

Step 1: Attaching Back Panels

First stage of assembly involving attaching initial back panels to the base.

Step 2: Securing Side Panels

Step 3: Assembling Frame Supports

Step 4: Reinforcing Frame Structure

Step 5: Installing Shelving Components

Step 6: Attaching Cabinet Doors

Step 7: Securing Top Panels

Step 8: Installing Top Crossbars

Adding crossbars at the top of the cabinet for stability.

Step 9: Final Frame Screwing

Step 10: Assembling Small Components

Step 11: Attaching Door Handles

Step 12: Securing Internal Shelving

Step 13: Wall Fastening Procedure

Tribac Option Installation

Step A: Integrating Tribac Components

Instructions for assembling the optional Tribac shelving system.

Post-Assembly Notes

Handling of Extra Small Parts

Information regarding any remaining small parts after assembly is complete.

Related product manuals