13
ENGLISH
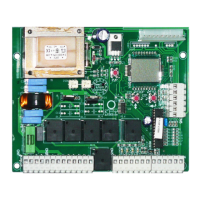
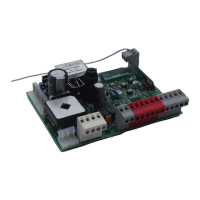
RADIO (opzionale) La RADIO va innestata sul connettore JP1.
La centrale CT-24M è compatibile con i seguenti ricevitori Key Automation della serie MEMO ad innesto: 900RXI-22 /
900RXI-42 / 900RXI-42R
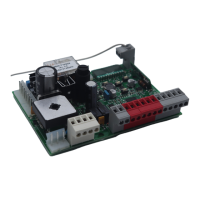
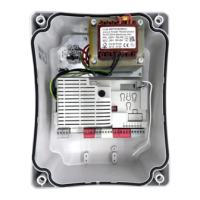
BATTERY CHARGER CABAT-30 (optional)
A system with CT-24M can even function in a power blackout, just install two batteries (12V. 1.3Ah. MAX – not sup-
plied) and a CABAT-30 battery charger. This does not modify the system in any way.
In new systems, after installation and testing, insert the snap-in battery charger module into the connector but be very
careful to insert the right polarity of the two faston connection cables.
Connection sequence:
- Unplug the 230Vac power supply.
- Snap in the CABAT-30 module.
- Connect the two batteries in series using the cables provided and paying close attention to the polarity.
- Check that the safety lights go on.
- Plug in the network once more.
- The new batteries will be fully charged after approx. 10 hours.
- The number of gate movements possible when powered by battery depends on many factors;
an approximate example could be 4 complete cycles under the following conditions:
- gate 150kg length 3m
- installation with 1 pair of photocells, plug-in receiver and 1 ashing light (20W max.)
- fully charged batteries
- within 5h from 230Vac power failure
FINAL RECOMMENDATIONS
1. Only qualied personnel having the legal requirements must install the automation according to the principles of
good workmanship and in conformity with the machinery directive 98/37/CE and standards EN 12453 and EN 12445.
2. Check that the existing structures (posts, hinges, leaves) are stable in relation to the forces developed by the motor.
3. Check that suitably robust limit stops have been installed for end of gate opening and closing.
4. Analyse the hazards connected with the automation system and adopt the necessary safety and signalling devices
accordingly.
5. Install the commands (e.g. the key selector) so that the user is not placed in a hazardous area when using them.
6. Upon completion of the installation, test the safety, signalling and release devices of the automation system several
times.
7. Apply the CE label or plate with information regarding the hazards and identication data on the automation.
8. Give the end user the instructions for use, the safety recommendations and the CE declaration of conformity.
9. Ensure that the user has understood the correct automatic, manual and emergency operation of the automation
system.
10. Inform the user in writing (e.g. in the instructions for use) of any unprotected residual risks and of foreseeable misu-
se.
11. Prepare a maintenance schedule for the automation installation (at least once every 6 months for the safety devi-
ces), recording the work carried out in a special book.
Note! For trouble-free operation and long life of the gearmotor, periodically grease the lever sliding points.
DISPOSAL
This product is composed of various components which may in turn contain pollutants. Do not dispose of
it in the environment! Find out about the method for recycling or disposing of the product in compliance
with current local laws.

 Loading...