EN
9
4.2 - Disabling the safety devices
EDGE
The control unit provides (default setting) for the installation of a safety edge connected to the EDGE/EDGE inputs; in the event of a missing or
incorrect connection, the operation of the automation is inhibited. In a system where a safety edge is not to be installed, its use can be disabled
by setting the EDGE dip-switch to ON.
WARNING !
conrm the safety edge deactivation by pressing and holding the buttons and until the EDGE LED stops ashing.
PHOTO 2
The control unit provides (default setting) for the installation of one or more photocells connected to the PH2 input, in the event of a missing
or incorrect connection, the operation of the automation is inhibited. In a system where a PH2 is not to be installed, its use can be disabled by
setting the PH2 dip-switch to ON.
WARNING !
conrm the PH2 deactivation by pressing and holding the buttons and until the PH2 LED stops ashing.
PHOTO 1
The control unit provides (default setting) for the installation of one or more photocells connected to the PH1 input, in the event of a missing or
incorrect connection, the operation of the automation is inhibited. In a system where a PH1 is not to be installed, its use can be disabled by setting
the PH1 dip-switch to ON.
WARNING !
conrm PH1 input deactivation by pressing the and buttons simultaneously and holding them down until the PH1 led
stops ashing.
4.3 - Display during normal operation
When rst switched on, the control unit shows a scrolling text on
the display indicating: board model, rmware version and serial
number and as last information
MOTOR SETUP
to indicate that
it is necessary to select the type of motor to begin conguring the
system. To select the type of motor, scroll the list with the UP
and DOWN-RADIO
buttons;
at the motor concerned, press and hold down the MENU button
until DONE appears on the display.
WARNING !
The ADVANCED PARAMETERS
(paragraph 5.2)
table
shows the correspondence between the motor model and the numbers on
the display.
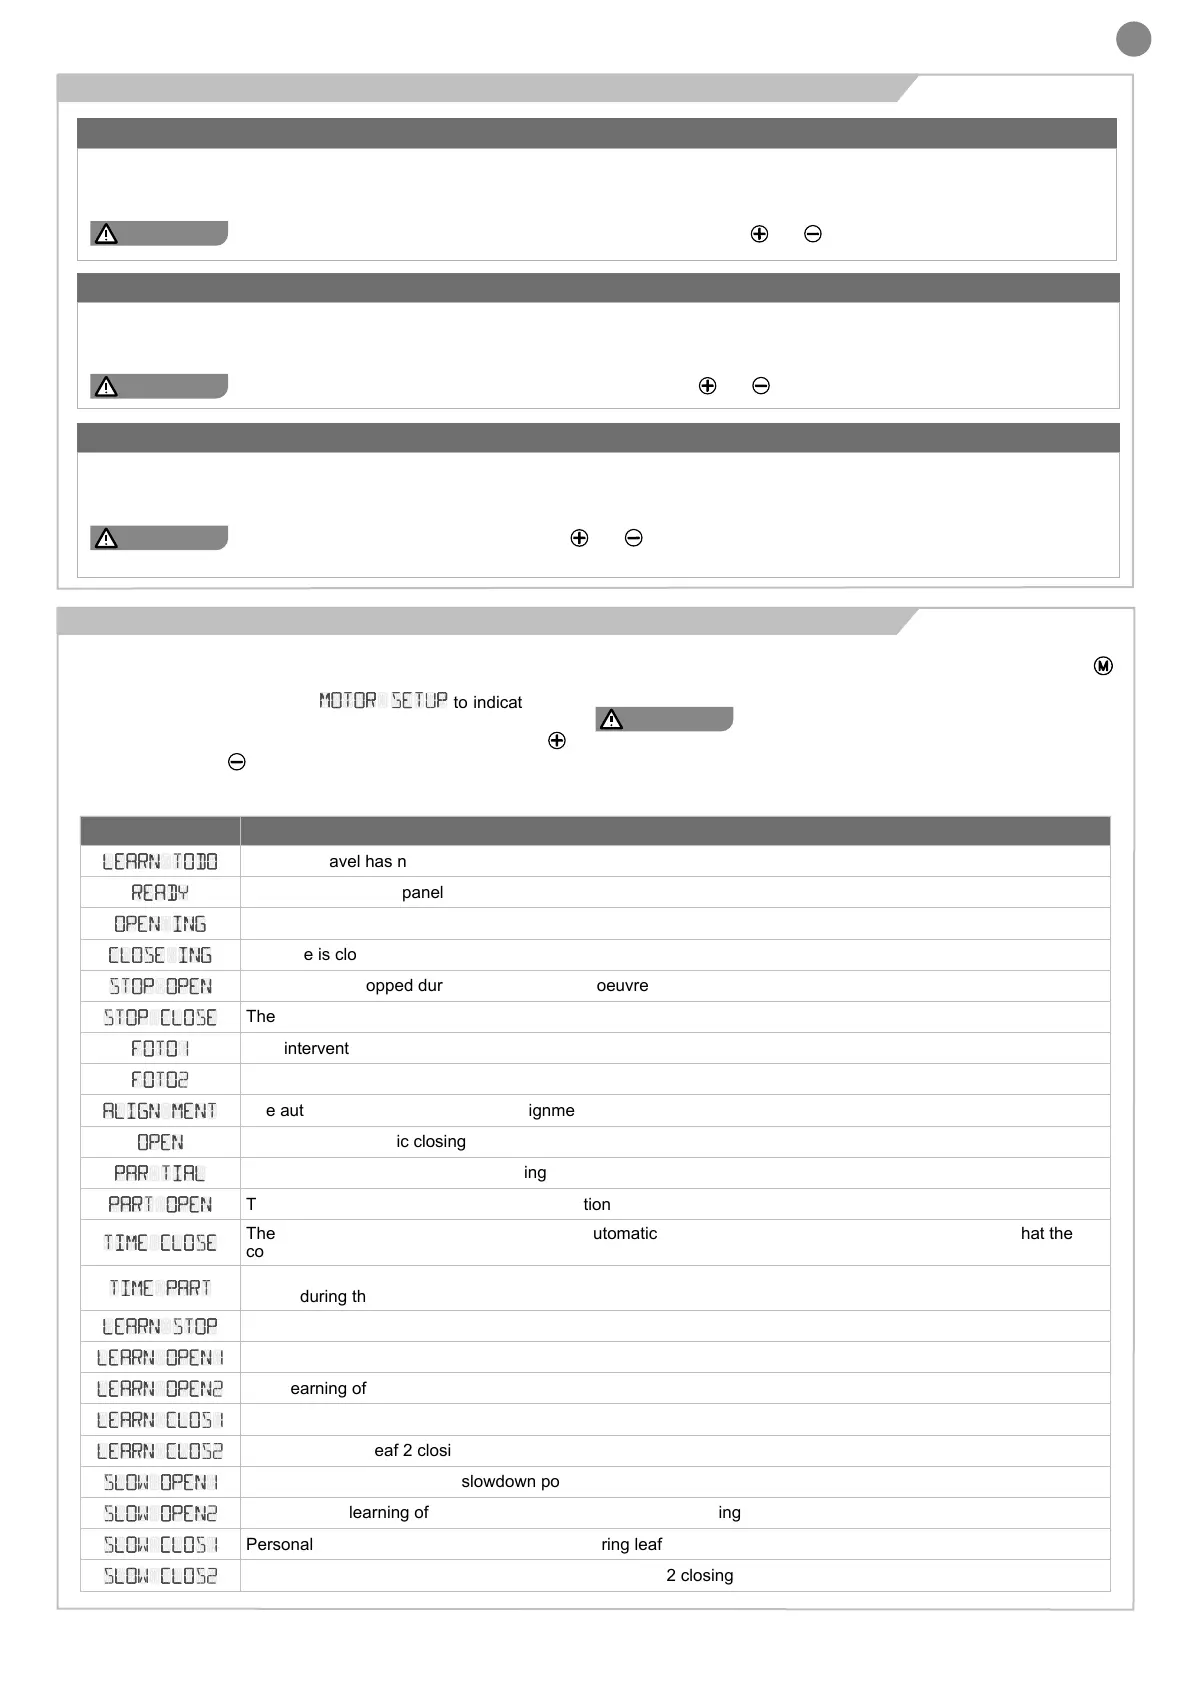
The following table shows the messages displayed during
normal operation of the automation:
MESSAGE MEANING
LEARN TODO
The door travel has not been learned; perform the auto-learning procedure
READY
Gate closed, control panel restarted
OPEN ING
The gate is opening
CLOSE ING
The gate is closing
STOP OPEN
The gate was stopped during the opening manoeuvre
STOP CLOSE
The gate was stopped during the closing manoeuvre
FOTO1
PH1 intervention (photocell 1)
FOTO2
PH2 intervention (photocell 2)
ALIGN MENT
The automation is performing the realignment procedure
OPEN
Gate open, automatic closing timer not active
PAR TIAL
The gate is performing a partial opening
PART OPEN
The gate is stopped in the partially open position
TIME CLOSE
The gate has reached the open position and automatic re-closing is active; the ashing dash indicates that the
countdown is active. During the last ten seconds, the seconds remaining until reclosing are indicated
TIME PART
The gate has been opened with the PAR command and the automatic re-closing timer from partial opening is
active; during the last ten seconds, the seconds remaining until re-closing are indicated
LEARN STOP
Auto-learning procedure blocked due to safety intervention or intentional stop
LEARN OPEN1
Auto-learning of leaf 1 opening travel
LEARN OPEN2
Auto-learning of leaf 2 opening travel
LEARN CLOS1
Auto-learning of leaf 1 closing travel
LEARN CLOS2
Auto-learning of leaf 2 closing travel
SLOW OPEN1
Personalised learning of the slowdown point during leaf 1 opening
SLOW OPEN2
Personalised learning of the slowdown point during leaf 2 opening
SLOW CLOS1
Personalised learning of the slowdown point during leaf 1 closing
SLOW CLOS2
Personalised learning of the slowdown point during leaf 2 closing
 Loading...