8 Keysight M9537A AXIe Embedded Controller Startup Guide
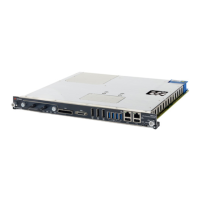
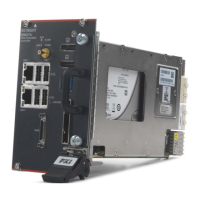
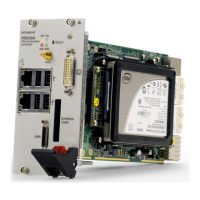
Step 3: Install the M9537A Embedded Controller
Step 3: Install the M9537A Embedded Controller
The Keysight M9537A is designed for easy installation. However, the following
standard precautions, installation procedures, and general information must be
observed to ensure proper installation and to prevent damage to the board, other
system components, or injury to personnel.
Follow these steps to install the M9537A Embedded Controller in the AXIe
chassis.
1 Turn off the AXIe chassis.
2
Leave the chassis plugged into an AC power source.
The AC power cord
grounds the chassis and protects it from electrical damage while modules
are installed.
3 Extend and pull out on the controller's ejector/injector handles.
4 Carefully align the M9537A board edges with the chassis guide rails and
insert the controller into the chassis guide rails.
5 Check that the catch hooks and alignment pins at both ends of the module
are correctly inserted into the proper chassis holes. Push inward on the
handles until the module is firmly seated in the chassis.
Do not force the handles if there is resistance; this may damage the connectors
and
/or backplane.
6 Collapse the insertion/extraction handles against the module faceplate.
7 Tighten the captive retaining screws at both ends of the module.
IMPORTANT: Keysight M9502A or M9505A AXIe chassis must
have firmware revision 1.3.42 or later for the M9537A to identify
and communicate with other chassis modules. Refer to the
Keysight chassis web pages for information on updating the
chassis firmware.
Embedded controllers, such as the M9537A, must be installed in
Slot 1 of the M9502A/M9505A AXIe chassis.