10
Conducted Emissions Measurement Examples
Making Conducted Emission Measurements
Making Conducted Emission Measurements
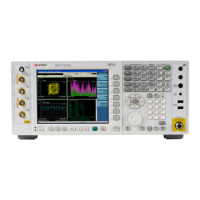
CAUTION Before connecting a signal to the MXE receiver, make sure the instrument can safely
accept the signal level provided. The signal level limits are marked next to the RF
Input connectors on the front panel.
See the AMPTD Y Scale menu for details on setting internal attenuation to prevent
overloading the receiver.
Setting up and making an ambient measurement
This section demonstrates how to set up and perform conducted emission tests in the
150 kHz to 30 MHz range.
NOTE Determine which regulatory requirements you will be testing to prior to starting the
following procedure.
Step Action Notes
1 Turn on the instrument. a. Press the front-panel power
key.
2 Select the EMI mode a. Press Mode, EMI Receiver. This is the default mode.
3 Ensure that the input is DC
coupled
a. Press Input/Output, RF
Input, RF Coupling to DC.
This step is not necessary if Option
544 is installed.
4 Open the scan table and
select the desired range
a. Press Meas Setup, Scan
Table, Range 2, Range to
On.
b. Press RF Input, Input2.
Deselect any other range that has a
green check.
 Loading...


