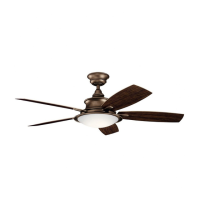
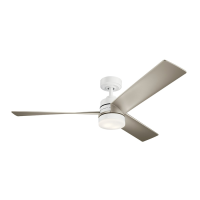
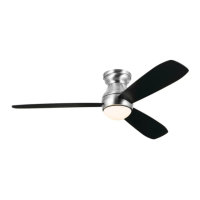
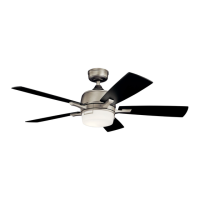
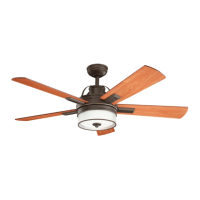
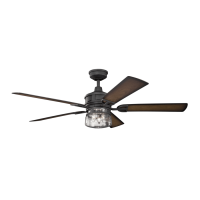
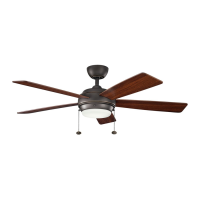
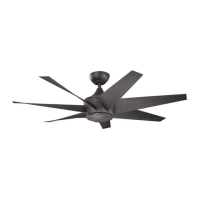
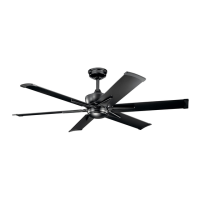
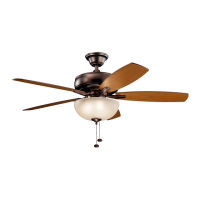
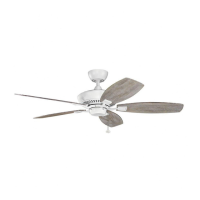
This document is an instruction manual for the Canfield™ ceiling fan, a Kichler® Select™ product. The manual provides comprehensive information for the safe installation, operation, and maintenance of the fan.
Function Description:
The Canfield™ ceiling fan is designed to provide air circulation and can be used in both warm and cool weather conditions. In warm weather, a downward airflow creates a cooling effect, allowing for a warmer air conditioner setting without compromising comfort. In cool weather, an upward airflow moves warm air off the ceiling, enabling a cooler heating unit setting while maintaining comfort. The fan features a 3-speed pull chain control for adjusting fan speed and a slide switch for reversing blade direction.
Important Technical Specifications:
The manual includes a specifications table for a 52-inch fan, detailing its performance at different speed settings:
- High Speed:
- Volts: 120
- Amps: 0.59
- Watts: 69.40
- RPM: 175
- CFM: 5917.00
- CFM/W: 85.26
- Medium Speed:
- Volts: 120
- Amps: 0.44
- Watts: 37.40
- RPM: 132
- CFM: 4332.00
- CFM/W: 115.83
- Low Speed:
- Volts: 120
- Amps: 0.27
- Watts: 13.80
- RPM: 65
- CFM: 2699.00
- CFM/W: 195.58
- Net Weight (N.W.): 8.75 kgs
- Gross Weight (G.W.): 9.87 kgs
- Cubic Feet (C.F.): 1.83'
These measurements are approximate and do not include data for any lamps or fixtures attached to the ceiling fan. The fan is suitable for use with solid-state speed controls, although some fan motors may be sensitive to signals from these controls, potentially requiring a different control type if noise occurs.
Usage Features:
- Speed Control: The fan offers three speeds (High, Medium, Low) controlled by a pull chain. One pull activates High, two pulls Medium, three pulls Low, and four pulls turn the fan off.
- Direction Reversal: A slide switch allows users to change the fan's blade direction (forward for downward airflow, reverse for upward airflow). It is crucial to ensure the fan blades are completely stopped before changing the direction to avoid damage.
- Mounting Options: The fan can be mounted to an existing UL (cUL for Canadian Installation) listed mounting box. For sloped (vaulted) ceilings, a longer downrod may be necessary to maintain a minimum clearance of 12 inches between the blade tip and the ceiling for optimal operation. The outlet box and support structure must be securely mounted and capable of supporting at least 50 pounds, and only CUL Listed outlet boxes marked "FOR FAN SUPPORT" should be used. Plastic outlet boxes are not suitable.
- Safety Cable (Canadian Installation ONLY): A safety support cable is provided and required for Canadian installations to prevent the ceiling fan from falling. This cable must be securely attached to a ceiling joist.
- Electrical Connections: The manual provides detailed instructions for connecting the fan to household wiring, including specific connections for fan supply (black), light supply (blue), neutral (white), and ground (green) wires. It also illustrates wiring connections for optional wall control.
- Installation Steps: The manual outlines a step-by-step installation process, including hanging the fan, attaching the fan blades, and installing the switch housing. It emphasizes the importance of removing five rubber shipping blocks from the motor face before installation.
Maintenance Features:
- Cleaning: The fan should be cleaned with a dry dust cloth or a lightly dampened cloth. Water or detergents should not be used when cleaning the fan or blades.
- Troubleshooting: The manual includes a troubleshooting section to address common issues:
- Fan will not start: Check circuit fuses or breakers and all electrical connections. Ensure main power is OFF before checking connections.
- Fan sounds noisy: Verify all motor housing screws, blade bracket screws, and light kit screws (if applicable) are snug. Ensure wire nut connections are not rubbing against the switch housing. Allow a 24-hour "breaking-in" period for new fans. If using a solid-state variable speed control, consider installing a different type. Ensure the upper canopy does not touch the ceiling.
- Fan wobble: Check that all blade and blade arm screws are secure. Verify that blade levels are equal (within 1/8 inch deviation). A Blade Balancing Kit is provided for noticeable wobble. Interchanging two adjacent blades may also help redistribute weight.
- Safety Warnings: The manual repeatedly emphasizes safety, including turning off electricity at the circuit breaker or fuse box before beginning installation or maintenance. It warns against bending blade brackets, inserting objects in the path of blades, and operating the reversing switch while blades are in motion. It also highlights the critical importance of properly seating the "Check Tab" of the hanger ball into the "Registration Slot" to prevent the fan from falling and to avoid damaging electrical wires when changing blade direction. All wiring must comply with the National Electrical Code and local electrical codes, and installation should be performed by a qualified licensed electrician.