Fig.15 shows the wires being pulled out through
the BAM and after being connected using one of
our stylish B3 Link Methods!
11. Remove the Gap Cap before inserting SPAIR.
Relax Beavis, if you forget to remove the cap, the
SPAIR will not fit properly into the BAM. Fig.16
12. Insert the SPAIR back into the BAM. Be careful
not to damage the voice coil. The double thread-
ed studs and the ARCTIC Cap will help to center
SPAIR as you lower it into the BAM. When proper-
ly aligned these assemblies slide together easily.
Fig.17
13. Using the 1/4”-20 acorn head nuts and eight
bolts secure the SPAIR to the BAM. When tighten-
ing the nuts follow the pattern in Fig. 19. This will
insure a proper fit. Remember, “Big Brother” is
watching to make sure you follow the correct
pattern! Fig. 18-19
ACHTUNG! ATTENTION!
Follow the pattern, hand tightening each, then
go back and tighten using the same pattern with
tool of your choice. Warning: Hammer is not rec-
ommended!
Fig.17
Fig.18
Fig.18
Fig.19
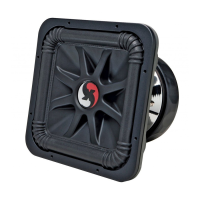
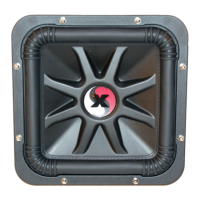
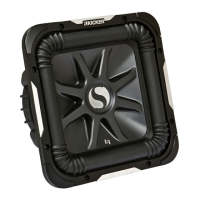
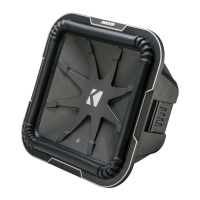
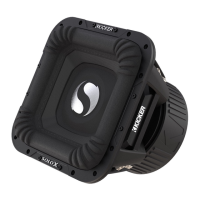
Installing This Bad Boy
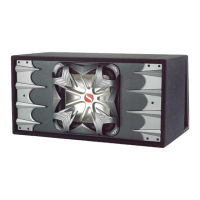
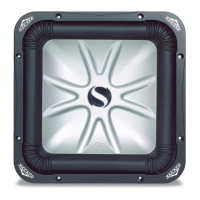
Kicker SoloX Subwoofers
Recommended Applications
Page 31
Fig.15
Fig.16