17
NOTE: AC power should be turned off at this stage.
• For best results to minimize nuisance
alarms, interconnected alarms should
be on a dedicated line. If not on a
dedicated line, it is suggested that the
smoke alarms share a lighting load
circuit that does not have a dimmer
associated with it. If receptacles
must be placed on the same line it is
suggested that they be placed ahead
of the smoke alarms (see Figure 9-C).
This will prevent large voltage drops
from occurring between the first and
last alarm in the circuit.
• After selecting the proper location for
your alarm, and wiring the AC QUICK
CONNECTOR harness as described
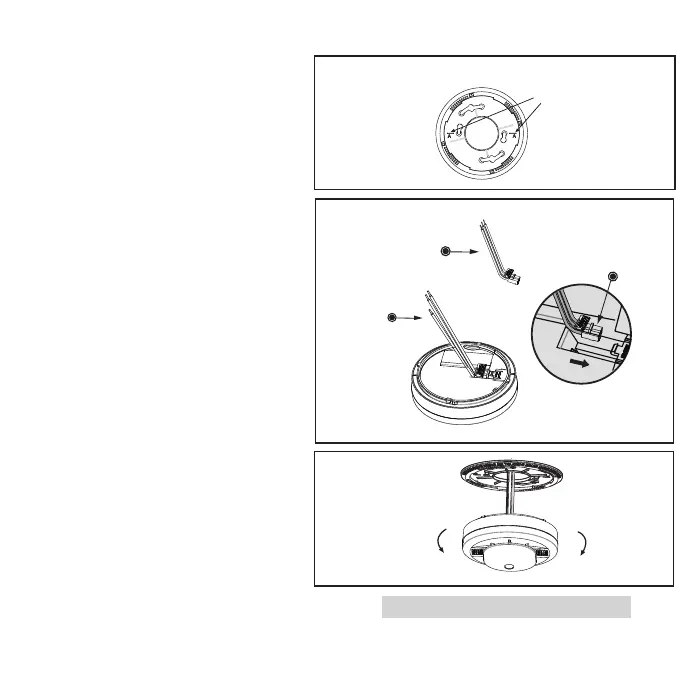
previously, attach the mounting brack-
et to the electrical box. To ensure
aesthetic alignment of the alarm with
the hallway, or wall, the “A” line on the
mounting bracket should be parallel
with the hallway when ceiling mount-
ed, or horizontal when wall mounted.
(See Figure 9-D)
• Pull the AC QUICK CONNECTOR
through the center hole in the mount-
ing bracket and secure the bracket,
making sure that the mounting screws
are positioned in the small ends of the
keyholes before tightening the screws.
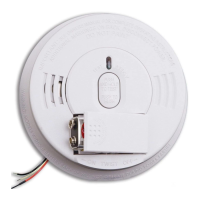
• Plug the AC QUICK CONNECTOR into
the back of the unit, making sure that
the connector snaps into place. Then push the
excess wire back into the electrical box through the hole in the center of the mounting bracket.
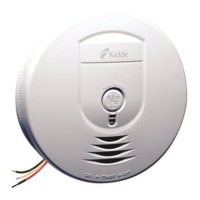
Insert the AC
Quick connector
into the slot.
Alignment Marks
(”A” Line) on
Mounting
Bracket
Remove
Install
AC Quick Connector
harness shipped
with product
AC connector
Figure 9-D