EasyManua.ls Logo

Kidde P3010B User Manual

Kidde P3010B
9 pages
To Next Page IconTo Next Page
Page #1 background imageLoading...
Page #1 background image
Thank you for purchasing this Kidde Smoke Alarm. These models
are battery operated Smoke Alarms which feature a non-replaceable,
sealed-in battery and SMART HUSH
TM
Control to temporarily silence
nuisance alarms.
Important: Please take a few minutes to thoroughly read this user’s
guide which should be saved for future reference and passed on to any
subsequent owner.
Teach children how to respond to the alarm and that they should never
play with the unit.
Your Kidde Smoke Alarm was designed specifically for use in a residential
environment. It is not designed for use in a recreational vehicle (RV) or
boat.
P/N: 0311-7201 RevA
For your convenience, write down the following information. If you
call Product Support, these are the first questions you will be asked.
Smoke Alarm Model Number:
(located on back of alarm)
Date Code: (located on back of alarm)
The National Fire Protection Association (NFPA)
and the manufacturer recommend replacing this
alarm ten years from the date code.
Smoke Alarm User’s Guide
P3010H – Photoelectric Smoke Alarm w/ Safety Light
P3010B – Photoelectric Smoke Alarm w/ Voice Alarm
P3010L – Photoelectric Smoke Alarm
Where Purchased:
Date of Purchase:
For questions concerning your Smoke Alarm please call Product Support at 1-800-880-6788.
Question and Answer IconNeed help?

Do you have a question about the Kidde P3010B and is the answer not in the manual?

Kidde P3010B Specifications

General IconGeneral
BrandKidde
ModelP3010B
CategorySmoke Alarm
LanguageEnglish

Summary

What to Do When the Alarm Sounds

Product Features and Specifications

Limitations of Smoke Alarms

Recommended Locations for Alarms

Locations to Avoid

Installation Instructions

Attaching Mounting Plate

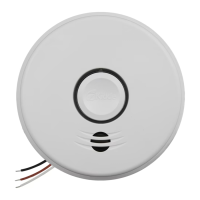
Details on how to attach the mounting plate to the wall or ceiling using provided hardware.

Operation and Testing

Operation

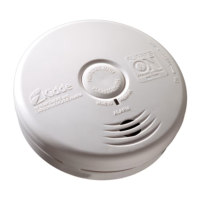
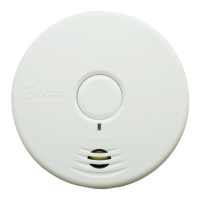
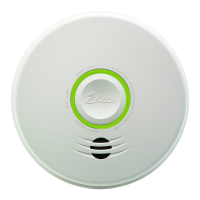
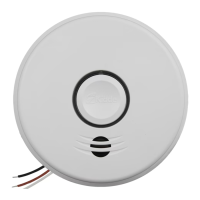
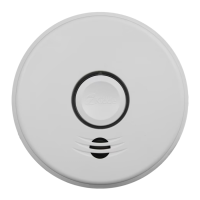
The alarm operates once activated and testing is complete, sounding when smoke is detected.

Testing

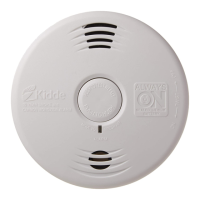
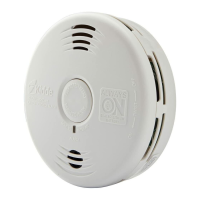
Test the alarm by pressing the test button to ensure circuitry, horn, and battery are working.

Alarm Visual and Audible Indicators

Nuisance Alarms

SMART HUSH™ Control

Temporarily desensitizes the alarm circuit for approximately 10 minutes to silence nuisance alarms.

General Visual and Audible Indicator Operation

Red LED Indicator

The red LED blinks in conjunction with the alarm sound, low battery, error, or end-of-life chirps.

Fault Mode Indicator

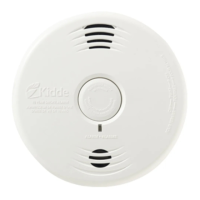
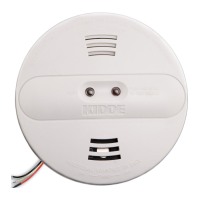
Indicates a problem with internal electronics or sensors, signaled by chirps and LED flashes.

End of Unit Life Indicator

Signals that the alarm has reached its 10-year end of life and requires replacement.

Battery

Battery Activation and Deactivation

The unit uses a permanently sealed Lithium-Ion battery, requiring no installation or replacement.

Deactivation of Alarm

To Deactivate the Alarm

Instructions on how to permanently disable the alarm for safe disposal by turning a screw to OFF.

Good Safety Habits

Develop and Practice a Plan of Escape

Guidance on creating and practicing a home escape plan for fire emergencies.

Fire Prevention

Tips on preventing fires, including safe practices for cooking, smoking, and children.

Service Information

Ten Year Limited Warranty

Details the warranty coverage, limitations, and procedures for repair or replacement of defective alarms.

Related product manuals