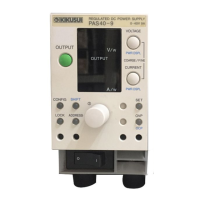
7-12 Maintenance PAS SERIES
Voltage calibration procedure
■ Connecting the equipment
1. Turn off the POWER switch.
2. Con
nect a DVM to the output terminal.
Shown in Fig.7-15.
Fig.7-15Connection for voltage system calibration
■ W
arming up
3. Turn on the POWER switch while pressing t
he SET switch.
4. Check that the current display shows "CAL."
If it is not, press the VOLTAGE switch.
5.
Warm up the equipment including the DVM for sufficient time.
■ Output voltage offset and full scale
6. Press the VOLTAGE switch to display "OF 0" on the voltage
display
.
7. Turn on the OUTPUT.
Approximately 10 % of the rated output voltage is output.
8. Turn the dial so that the DVM reading is equal to 10 % of the
rated output voltage.
Turning the dial while pressing the SHIFT switch increases the
variable width.
9. Turn off the OUTPUT.
The voltage display shows "OF 1."
10.Press the VOLTAGE switch to display "FS 1" on the voltage
display.
11. Turn on the OUTPUT.
Approximately 100 % of the rated output voltage is output.
12.Turn the dial so that the DVM reading is equal to the rated
output voltage.
Turning the dial while pressing the SHIFT switch increases the
variable width.
 Loading...