PB-LS2-16-11-07 - 1007-102/03
LEKTROMIK
S KIMO
®
- 29 -
Schrittweise Inbetriebnahme Step-by-step putting into operation
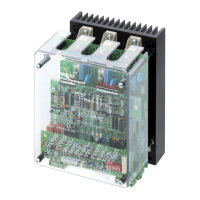
1. GRUNDEINSTELLUNG VORNEHMEN / SET POTENTIOMETER TO INITIAL SETTING
- Netz noch ausgeschaltet
- Potentiometer wie links einstellen
Nur bei OPTION LS-I1:
Potentiometer EP, UM, PM
Nur bei OPTION LS-I2:
S11: offen
S12: Anlaufzeitüberwachung 12 s,
Nennspannung entsprechend
Netz
- Supply not yet connected
- Set potentiometer as shown to the left
Only with OPTION LS-I1:
Potentiometer EP, UM, PM
Only with OPTION LS-I2:
S11: open
S12: Starting time monitoring 12 s
Rated voltage corresponds
to supply
2. NETZ EINSCHALTEN / CONNECT POWER
Netzschütz betätigen mit BH=0, BF=0
♦ LED BH leuchtet - BF = '0'
♦ LED MS blinkt - Unterspannung,
Phasenausfall
♦ Falls LED MR - Rechtsdrehfeld
leuchtet
Operate main contactor with BH=0, BF=0
♦ LED BH lights - BF = '0'
♦ LED MS flashes - Low voltage,
phase failure
♦ Falls LED MR - Positive phase
lights sequence
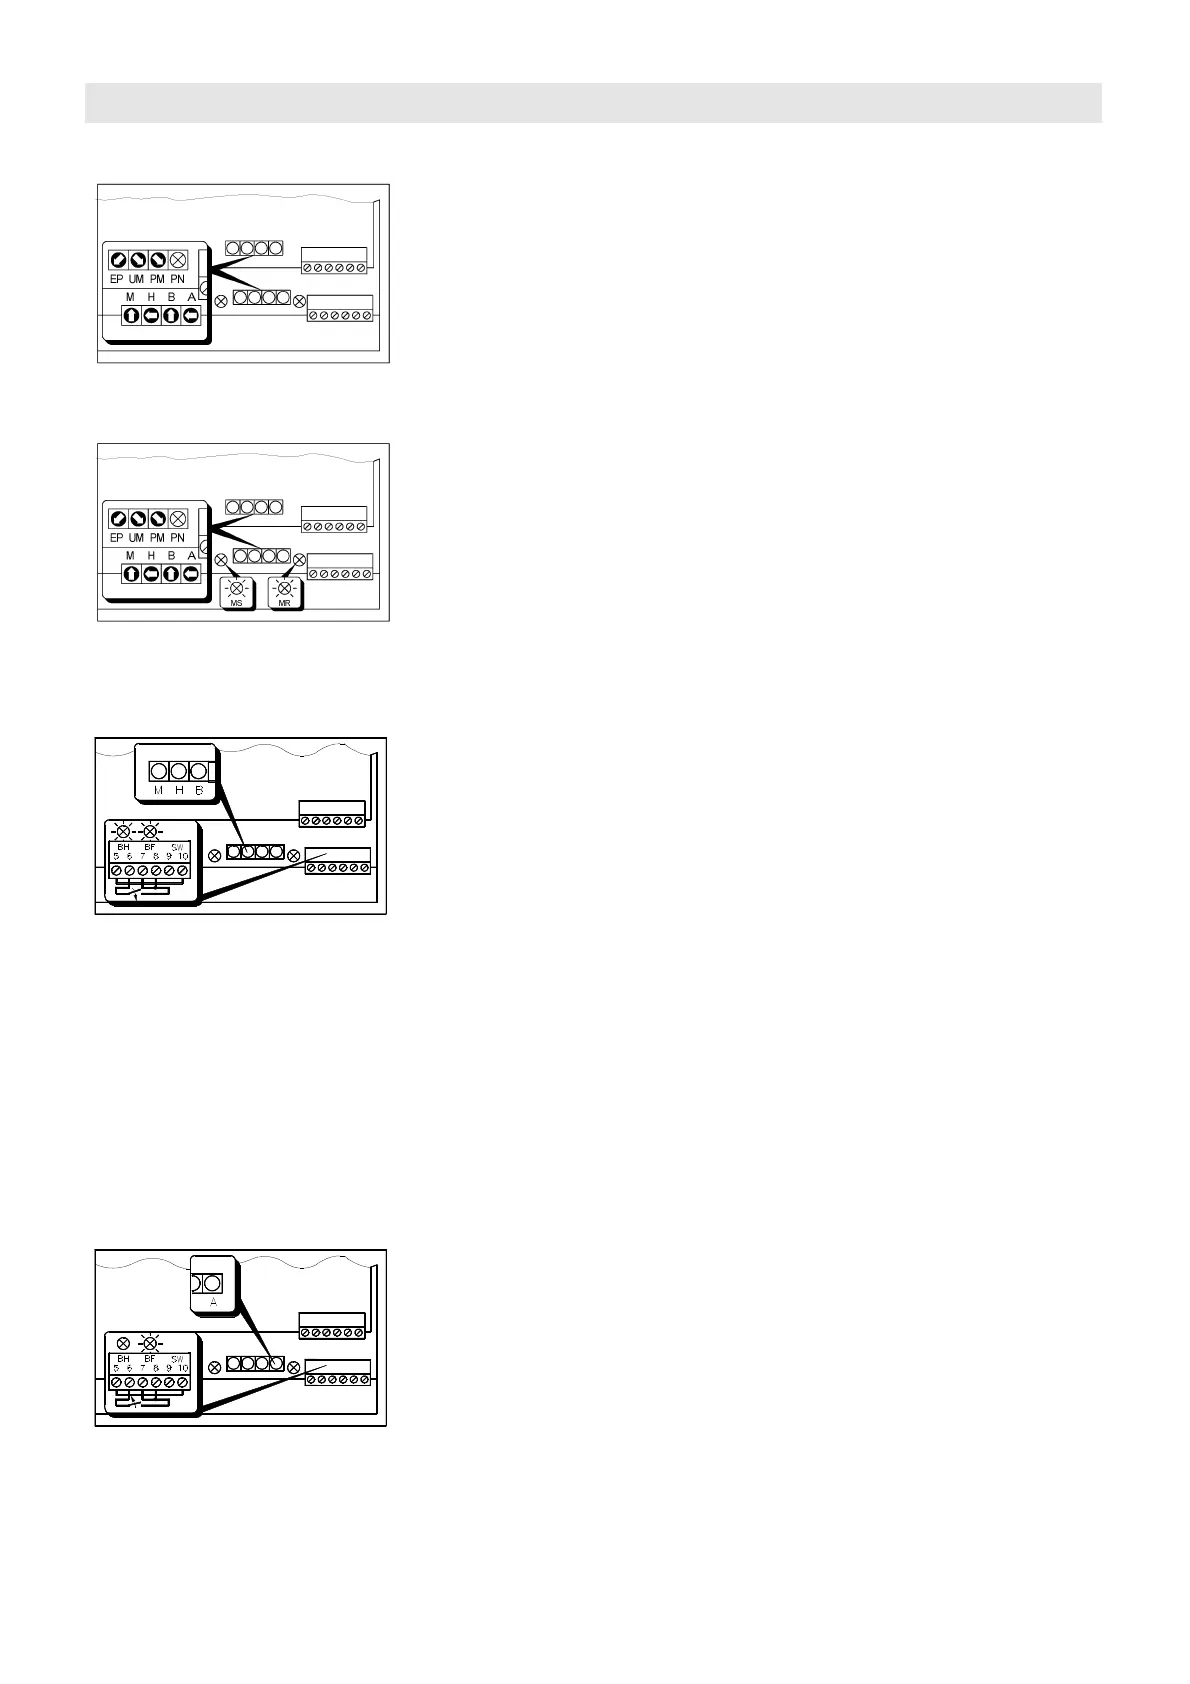
3. EINSTELLUNG DER HOCHLAUFRAMPE H UND DES EINSCHALTMOMENTS M (UND GGF. DES
ANLAUFSTROMS B BEI EINSATZ DER OPTION LS-I)
ADJUSTMENT OF RAMP-UP H AND SWITCH-ON TORQUE M (AND STARTING CURRENT B IF
OPTION LS-I IS USED)
♦ LED BH leuchtet
♦ LED BF leuchtet
- Einschaltmoment mit Potentiometer M
so einstellen, dass der Antrieb ohne
Verzögerung anläuft. Drehen im Uhr-
zeigersinn erhöht das Einschaltmoment.
- Ohne OPTION LS-I1 / LS-I2:
Hochlauframpe mit Potentiometer H
einstellen. Drehen im Uhrzeigersinn
erhöht die Beschleunigung.
- Mit OPTION LS-I1 / LS-I2: Maximalen An-
laufstrom mit Potentiometer B einstellen.
Drehen nach rechts erhöht die
Beschleunigung. Den Anlaufstrom so groß
wählen, dass der Antrieb bei max. Last
sicher hochläuft.
- Mit OPTION LS-
effektive Hochlaufzeit + 20% (bei max.
Last) einstellen. Gewünschte Über-
wachungsfunktion mit Schalter S11
einstellen.
- Zulässiges Lastspiel (siehe
Technische Daten Seiten 10,11)
beachten ! Anlaufstrom ggfs. mit
Stromzange kontrollieren.
♦ LED BH lights
♦ LED BF lights
- Adjust switch-on torque with
potentiometer M until the drive
accelerates without delay. Clockwise
rotation increases switch-on torque.
- Without OPTION LS-I1 / LS-I2: Adjust
run-up ramp with potentiometer H.
Clockwise rotation increases
acceleration.
- With OPTION LS-I1 / LS-I2 : Adjust
max. starting current with
potentiometer B. Clockwise rotation
increases acceleration. Set the
starting current high enough to ensure
a reliable ramp-up at max. load.
- With OPTION LS-I2 : Set monitoring
time to effective ramp-up time + 20%
(with max. load). Set switch S11 to
required monitoring function.
- Pay attention to permissible load
cycle (see pages 10, 11)! Check
starting current with a current probe
4. EINSTELLUNG DER AUSLAUFRAMPE A / ADJUSTMENT OF RUN-DOWN RAMP A
- Auslauframpe mit Potentiometer A
einstellen.
Drehen im Uhrzeigersinn verkürzt
die Auslaufzeit.
- Adjust run-down ramp with
potentiometer A.
Clockwise rotation reduces
run-down time.
5. - 7.
Nur mit OPTION LS-I1 (siehe separate
Only with OPTION LS-I1 (see separate
 Loading...