Getting started...
20
Before you start
>
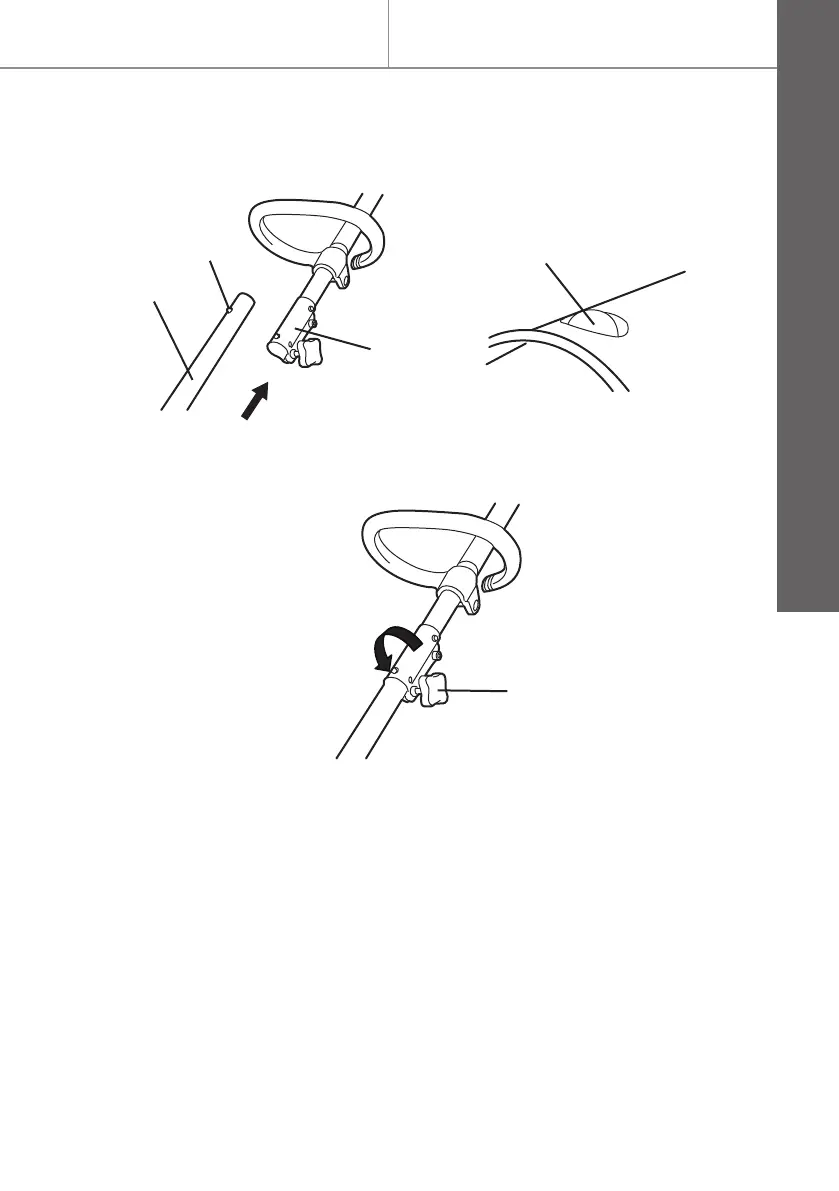
on the upper shaft (Fig. 2b).
> Tighten the locking knob [18] anticlockwise to secure the
connection (Fig. 2c).
Safety guard assembly
> Loosen the pre-assembled bolt (20c) and remove it
together with the washer (20d) and nut (20e) from the
bracket (20b).
> Place the safety guard (20) with the bracket (20b) onto the
support on the lower shaft (Fig. 3).
> Secure the safety guard (20) with the bolt (20c), washer
(20d) and nut (20e). Tighten the bolt properly.
Release the safety pin; ensure that it engages in the hole
A
17
19
A
18
Fig. 2a
Fig. 2b
Fig. 2c
FPGTP25-2
EN
 Loading...