B2T Cot assembly instructions
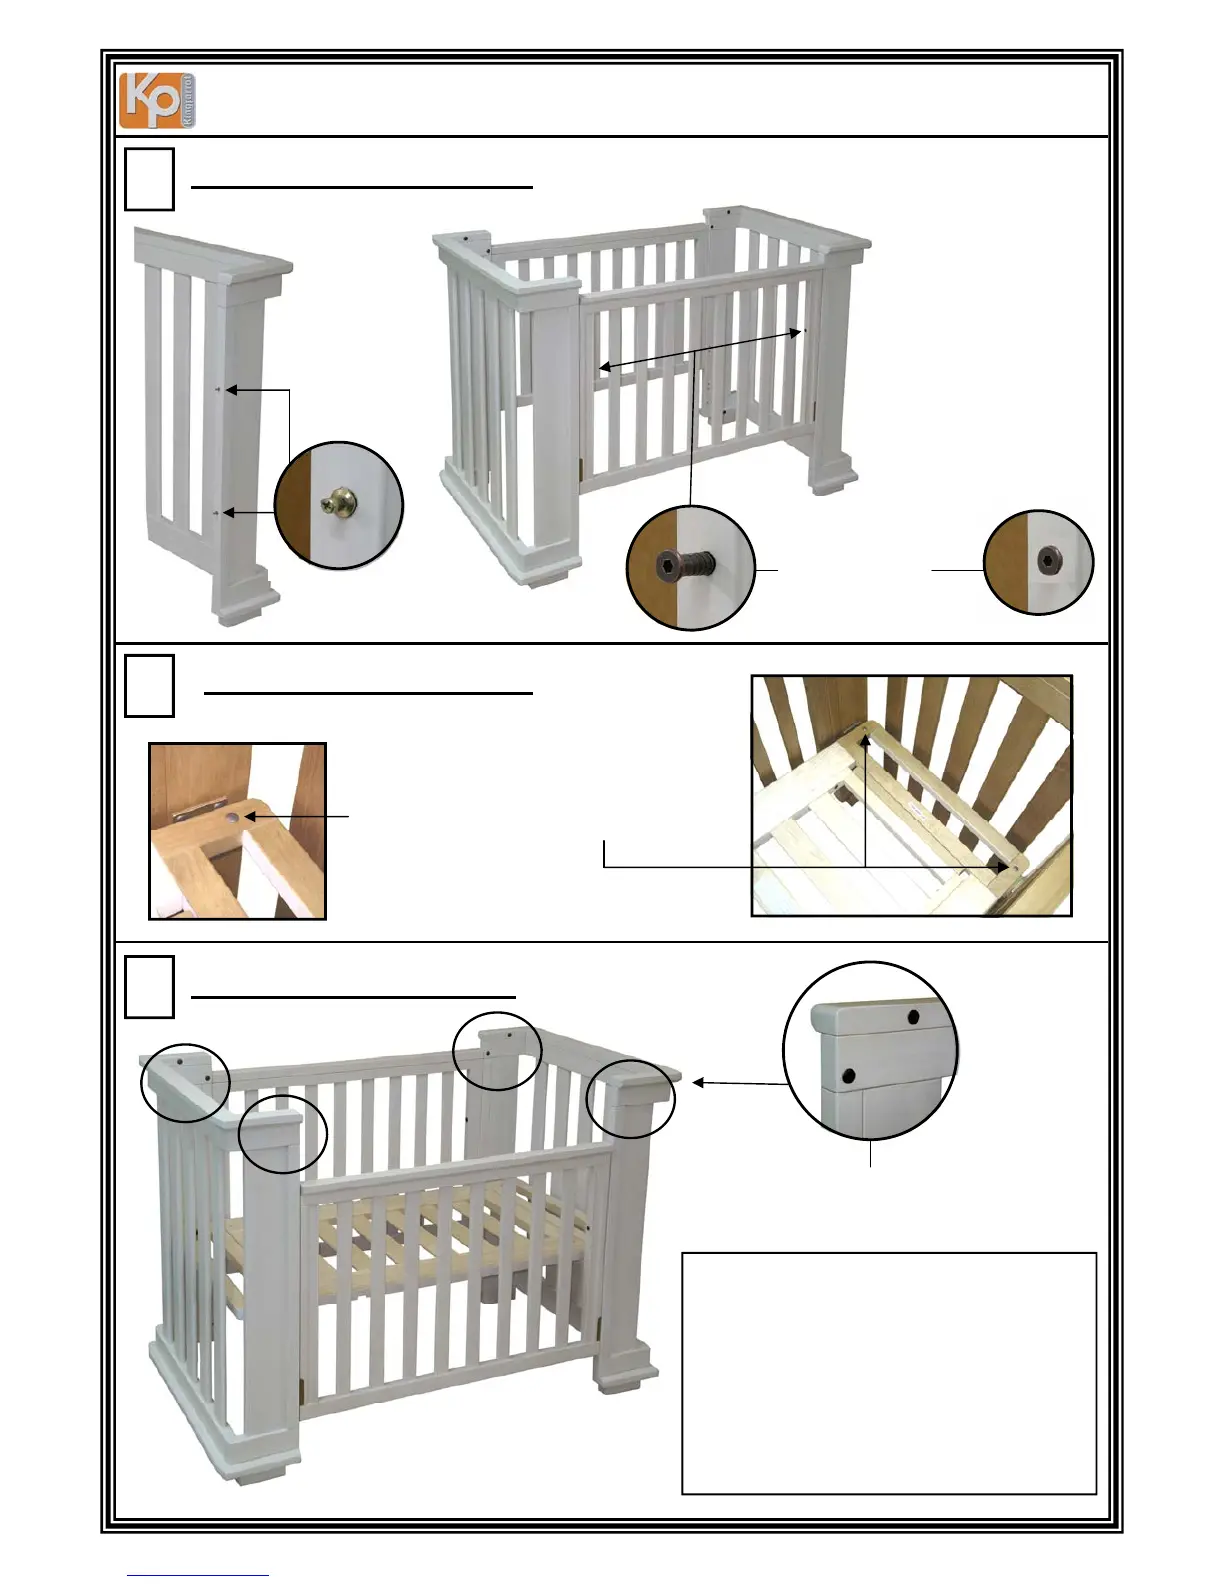
7
9
Filling end panel holes
8
Lowering base into cot
NOTE: Make sure base is facing up.
Lower the base into the cot and
place onto base supports making
sure the base is facing up.
Screw onto base supports using
4 x E bolts.
Fill top end panel holes
with 8 x C bolts.
Attaching the drop side
B:Push end panels
outward to allow
space for the
assembly of drop side
panel. Allow glide pins
of one end panel to
attach into the
runner on drop side
first, then allow the
pins on the other side
to slide into runner
and pull both end
panels inward.
A
B
C
A: Screw 4 x
A drop side
glide pins
into the end
panels using
a Philips head
screw driver
(not supplied)
C: Fully screw in
bolts on both
end bars of drop
side
V 09/06
TO LOWER THE DROP SIDE PANEL pull the
drop side up to the highest position.
Hold it in that position while using your
leg to push (at the centre bottom bar)
inward. Then allow the drop side panel
to slide down. To raise the drop side
panel, pull the drop side panel up from
the centre of top bar until it clicks into
the locking position.