Getting Started (Cont.)
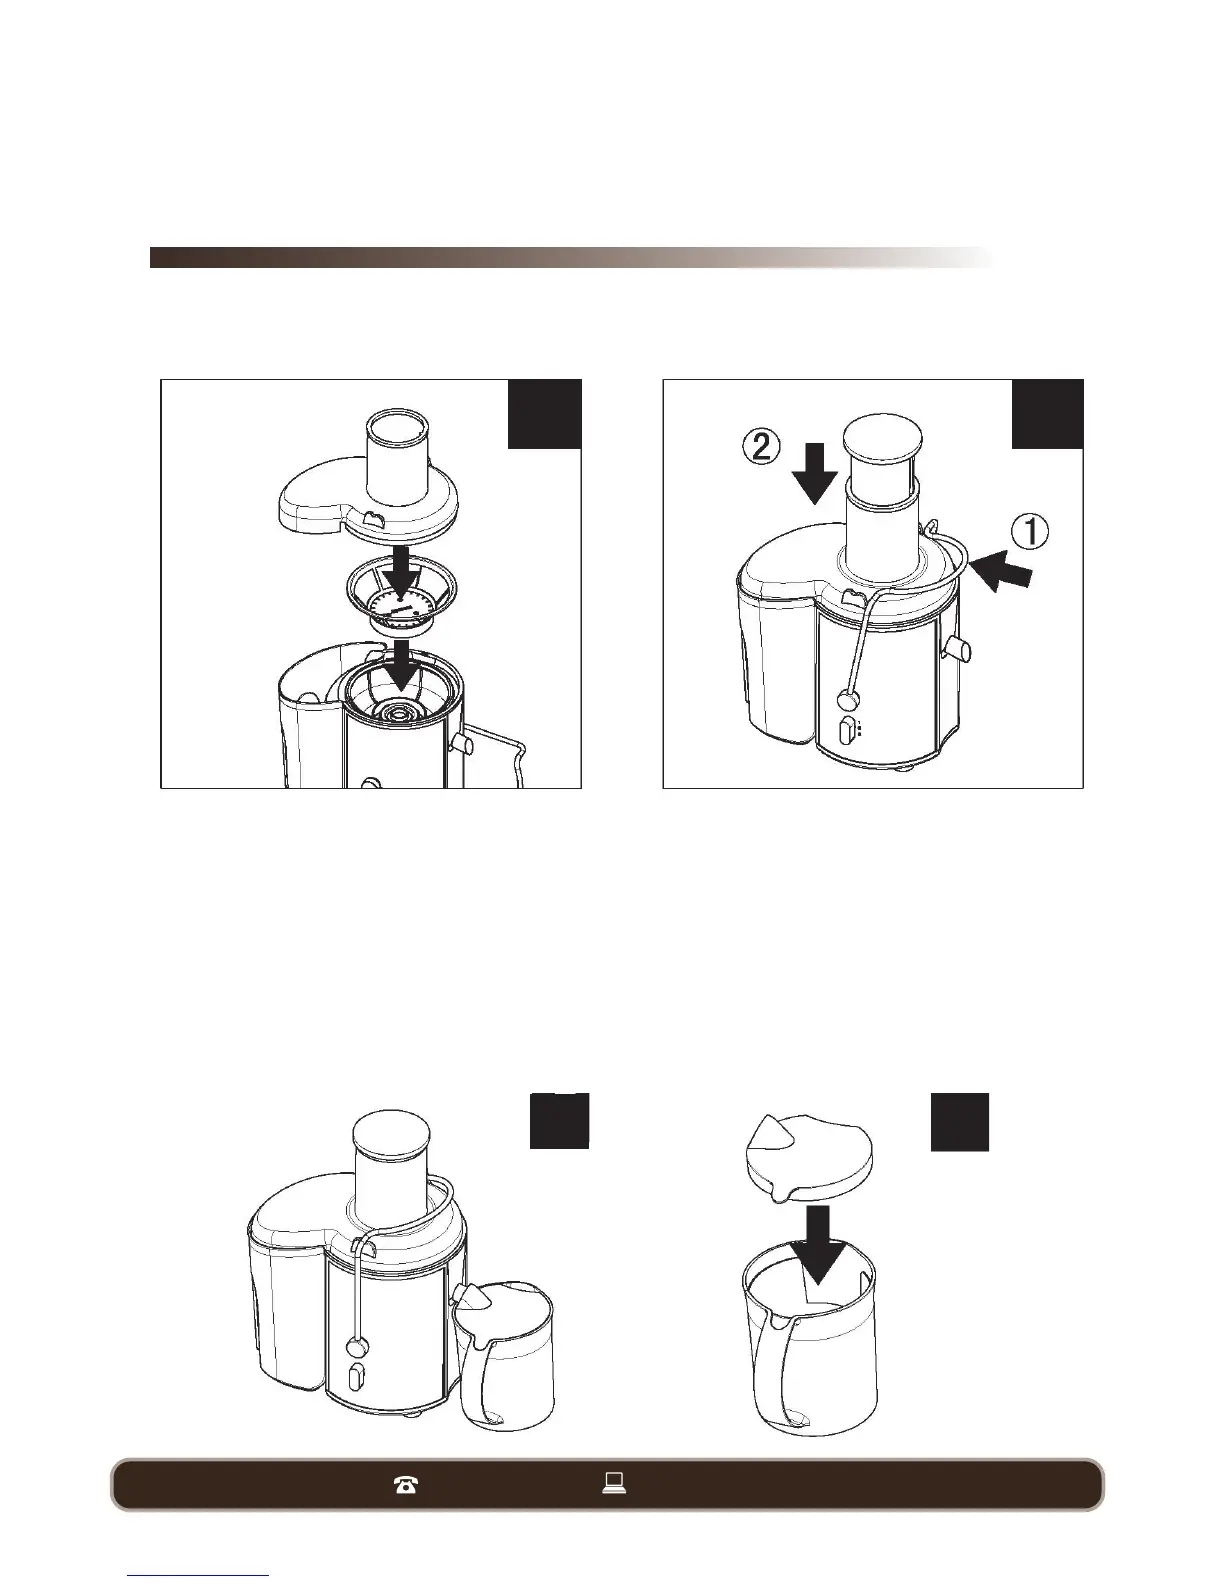
• Put the filter back into the juice collector, making sure it sits securely in place over the drive shaft
— see Fig. 2 below. (You should be able to move it around but not lift it out easily.)
• Place the lid with feeding tube on top of the appliance — see Fig. 2 above.
• Snap the safety clamp onto the lid to lock it into place — see (1) in Fig. 3 above.
• Slide the pusher into the feeding tube by aligning the groove in the pusher with the small
protrusion on the inside of the feeding tube — see (2) in Fig. 3 above. Make sure the safety
clamps are securely locked on either side of the lid.
• Place the juice jug under the spout — see Fig. 4 below.
• Place the lid on top of the juice jug to avoid splattering, or if you want to store the juice in the
refrigerator — see Fig. 5 below.
2. 3.
4. 5.