INSTALLATION INSTRUCTIONS
Freestanding Outdoor Grill Installations
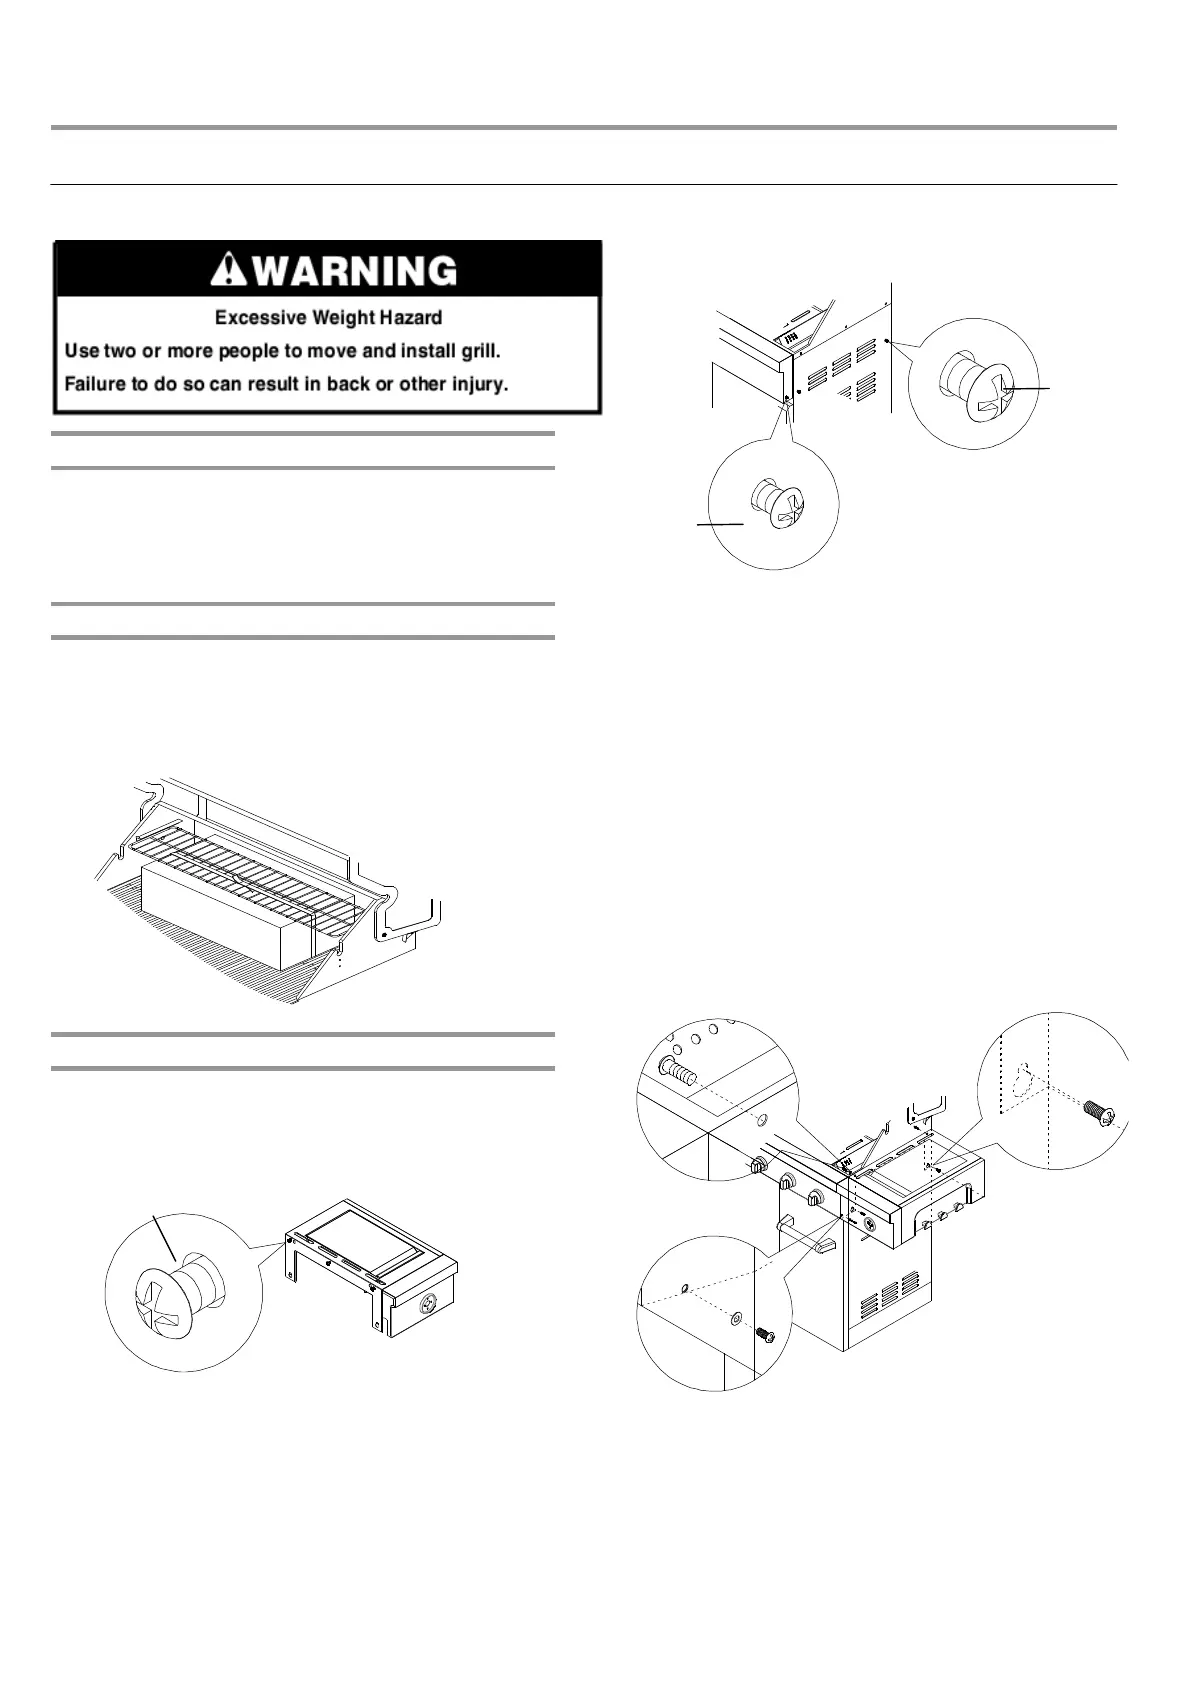
4.Loosen 2 screws on the grill side panel but not remove them
completely and remove 1 screw on the grill control panel.
C
13
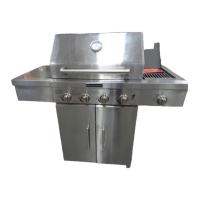
Unpack Grill
1. Remove all packaging materials and remove grill from the
shipping base.
2. Move grill close to desired outdoor location.
3. Open the grill hood.
Remove Packaging Material Inside the Grill
1. Use a utility knife to cut yellow straps and packing tape to
open box from top and remove the boxes
2. Remove the warming shelf and grill grates from inside the
grill and remove the package inside the firebox.
3. Remove foam block and wrap from inside the grill.
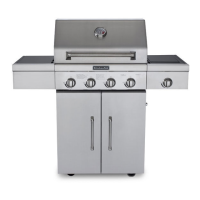
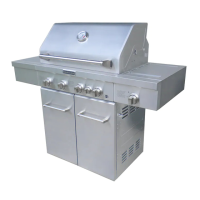
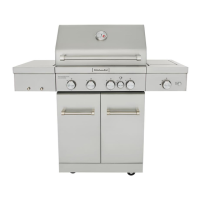
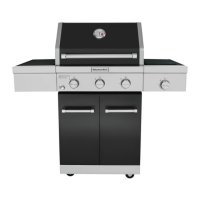
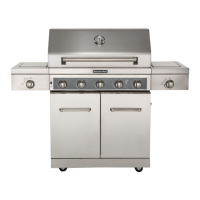
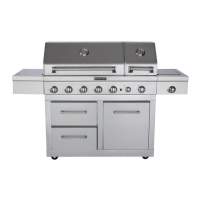
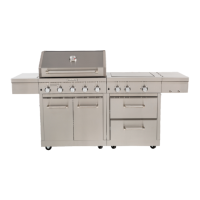
Attach Right Side Shelf with Side Burner
1. Unpack right side shelf with side burner.
2. Open grill lid.
3. Remove 3 screws from the side of the side burner shelf.
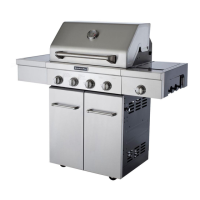
A
A. Side burner screws
A
B
A. Grill control panel screws
B. Grill side panel screw
B
A
5. Attach the top of side shelf to the grill (A) by inserting the 3
screws removed in Step 3 into the side shelf from inside the
grill hood and tighten. See illustration in Step 7.
6. Attach the bottom of side shelf to the side panel (B) of the grill
by tighten the 2 screws loosen on the grill side panel in
Step 4. Tighten the screws. See illustration in Step 7.
7. Attach the side shelf to the control panel (C) by inserting the
screw removed from the grill control panel in step 4. Tighten
the screw.