Do you have a question about the KitchenAid Artisan 5KTT890 and is the answer not in the manual?
Addresses initial smoke and heating problems, including troubleshooting steps.
Explains crumb tray removal and the meaning of a flashing function light.
Steps to prepare the toaster before the first toasting cycle.
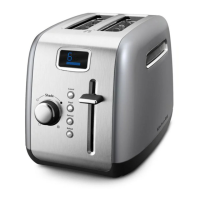
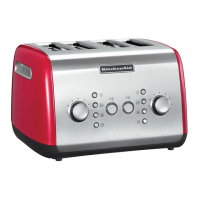
Explains the independent controls for pairs of slots on the 4-slice model.
Step-by-step guide on how to toast bread using the appliance.
How to check toast browning without canceling the cycle.
Instructions on how to stop the toasting process prematurely.
Instructions for using the sandwich rack accessory to toast sandwiches.
Tips for making toasted sandwiches using the accessory.
How to remove, clean, and reinsert the crumb tray.
Guidelines for washing accessories and wiping the toaster exterior.
Outlines the terms and conditions of the product warranty.
Provides contact information for authorized service and repair centers.
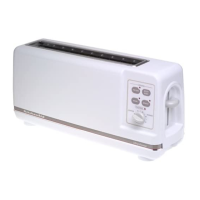
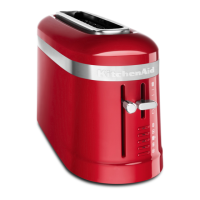
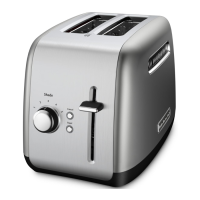
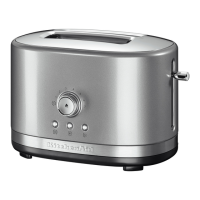
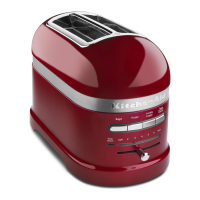
The KitchenAid Artisan Toaster is a kitchen appliance designed for toasting various types of bread and other food items. It comes in two models: the 5KTT890, a 4-slice toaster, and the 5KTT780, a 2-slice toaster. Both models are designed to deliver "expert results" for toasting.
The primary function of the KitchenAid Artisan Toaster is to toast bread to a desired level of darkness. It achieves this by heating elements within the toasting slots. The toaster also offers additional functionalities through optional accessories: a sandwich rack (Model 5KTSR) for toasting sandwiches and a bun warmer (Model 5KTBW2 for 2-slice, 5KTBW4 for 4-slice) for warming buns.
All service should be handled by an authorized KitchenAid Service Center. Contact the dealer for the nearest facility.
The product is marked according to the European directive 2002/96/EC on Waste Electrical and Electronic Equipment (WEEE), indicating that it should not be disposed of with household waste but handed over to an applicable collection point for electrical and electronic equipment recycling.
| Brand | KitchenAid |
|---|---|
| Model | Artisan 5KTT890 |
| Category | Toaster |
| Language | English |