Do you have a question about the KitchenAid Artisan 5KTT780 and is the answer not in the manual?
Initial setup and preparation instructions before the first toasting cycle.
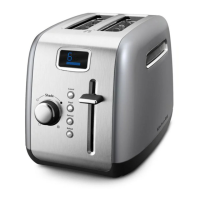
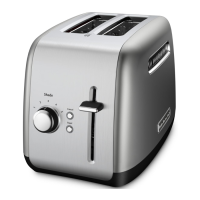
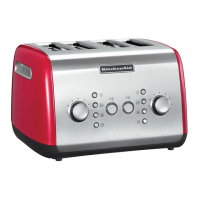
Explanation of independent controls for each pair of slots on the 4-slice model.
Step-by-step guide for toasting, including setting darkness and inserting bread.
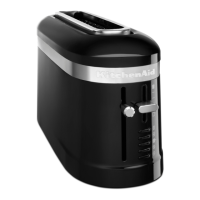
Instructions for using the optional sandwich rack accessory for toasting.
Recommendations for preparing and toasting sandwiches with the rack.
Contact information for finding authorized KitchenAid service locations.
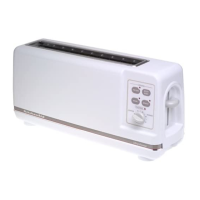
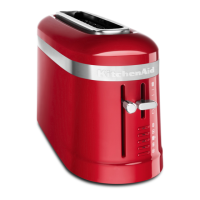
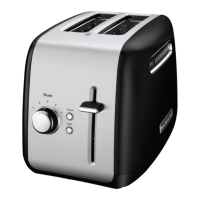
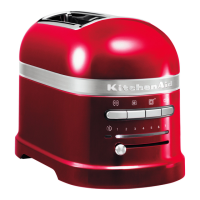
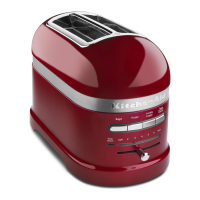
The KitchenAid Artisan Toaster is a kitchen appliance designed for toasting various types of bread and other food items. It comes in two models: the 5KTT890, a 4-slice toaster, and the 5KTT780, a 2-slice toaster. Both models are designed to deliver "expert results" for toasting.
The primary function of the KitchenAid Artisan Toaster is to toast bread to a desired level of darkness. It achieves this by heating elements within the toasting slots. The toaster also offers additional functionalities through optional accessories: a sandwich rack (Model 5KTSR) for toasting sandwiches and a bun warmer (Model 5KTBW2 for 2-slice, 5KTBW4 for 4-slice) for warming buns.
All service should be handled by an authorized KitchenAid Service Center. Contact the dealer for the nearest facility.
The product is marked according to the European directive 2002/96/EC on Waste Electrical and Electronic Equipment (WEEE), indicating that it should not be disposed of with household waste but handed over to an applicable collection point for electrical and electronic equipment recycling.
| Model Number | 5KTT780 |
|---|---|
| Number of Slices | 4 |
| Voltage | 120 V |
| Toasting Settings | 7 |
| Extra-Wide Slots | Yes |
| Bagel Setting | Yes |
| Defrost Setting | Yes |
| Reheat Setting | Yes |
| Cancel Button | Yes |
| Cord Storage | Yes |
| Removable Crumb Tray | Yes |
| Material | Metal |
| Color | Various (depending on the model) |