Do you have a question about the KitchenAid KBLC36FMS01 and is the answer not in the manual?
Explains the safety alert symbol, DANGER, and WARNING terms.
Critical warning about the refrigerator tipping if not installed correctly.
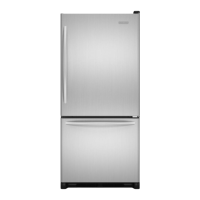
Details the wraparound styling and commercial look of the Architect Series.
Describes the traditional style trim and the need for custom panels.
Features frameless look with custom panels, handles, and standoffs.
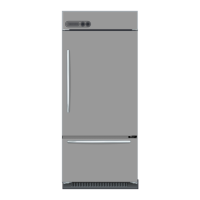
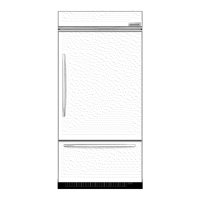
Highlights factory-installed stainless steel trim for a contemporary look.
Provides depth, power cord, and water line length measurements.
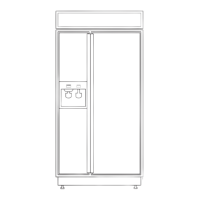
Shows width and depth measurements for the refrigerator.
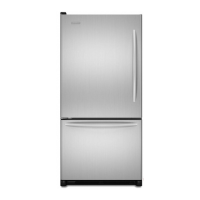
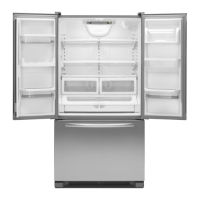
Describes the Pro Line Series as a blend of design and performance.
Illustrates width and height measurements from the front perspective.
Specifies the space needed for tipping the refrigerator sideways.
Details clearance requirements for opening the refrigerator door.
Shows required clearances for various handle types and custom panels.
Provides actual size measurements for different handles.
Illustrates door clearance for a 90-degree swing.
Specifies the necessary space between refrigerator and cabinetry.
Illustrates door clearance for a 110-degree swing.
Specifies the necessary space between refrigerator and cabinetry.
Lists available factory kits for door and top grille panels.
Details the 72-inch top grille panel kits for specific series.
Information on kits for extended door handles.
Guidance for creating and installing custom panels for the Classic Series.
Specifies maximum weight for top grille and refrigerator/freezer panels.
Specifies edge routing requirements for top grille panels.
General information and description of overlay series custom panels.
Details routing requirements for door panels with standard handles.
Diagram showing top view for standard handle installation prep.
Information on custom side panels for the Architect Series.
Specific measurements for inset panel installation.
Specific measurements for flush panel installation.
Specific measurements for recessed inset panel installation.
Guidance for custom side panels in Classic and Overlay Series.
Specific measurements for inset panel installation.
Specific measurements for recessed inset panel installation.
Lists essential tools and parts required for installation.
Specifies ideal placement and environmental conditions for the refrigerator.
Warning about keeping flammable materials away from the refrigerator.
Details required clearances around the refrigerator for installation.
Guidance on proper electrical grounding for the refrigerator.
Specifies the necessary electrical supply and outlet type.
Critical warning about electrical shock risks during installation.
Details requirements for the cold water supply line.
Specifies required water pressure for ice maker and dispenser.
Guidance for water supply connected to a reverse osmosis system.
Steps for safely unpacking the refrigerator.
Instructions on how to reduce the tipping radius if needed.
Steps for safely moving the refrigerator into the installation location.
Crucial safety step to secure the refrigerator and prevent tipping.
Procedure for connecting the refrigerator to the household water line.
Detailed steps for connecting with a copper tubing line.
Detailed steps for connecting using a shutoff valve.
Instructions for connecting the refrigerator to electrical power.
Steps for positioning the refrigerator in its final installed spot.
Procedure for adjusting leveling legs to support the refrigerator.
Steps for installing custom door and drawer panels for the Classic Series.
Steps for installing the top grille panel for custom Classic Series.
Steps for installing custom door panels for the Overlay Series.
Steps for installing the top grille panel for custom Overlay Series.
Procedure for ensuring the refrigerator is level from left to right.
Procedure for ensuring the refrigerator is level from front to back.
Instructions for removing, reinstalling, and aligning the refrigerator door.
Adjusting the door stop to control the door opening range.
Instructions for installing side panels inside or outside the trim.
Steps for fitting and attaching the base grille and skirt.
Procedure for cleaning the water system after installation.
Final checks and steps to complete the refrigerator installation.
| Brand | KitchenAid |
|---|---|
| Model | KBLC36FMS01 |
| Category | Refrigerator |
| Language | English |