10
Wall Stud at End Holes
Figure 3
A. End holes (on mounting
plate)
B. Cabinet opening vertical
centerline
C. Wall stud centerlines
D. Holes for lag screws
E. Support tabs
F. Mounting plate center
markers
Wall Stud at End Holes
Figure 4
A. End holes (on mounting
plate)
B. Cabinet opening vertical
centerline
C. Wall stud centerlines
D. Holes for lag screws
E. Support tabs
F. Mounting plate center
markers
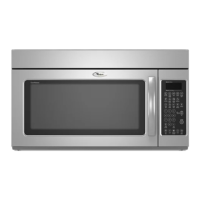
Find the Flush Point
This product is designed to be flush with the cabinet, and the flush point should be found before installation. Don't install with the front of
the microwave oven located behind the front of the cabinet/door.
Flush to Cabinet door Flush to Cabinet door Don't install with the front of
the microwave oven located
behind the front of the
cabinet/door.
Don't install with the front
of the microwave oven
located behind the front of
the cabinet/door.
A. Cabinet door
B. Cabinet
C. Microwave oven
door
A. Cabinet door
B. Cabinet
C. Microwave oven door
A. Cabinet door
B. Cabinet
C. Microwave oven
door
A. Cabinet door
B. Cabinet
C. Microwave
oven door
NOTE: The grille baffle will automatically open 30 degrees when the microwave oven uses the ventilation & cooking function. Do not
install the microwave oven with the grille baffle behind the front of the cabinet/door otherwise it will block the air outlet.
A. Cabinet
B. Grille baffle
A. Cabinet
B. Grille baffle