20
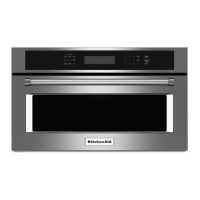
� Avoid damage to the mounting nut, screw the bolts into the
mounting nut holes around 15–20 mm by hand first, make sure
the bolts thread in properly. Then tighten with tools.
A. Bolt
B. Mounting Nut
Complete Installation
1. Check that all parts are now installed. If there is an extra part,
go back through the steps to see which step was skipped.
2. Dispose of/recycle all packaging materials.
WARNING
Electrical Shock Hazard
Plug into a grounded 3 prong outlet.
Do not remove ground prong.
Do not use an adapter.
Do not use an extension cord.
Failure to follow these instructions can result in death,
fire, or electrical shock.
3. Plug microwave oven into grounded 3 prong outlet.
4. Reconnect power.
5. Check the operation of microwave oven by placing 1 cup
(250 mL) of water on the cavity and programming a cook time
of 1 minute at 100% power. Test vent fan and exhaust by
operating the vent fan.
6. Check the vent door if auto open.
7. If the microwave oven does not operate:
� Check that a household fuse has not blown, or that a
circuit breaker has not tripped. Replace the fuse or reset
the circuit breaker. If the problem continues, call an
electrician.
� Check that the power supply cord is plugged into a
grounded 3 prong outlet.
� See the User Instructions for troubleshooting information.
The installation is now complete.
Save Installation Instructions for future use.
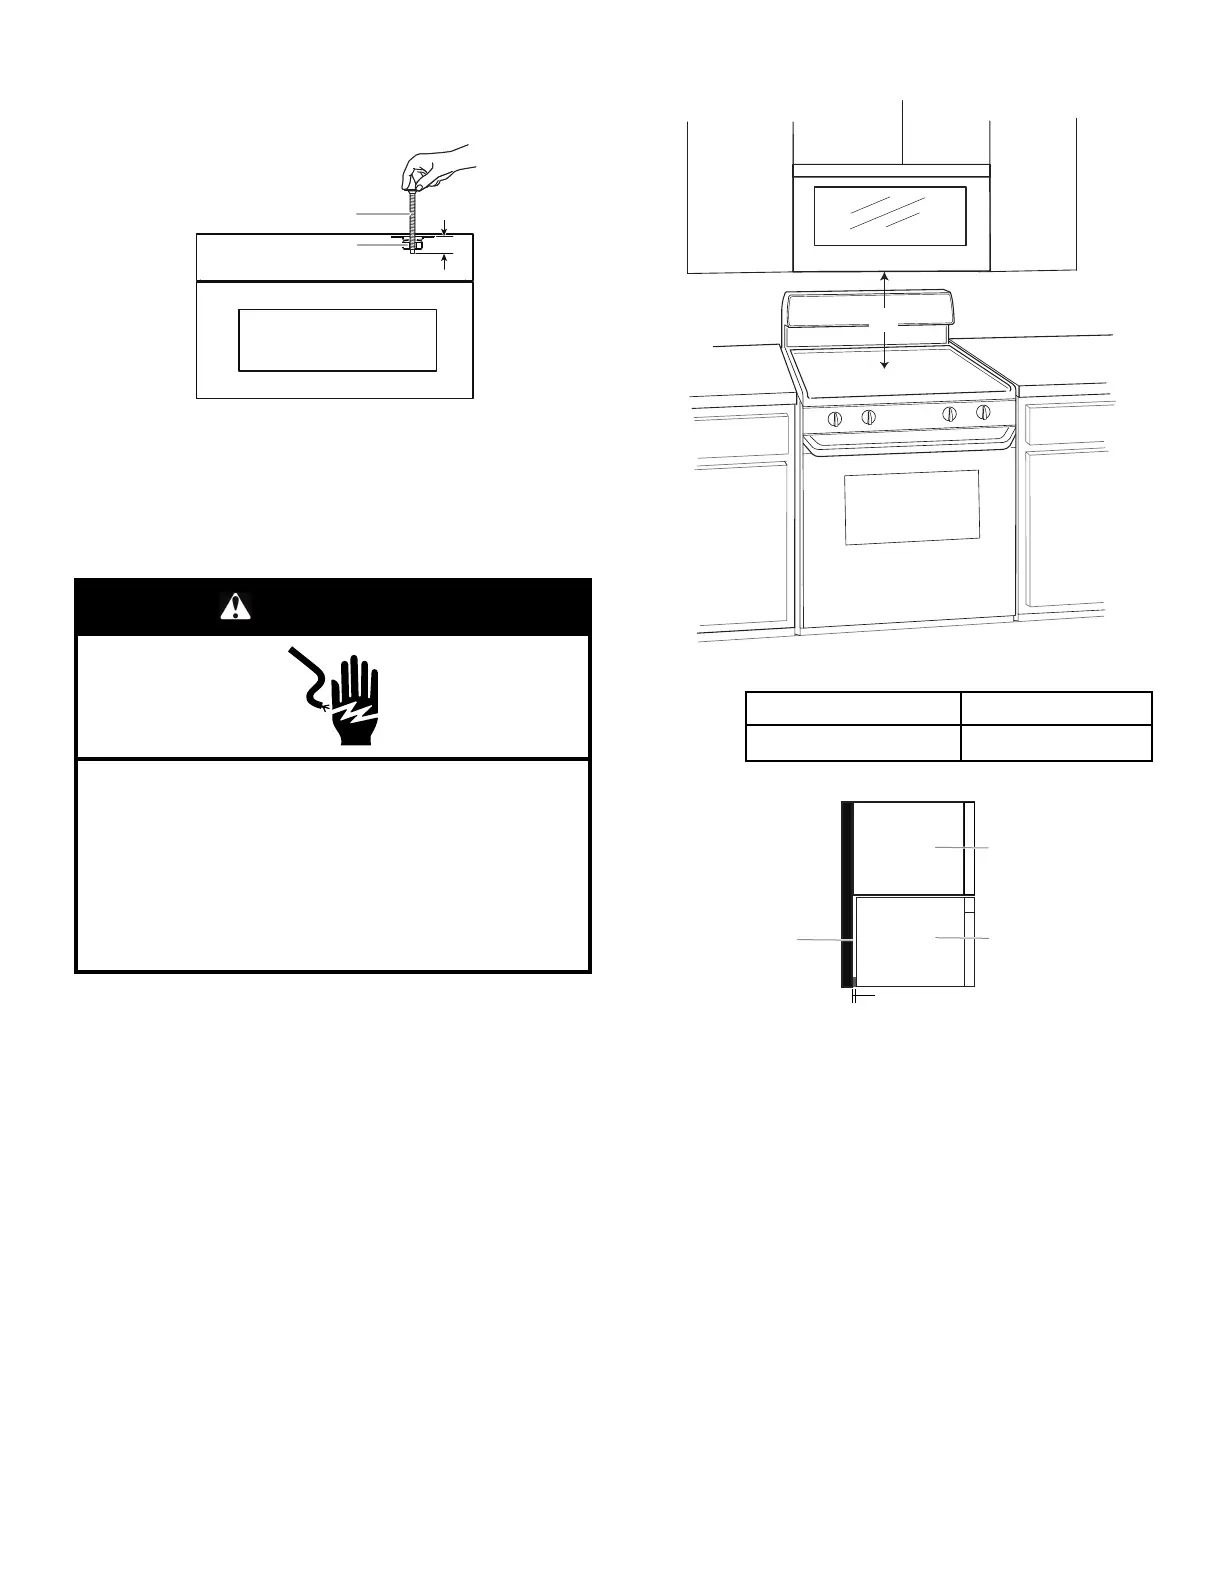
A. The height from the highest point of the stove to the
bottom of the microwave oven.
Minimum Recommendation
12
1
/
8
" (30.8 cm) 18
1
/
8
" (46 cm)
A. Cabinet
B. Microwave oven
C. Wall or back of the cabinet
D. 1/2"-3/4" (1.3-1.9 cm)