4
Quick Guide
Before using your new oven, please carefully read all of the safety instructions in the
Instructions for Use Manual or at www.kitchenaid.eu
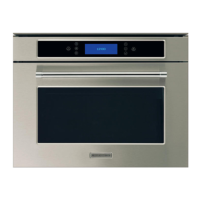
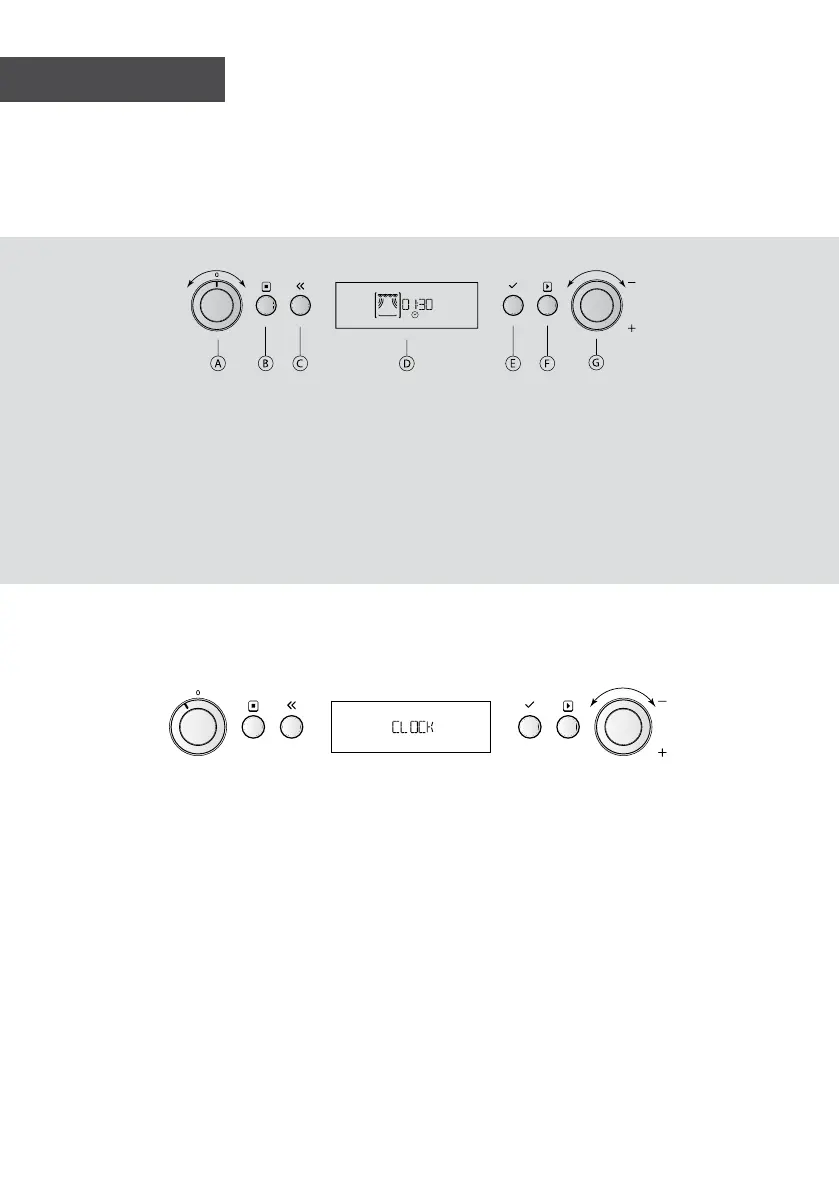
Control Panel
Getting Started and Daily Oven Use
The rst time you switch on your new oven, you will need to set the clock.
You will need to keep the oven door open while setting the clock, and you will have 5
minutes to complete the operation.
Turn the Multifunction knob until you see SETTINGS, then turn the Control knob to CLOCK
and press the OK button to conrm. Turn the Control knob to set the hour then press the
OK button to conrm. Follow this same procedure to set the minutes. Once the time of
day is correct, press the OK button to conrm.
DAILY OVEN USE
Switching on the oven and selecting a function
1. Turn the Multifunction knob to scroll through the main menu.
2. Turn the Control knob to select your desired function among the different submenus
and press the OK button to conrm.
3. Turn the Control knob to adjust the settings and press the OK button to conrm.
4. Press the Start button to begin using your oven.
A. Multifunction knob: To select the various functions.
B. Stop button: To switch on/off the oven.
C. Back button: To return to the previous option.
D. Display
E. OK button: To conrm the selected function/setting.
F. Start button: To begin cooking, reheating or defrosting.
G. Control knob: To set the options
12
Pannello comandi
A. Manopola multifunzione
B. Tasto Stop
C. Tasto indietro
D. Display
E. Tasto OK
F. Tasto Start
Manopola di regolazione (+/-)
Q
UESTA FUNZIONE DI SICUREZZA SI ATTIVA
AUTOMATICAMENTE UN MINUTO DOPO
che il forno è
entrato in modalità standby. (Il forno si trova in
modalità “stand by” quando appare visualizzato
l’orologio a 24 ore oppure, se l’orologio non è
stato impostato, quando il display è vuoto.)
P
ER DISABILITARE IL BLOCCO DI
SICUREZZA
è necessario aprire e
richiudere lo sportello, ad
esempio per introdurre un piatto.
In caso diverso sul display apparirà la dicitura
“DOOR”.
Protezione anti-avvio
IL GRADO DI COTTURA può essere regolato con la
maggior parte delle funzioni automatiche. La
funzione di regolazione del grado di cottura
consente di controllare direttamente il risultato
finale. Questa funzione consente di ottenere una
temperatura finale superiore o inferiore rispetto
all’impostazione standard.
S
CEGLIENDO una di queste funzioni si sceglie
l’impostazione standard. Questa impostazione
normalmente garantisce il miglior risultato. Se
tuttavia il cibo riscaldato risulta troppo caldo, è
possibile regolare facilmente la temperatura
secondo le preferenze personali prima di usare
un’altra volta la stessa funzione.
N
OTA :
IL GRADO COTTURA può essere impostato o
modificato durante i primi 20 secondi di
funzionamento.
GRADO DI COTTURA
L
IVELLO EFFETTO
A
LTO
+2
MASSIMA TEMPERATURA
FINALE
A
LTO
+1
ALTA TEMPERATURA FINALE
M
ED
0
IMPOSTAZIONE STANDARD
PREDEFINITA
B
ASSO
-1
BASSA TEMPERATURA
FINALE
B
ASSO
-2
MINIMA TEMPERATURA
FINALE
SELEZIONARE UN LIVELLO DI GRADO COTTURA
tramite la manopola +/- subito dopo aver premuto
il tasto Start (Avvio).
Grado di cottura (solo funzioni automatiche)


 To Next Page
 Loading...