MedVault
®
Hardware Installation Instructions
OPE-MVHDWR-0202-H The Knox Company ▪ MedVault
®
▪ 7
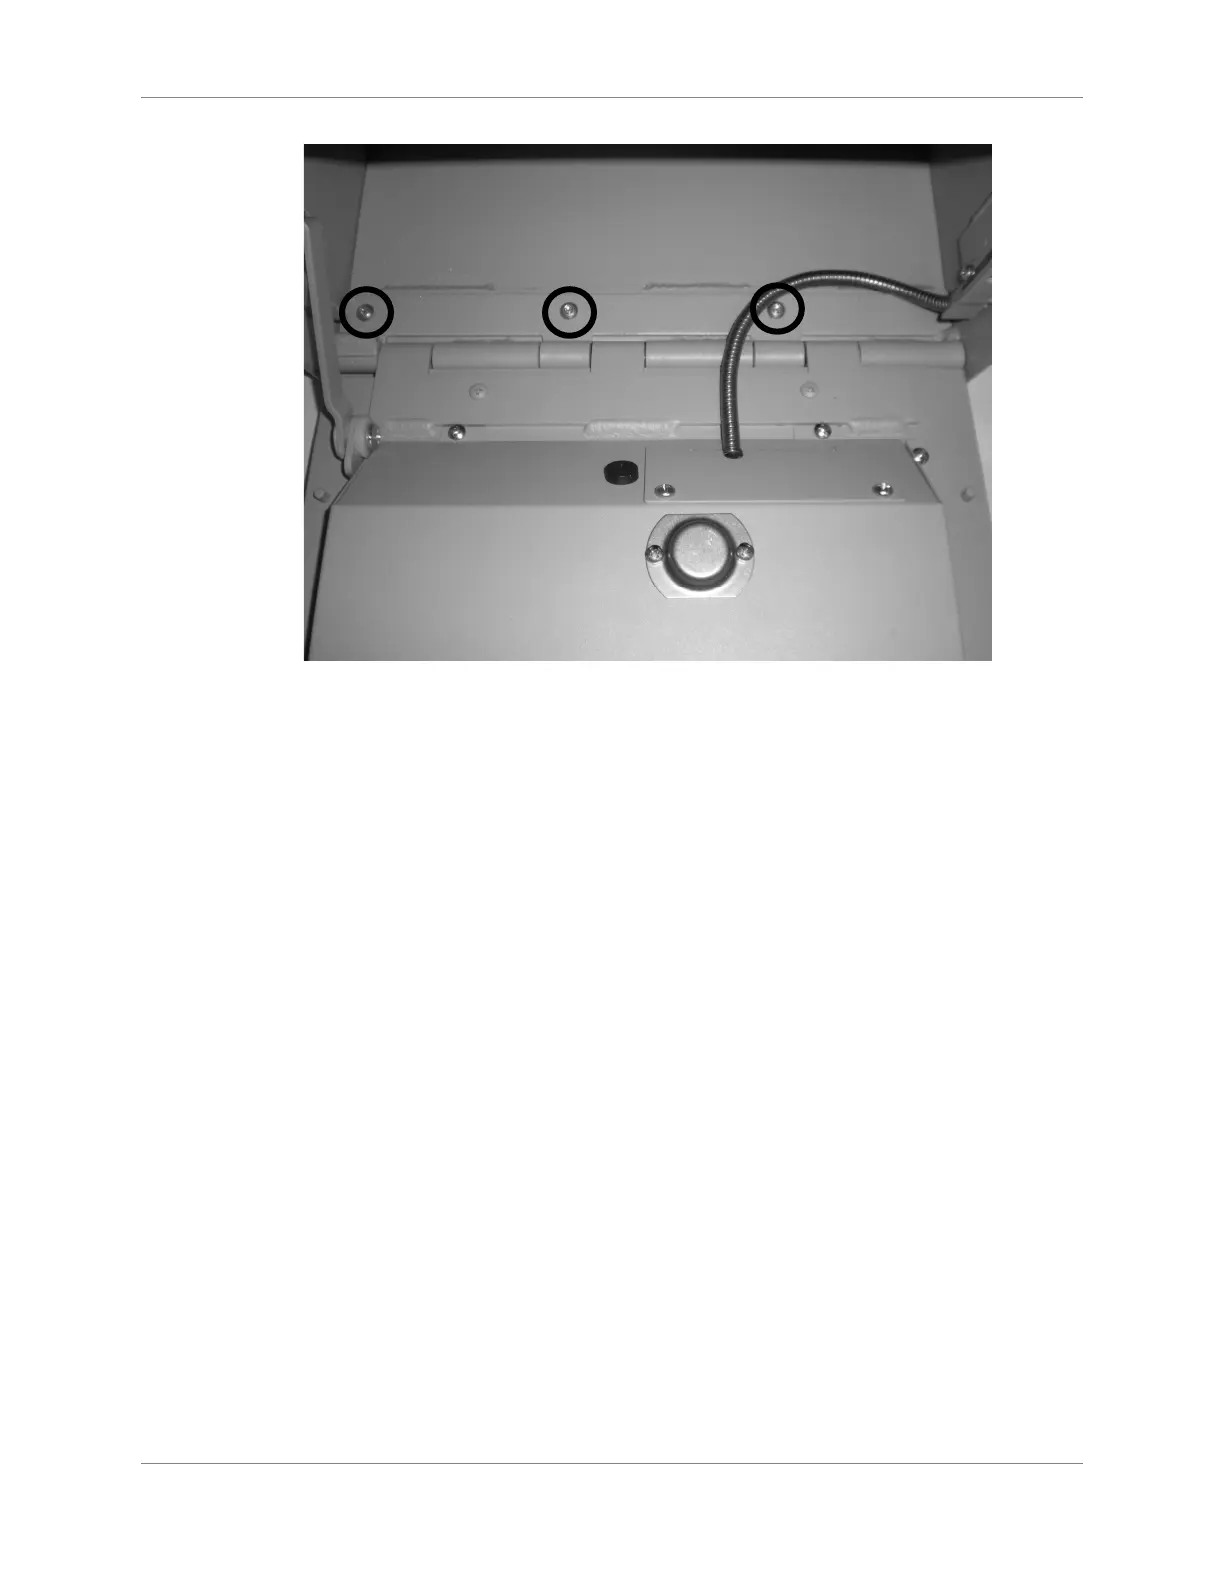
6. Lift up the hinge lock. Set aside the hinge lock and screws for safe-keeping.
7. Slide the door to the left and pull toward you to remove the door from the hinge pins.
8. Reattach wire access panel with screws to door for shipping.
9. If a replacement door is long in coming, reattach the hinge lock to the door with the three
security screws, tightened finger-tight, for safe-keeping.
10. Retain the Knox security screw removal bit for reassembly.
Attaching the Door
Follow these instructions when you are ready to attach the replacement door to the MedVault:
1. Remove the temporarily attached hinge lock by removing the three security screws (if
attached).
2. Position the door, interior side up, hinges facing away from you, with the hinge knuckles
just to the left and touching the hinge pins.
3. Push the knuckles in and to the right to slip the knuckles over the three hinge pins
simultaneously. A rubber mallet may be used to assist sliding the door on the pins. Avoid
using metal tools as these could damage the door and affect door security.
4. Reinstall the hinge lock by placing it back in its original position, with its knuckles
inserted between the door hinge knuckles.
 Loading...

