ASSEMBLY INSTRUCTIONS
~
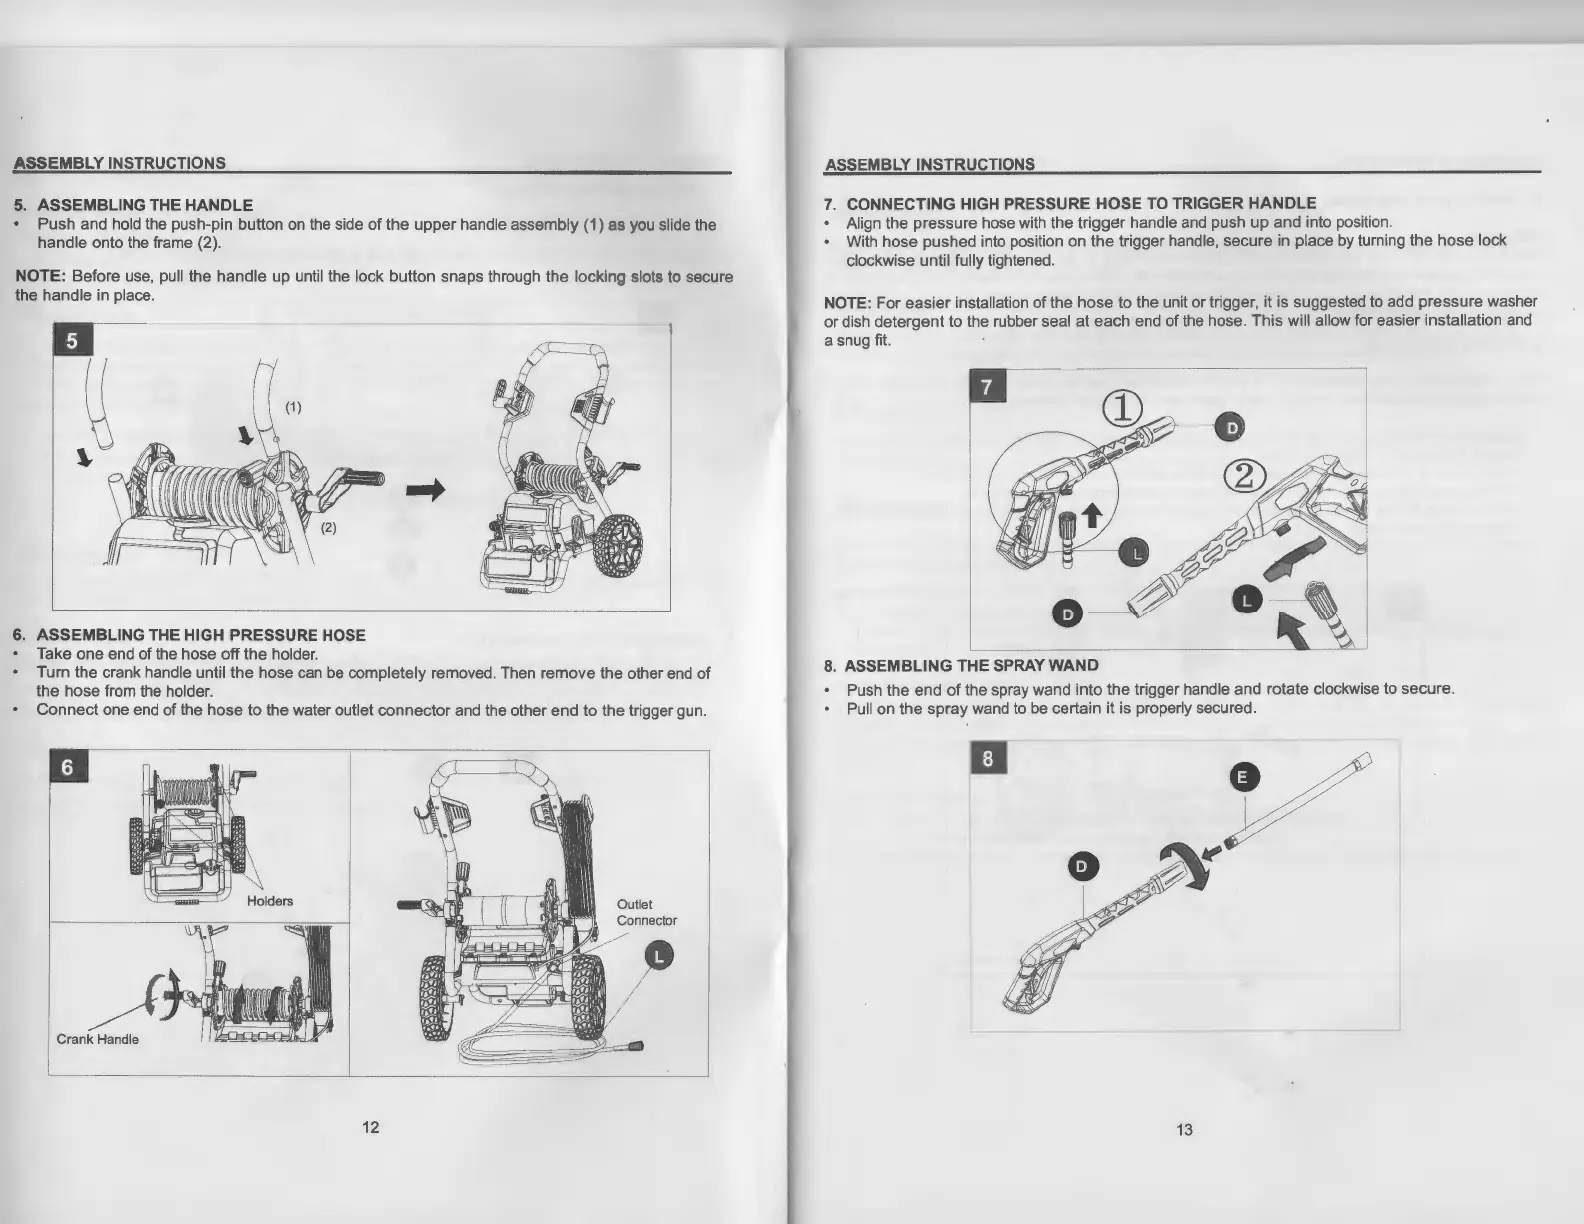
ASSEMBUNGTHEHANDLE
Push and hold the push-pin button
on
the side
of
the
upper handle assembly (1) os
you
slide the
handle onto the frame (2).
NOTE: Before use, pull the handle up until the lock button snaps through the locking slots
to
secure
the handle
in
place.
~
~
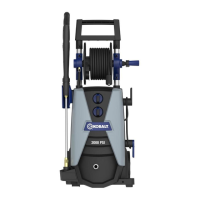
6.
ASSEMBLING
THE
HIGH PRESSURE HOSE
Take one end of the hose
off
the holder.
...
Turn the crank handle until
the
hose
can
be
completely removed. Then remove the other end
of
the hose from the holder.
•
Connect
one end of the hose
to
the water outlet connector and the other end
to
the trigger gun.
Crank Handle
12
ASSEMBLY INSTRUCTIONS
7.
CONNECTING HIGH PRESSURE HOSE
TO
TRIGGER HANDLE
Align the pressure hose with the trigger handle and push up and into position.
With hose pushed into position on
the
trigger handle, secure in place
by
turning the hose lock
clockwise until fully tightened .
NOTE:
For easier installation of the hose to the unit or trigger, it is suggested
to
add pressure washer
or dish detergent to the rubber seal at each end of the hose. This will allow for easier installation and
a snug fit.
G
~
~
w
e~
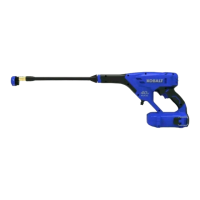
8.
ASSEMBLING THE
SPRAY
WAND
Push the end
of
the spray wand into the trigger handle and rotate clockwise to secure.
Pull on the spray wand
to
be
certain it is properly secured.
I
13