23
14
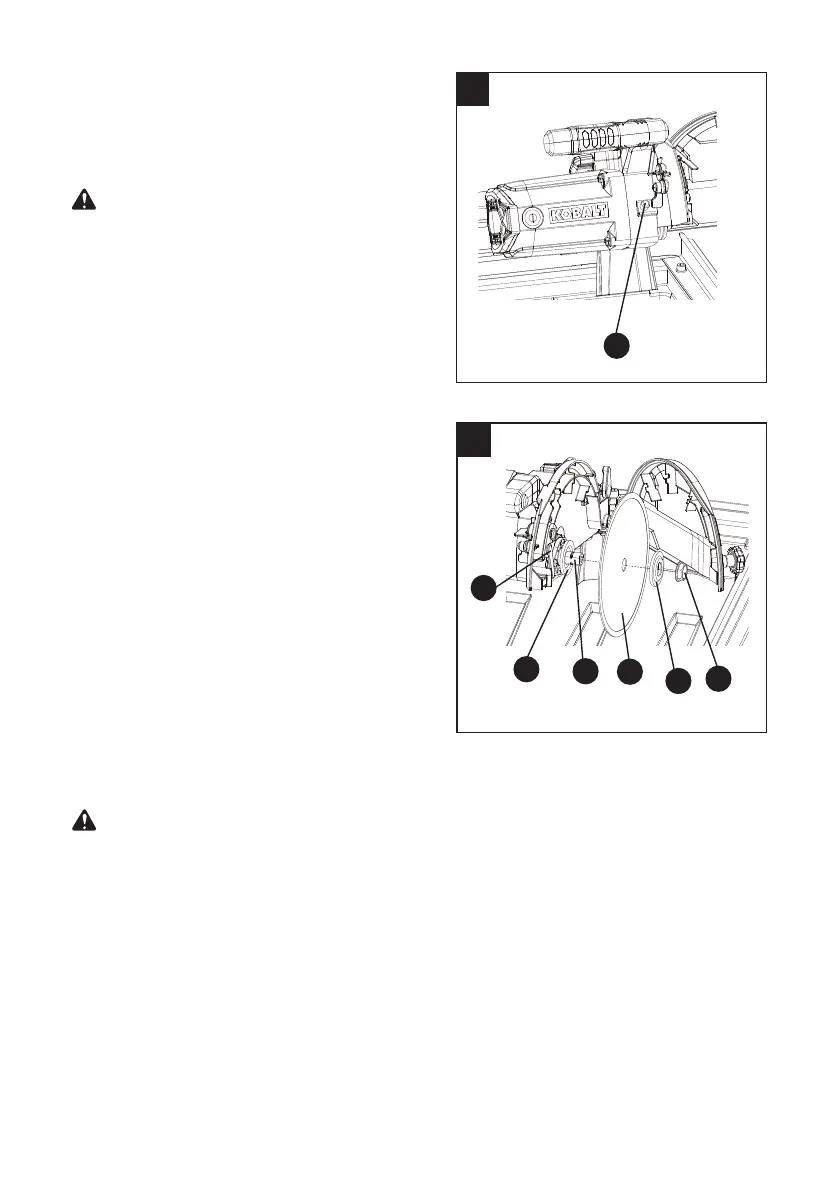
● Press the arbor lock button (R - Fig. 14), holding
it in rmly while turning the wheel wrench
counterclockwise to loosen.
● Remove the arbor nut (MM) and outer wheel
ange (1). Do not remove the inner wheel
ange (2). (Fig. 15)
WARNING: If the inner ange (2) has been
removed, replace it before placing wheel on
arbor. Failure to do so could cause an accident
since the wheel will not tighten properly. Never
use a wheel that has openings, grooves, or
teeth on this tool.
● Place the 7 in. cutting wheel (E) on the
arbor (3) with the wheel ts ush against
the inner ange (2) and the rotation arrow is
pointing in the correct direction. Make sure the
cutting wheel is installed between the two water
nozzles (OO).
NOTICE: Two water nozzles (OO) come
installed on this product. The hole in each
nozzle should face the cutting wheel.
● Replace the outer wheel ange (1) against the
wheel and on the arbor. Make sure the wheel
ts ush against the inner wheel ange and the
outer wheel ange, and the rotation arrow is
pointing in the correct direction and matches the
arrow on the outside of the upper guard.
● Replace the arbor nut (MM) on the arbor and
place the wheel wrench (MM) on the arbor nut.
Press the arbor lock button (R - Fig. 14), holding
it in rmly while turning the wheel wrench
clockwise to tighten.
● Close the upper wheel guard (LL) and tighten
the wheel guard lock knob (JJ). (Fig. 13)
15
Do not remove
inner ange
R
3
2
1
E
OO
MM
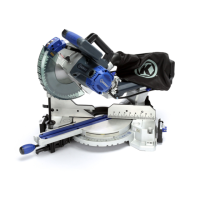
REMOVING THE TILE CUTTING WHEEL (FIG. 13, 14, 15)
WARNING: To avoid injury from an accidental start, make sure the switch is in the OFF
position and the plug is not connected to the power source outlet.
● Disconnect the saw from the power source.
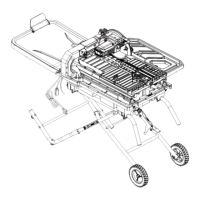
● Move the sliding table to the front of the saw.
● Loosen the cutting head lock knob (DD) and then pull out the hold-down latch (FF) to raise the
cutting head assembly to its upmost position. Release the hold-down latch (FF) and tighten
the cutting head lock knob (DD). (Fig. 13)
● Loosen the wheel guard lock knob (JJ) and open the upper wheel guard (LL).
● Place the wheel wrench (NN) on the arbor nut (LL).
● Press the arbor lock button (R - Fig. 14), holding it in rmly while turning the wheel wrench
counterclockwise to loosen.
● Remove the arbor nut (MM), outer wheel ange (1) and cutting wheel (E). Do not remove the
inner wheel ange (2). (Fig. 15)
 Loading...