Do you have a question about the KOCOM KVM-624 and is the answer not in the manual?
Explains symbols used for warnings, cautions, and instructions for safe operation.
Instructions on safe product disposal to prevent fire and explosion hazards.
Safety guidelines for product installation to prevent electric shock and fire.
Safety guidelines for operating the product correctly to prevent injury.
Safety advice for product maintenance and repairs to avoid hazards.
Avoid humid places, dust, chemicals, and direct sunlight to prevent damage.
Safe handling practices and precautions during product use to prevent electric shock.
Procedures for responding to equipment malfunctions or abnormal conditions safely.
Keep away from humidity, heat, and strong magnetic fields for optimal performance.
Avoid dropping the device and protect it from impact or volatile substances.
Instructions for cleaning and a warning against attempting to disassemble the unit.
Install away from direct light, rain, and ensure wall stability for secure mounting.
Manage temperature differences to prevent condensation and potential breakdown.
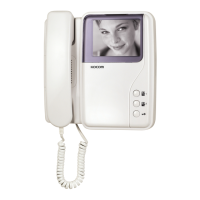
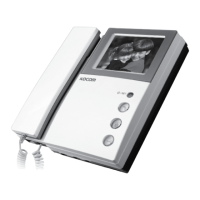
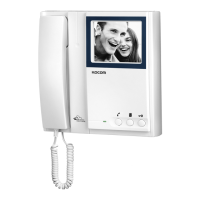
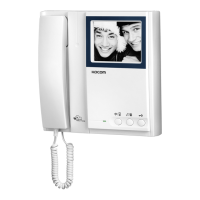
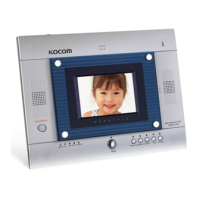
Identifies key components and controls of the monitor and door camera units.
Step-by-step guide on how to communicate with and identify visitors.
How to check the door view without lifting the handset.
Instructions for automatically opening the door after communication.
Illustrates wiring connections between monitors and cameras.
Important warnings regarding wiring practices to avoid noise and interference.
Describes basic installation methods for the monitor on a wall.
Details for surface-mounting the KC-D33 and flush-mounting the KC-MB20 cameras.
Guidelines for optimal door camera height for effective viewing.
This document describes the KOCOM KVM-624 Video Doorphone, a system designed for home security and communication. It provides detailed information on its functions, technical specifications, usage, and maintenance.
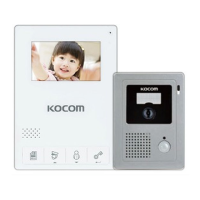
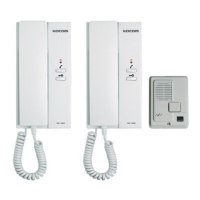
The KOCOM KVM-624 Video Doorphone serves as a communication and security device for residential use. It allows users to identify visitors, communicate with them, and even open the door remotely if an automatic door opener is installed. The system comprises a monitor (KVM-624) and one or more door cameras (KC-D33 or KC-MB20).
Visitor Identification and Communication: When a visitor presses the call button on the door camera, the monitor's screen automatically turns on, displaying the visitor's image, and a call signal rings. The user can then pick up the handset to communicate with the visitor. The screen remains on for 3-4 minutes during communication or until the handset is replaced. If communication continues for more than 3-4 minutes, the monitor screen will turn off automatically.
Checking Out Door Side: Users can proactively check the outdoor area by pressing a camera button on the monitor. This action turns on the screen automatically, displaying the outdoor view for approximately 3-5 seconds before turning off.
Identifying Visitors Without Handset: The system allows for visitor identification without needing to pick up the handset. When the call button on the door camera is pressed, the monitor screen turns on automatically, displaying the visitor's image for about 30 seconds, enabling easy identification.
Automatic Door Opening: For enhanced convenience, the doorphone can be integrated with an automatic DC door lock. After communicating with a visitor, pressing the "Door Key" button on the monitor will automatically open the door. This feature requires the prior installation and connection of a compatible automatic DC door lock.
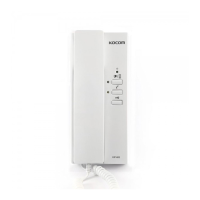
Monitor Controls: The KVM-624 monitor features a 4-inch flat monitor for clear viewing. It includes "Camera1" and "Camera2" buttons to view visitors from respective cameras without lifting the handset. A "Door Key" button facilitates automatic door opening. A "Brightness Control Knob" allows adjustment of the monitor screen's brightness, and a "Call Signal Volume Control Knob" manages the volume of the incoming call signal. The handset is used for two-way communication.
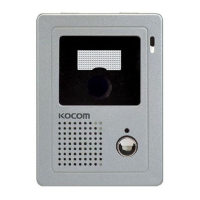
Door Camera Features: The door cameras (KC-D33 and KC-MB20) are equipped with a pinhole lens camera for capturing images, a C-Mic for audio input, and a speaker for audio output. A "Call Button" is present for visitors to initiate a call to the house. A "Power Lamp" indicates the ON/OFF status of the camera.
Monitor (KVM-624):
Camera (KC-D33 - Outdoor/Door):
Camera (KC-MB20 - Mini Metal Pinhole Camera):
Door Opener: DC 8V~12V.
Installation Precautions:
Operation Guidelines:
General Maintenance:
Troubleshooting (Cautions for Abnormality):
Warranty: KOCOM provides a one-year free repair warranty from the date of purchase for product defects under proper use. However, the warranty does not cover breakdowns due to:
For after-sale service, users should have the product name, model number, problem description, and contact information ready.
| Brand | KOCOM |
|---|---|
| Model | KVM-624 |
| Category | Intercom System |
| Language | English |