Subjects of great contrast with very bright as well as very dark
areas call for separate close-up readings. Here you measure the
light first of the bright and then of the dark parts independently,
noting the apertures obtained in each case, and finally set the
aperture scale (with the exposure wheel) to an in-between value.
The meter needle will of course in this case no longer be lined up
with its setting index.
Incident light readings are most reliable for colour film, and have the
advantage that they need very little correction for the subject itself.
To take such readings first fit the diffusing screen supplied with the
camera over the exposure meter cell. Then point the camera with
the meter from the subject towards the camera position to be used
for the exposure.
Using an Exposure Meter
To get the best results an exposure meter has to be used intelligently. This may look like a contradiction, since
we have already said that it is an accurate light measuring instrument. But light from all parts of the subject --
highlights, shadows and middle tones -- falls on the meter, so the reading it gives us is an average one for the
whole subject area.
Meters are scaled to suit typically average subjects -- i.e. subjects with average areas of light, dark and middle
tones. So if you point the meter at a subject of this kind, the exposure reading will be correct.
But if the subject is not average -- if there are large highlight areas and little shadow, or large shadow areas
with few highlights -- then you have to modify the exposure reading to obtain the best results.
So there is more to using a meter than just pointing it at the subject and accepting the reading without
question.
Reflected Light Readings
The usual method of using a meter is to point it directly at the subject. This gives the correct exposure reading
provided the subject has an average mixture of highlights, shadows and middle tones. But if there is a large
bright area, or a large dark area, the best method is to go near to the main subject and take a close-up reading.
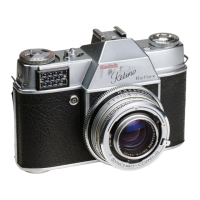
For example, if the subject is a figure against a white or dark background, by going closer you will reduce the
amount of background affecting the meter and therefore get a reading in terms of a more average subject,
which is what you want.
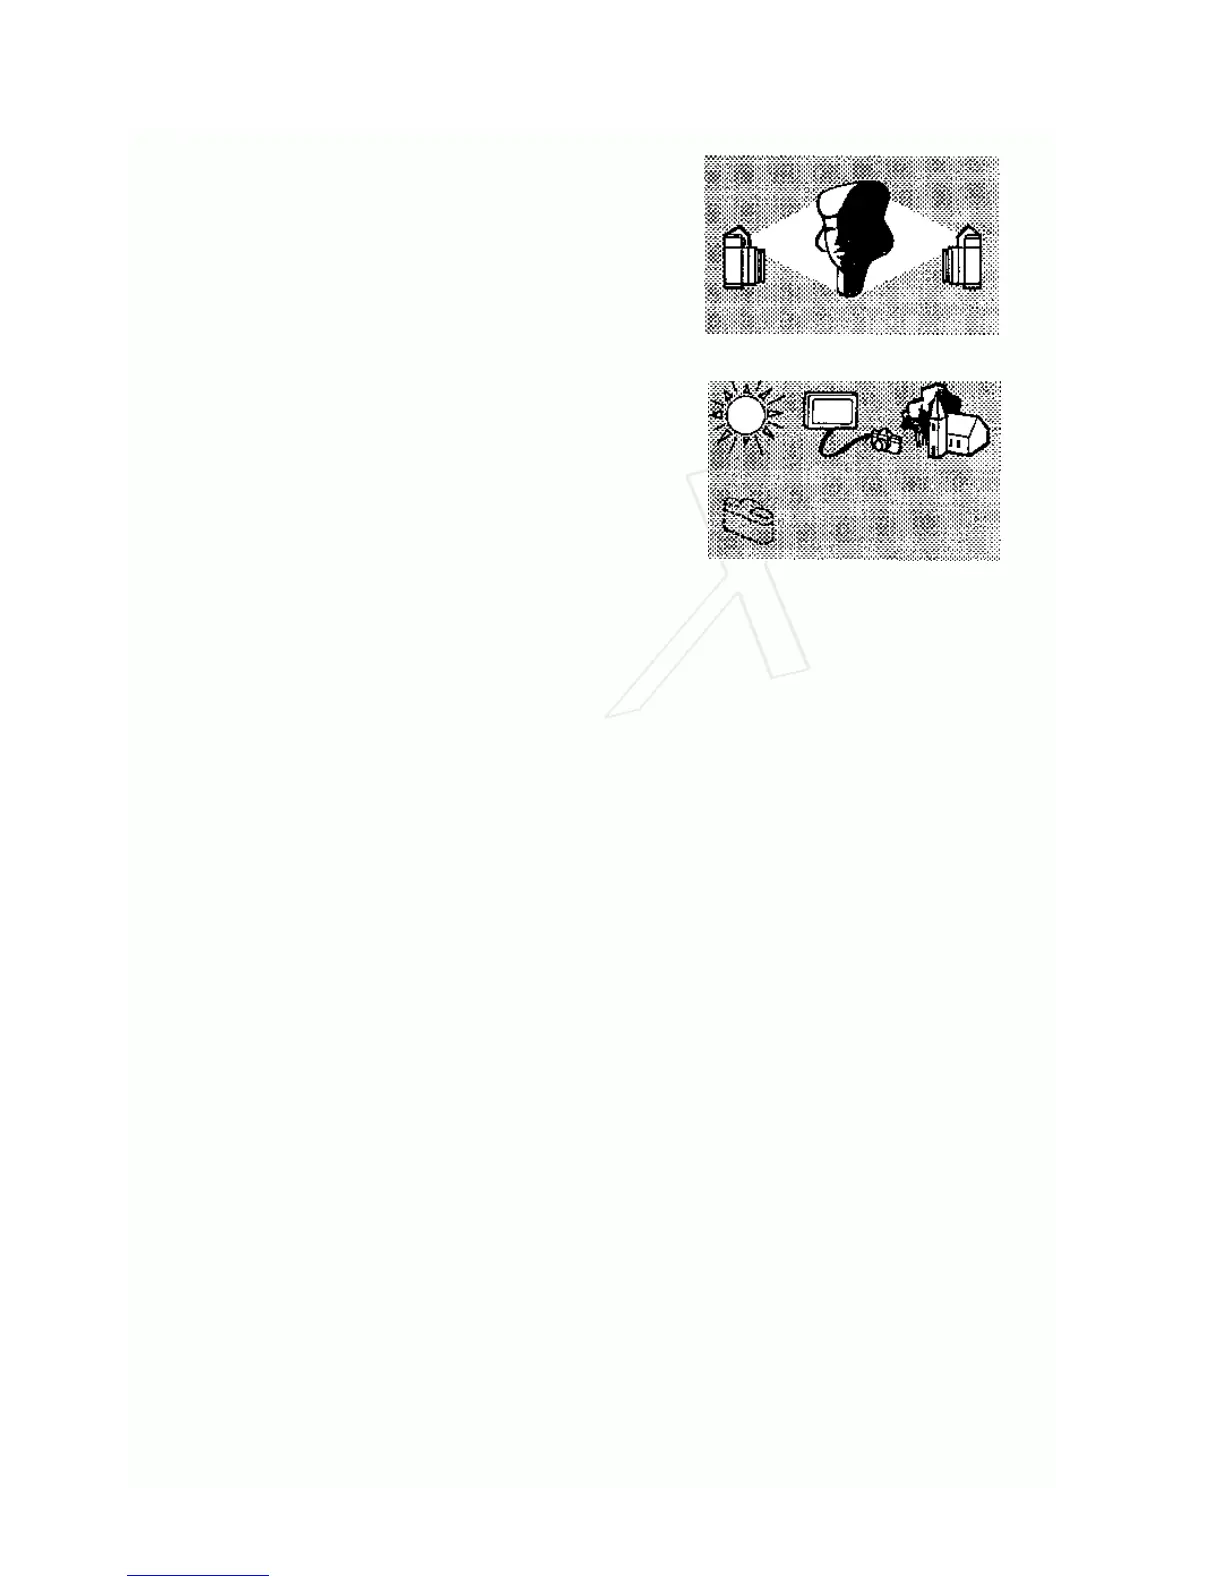
For some subjects you can take a reading from really close up, aiming the meter at the part of the subject that
you want to make sure has optimum exposure. For instance, many photographers take a close-up reading of the
sitter's face in portraiture; out-of-doors you can take the reading from the back of your hand instead of going up
to the subject.
If you cannot go close up to a subject that needs a close-up reading, then try to find something near at hand
that is similar in tone to the subject, and take a reading from this.
When taking readings of general scenes including a good deal of sky, you have to tilt the meter down slightly to
reduce the area of sky "seen" by the meter. The sky is a bright highlight, and by tipping the meter down to
exclude some of it, the subject becomes "average" in tone range.
Open views, such as distant landscapes, usually have very light shadows, so you can give a shorter exposure
than the meter indicates. It is usual to give half the exposure -- i.e. use double the shutter speed, or use one
stop smaller.
INCIDENT LIGHT MEASUREMENT. Another method of assessing exposure is to measure the strength of the light
falling on the subject instead of that reflected by it. But if you point the meter straight at the light you get a
much higher reading than if you point it at the subject. So the light has to be cut down for the meter to indicate
the correct exposure. This is done by fitting a white diffuser supplied with the meter over the honeycomb cell.
The diffuser is designed to reduce the light by just the right amount. It also serves another important purpose,
and this is to ensure that the meter includes all the light falling on the subject over an angle of almost a full
180°.
 Loading...