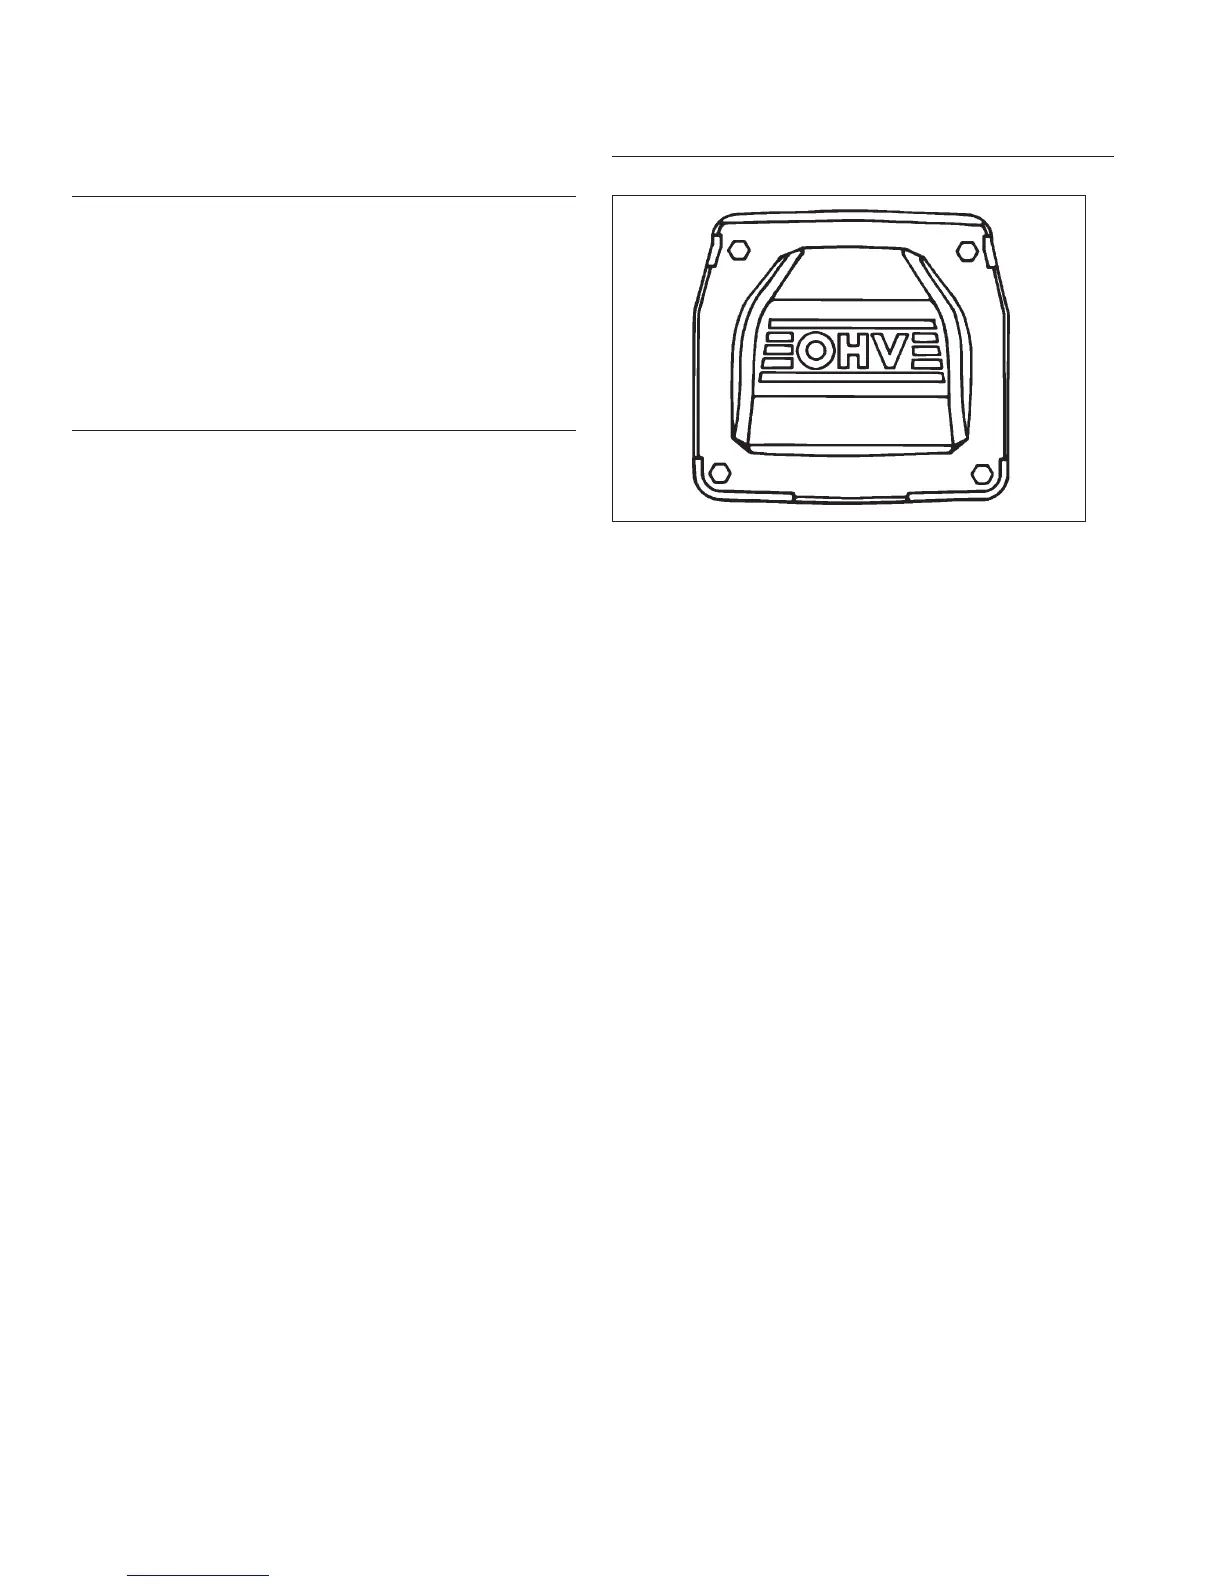
Install Valve Covers
Torque Sequence
1
2
3
4
1. Make sure sealing surfaces are clean.
2. Make sure there are no nicks or burrs on sealing
surfaces.
3. Install a new O-ring in groove of each cover.
4. Position covers on cylinder heads including any
clips, lifting straps, or brackets that were present
prior to disassembly. Install screws in each cover
and fi nger tighten.
5. Torque valve cover fasteners to 6.2 N·m (55 in. lb.)
using sequence shown.
6. Carefully position breather cover on crankcase.
Install screws at locations 3 and 4 shown and fi nger
tighten at this time.
7. Install inner baffl es using 2 remaining screws and
fi nger tighten. Do not torque screws at this time;
they will be tightened after blower housing and outer
baffl es are installed.
Install Manifold Absolute Pressure (MAP) Sensor or
Temperature/Manifold Absolute Pressure (TMAP)
Sensor (ECH EFI)
NOTE: Ensure all parts are clean, undamaged and free
of debris and make sure electrical connector has
seal in place.
1. Lightly oil MAP or TMAP sensor O-ring and push
sensor into bore in intake manifold.
2. Torque screw to 7.3 N·m (65 in. lb.).
3. Push electrical connector on MAP or TMAP sensor
making sure a good connection is made.
Install Crankshaft Position Sensor
NOTE: Ensure all parts are clean, undamaged and free
of debris and make sure electrical connectors
have seal in place.
NOTE: On engines with earlier design bracket, an air
gap must be set when installing. Later design
brackets require no adjustment.
1. Install crankshaft position sensor and bracket
assembly to crankcase posts.
2. On engines with earlier design bracket, snug screws
and check air gap of sensor with a feeler gauge. It
must be 0.20-0.70 mm (0.008-0.027 in.). Torque
bracket screws to crankcase to 8.3 N·m (73 in. lb.).
On engines with later design bracket, secure bracket
assembly to crankcase posts. Torque bracket screws
to crankcase to 7.3 N·m (65 in. lb.).
3. Push electrical connector on crankshaft position
sensor making sure a good connection is made.
Reassembly
130 24 690 01 Rev. KKohlerEngines.com