129
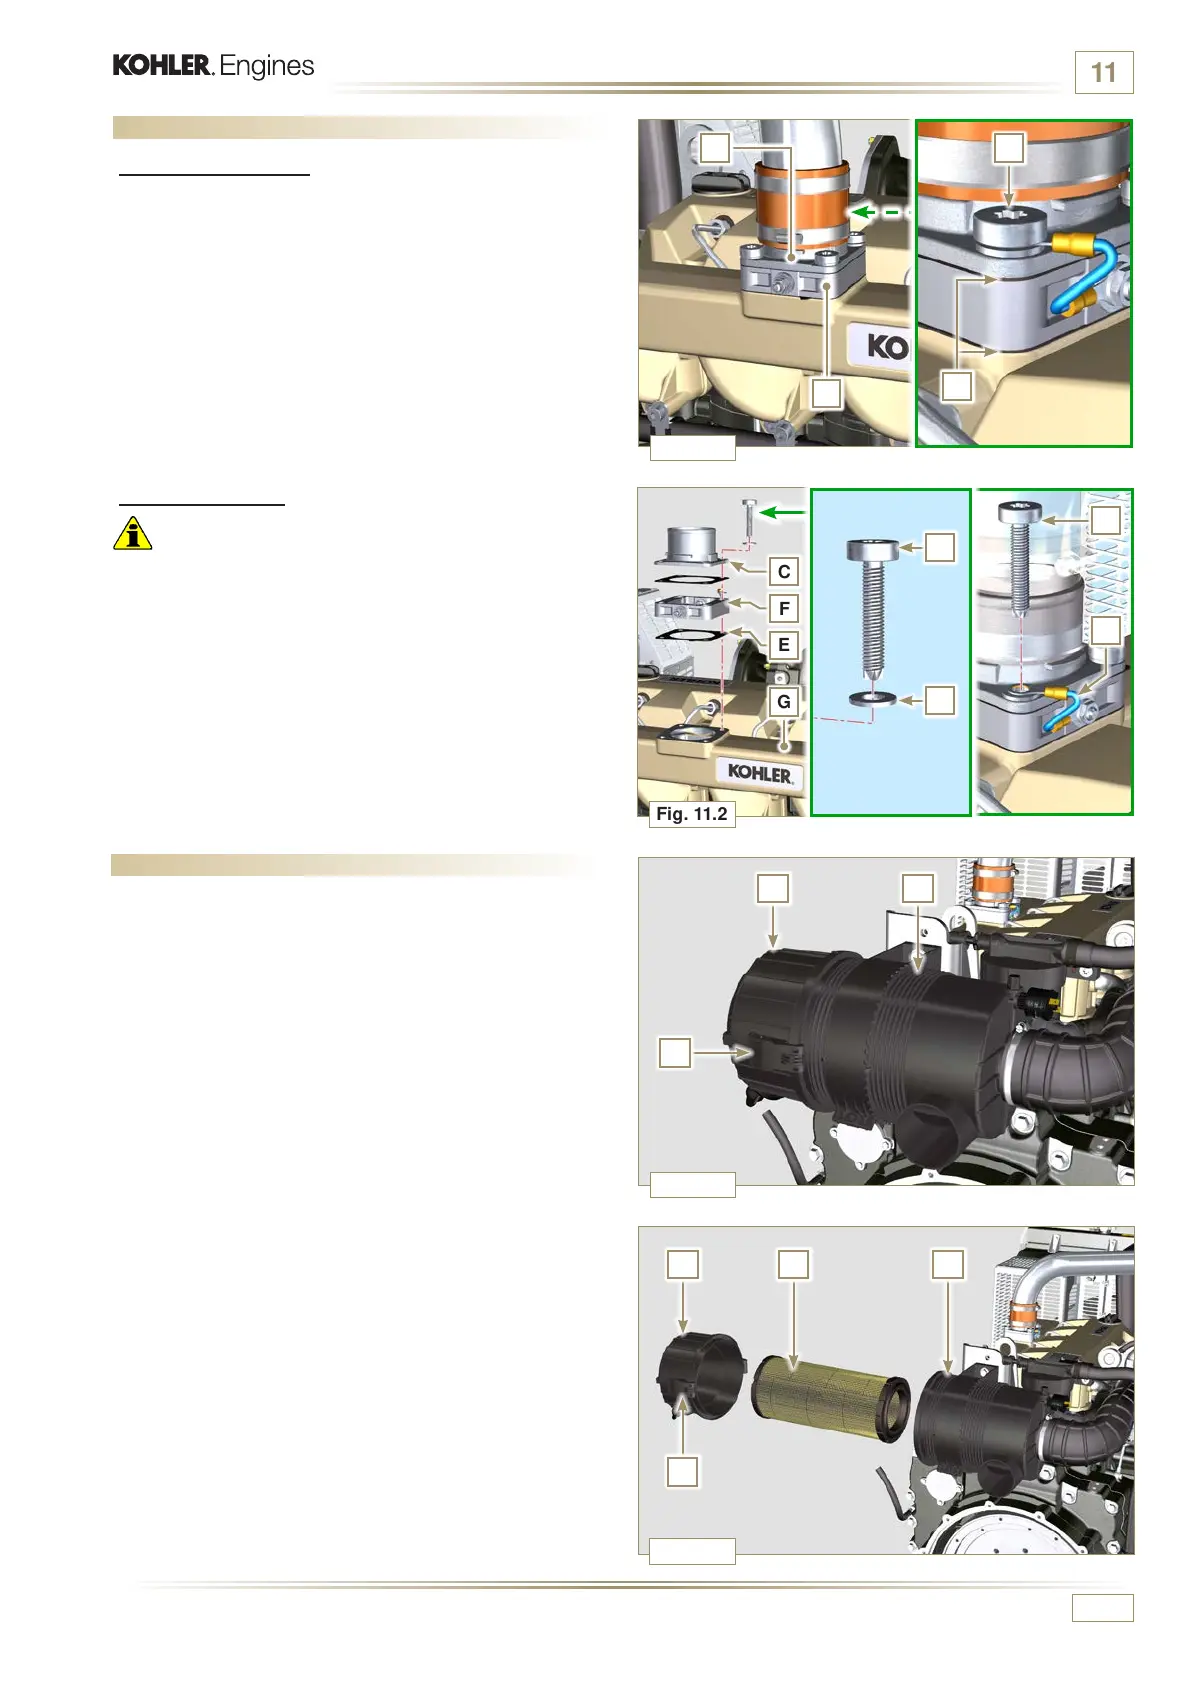
Fig. 11.1
Fig. 11.2
AC
F
E
C
G
F
E
A
H
B
A
C
D CB
A
A
B
Fig. 11.3
Fig. 11.4
ED0053030410
INFORMATION ABOUT OPTIONAL COMPONENTS
11.1 Heater (replacement)
11.1.1 Disassembly
1 - Undo the screws A and the relevant washers.
2 - Remove the flange C.
3 - Remove the heater E and the relevant gaskets F.
11.1.2 Assembly
Important
• Always replace gaskets F, with each assembly.
1 - In sequence, fit the manifold G with the gasket F, the new
heater E, the second gasket F, the flange C, the washers
H, the cable B and the screws A.
2 - Secure the flange C with the screws A (tightening torque at
22Nm).
11.2 Air lter (cartridge replacement)
1 -
Release the two hooks A and remove the cover B from the
body C.
2 -
Remove the cartridges D.
3 - Insert the new cartridge D and both of them inside the
filter body C.
4 -
Secure the cover B via the hooks A.

 Loading...


