Manual EDU 2AE/TOP and EDU 2AE/TOP/TA Rev. 3 Page 11
3) Password ON: When YES, you will be asked for the password to enter the menu. Otherwise select NO.
ATTENTION: Password is only asked to enter the menu the first time after switching the unit on.
The default password is: 0000.
4) ESC-OK-RST: Press ESC in case of error. Press OK at the end of a program or to reset a sequence or a
program (see point 7: Reset).
When INT, the operator must press the required key on the front panel.
When EXT, functions can only be enabled through proper connections on the back panel (see paragraph I/O
connections).
When INT+EXT you can press either he button on the front or on the back panel.
5) Unit: You can choose between the following units of measurements: Nm, in.lbs and kgf.cm
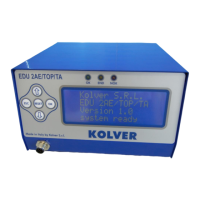
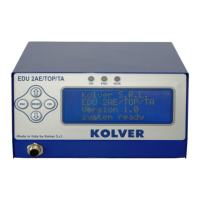
6) Versions: in this screen you can see the versions of boards mounted inside the unit.
7) Set time & date: to set time and date on the control unit.
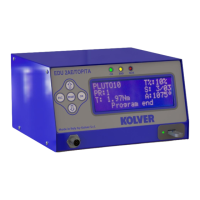
8) Cycles - Total number of cycles: It shows the number of tightened and loosened screws. This number
can’t be modified.
TORQUE CALIBRATION
Please read the instructions carefully and equip a torque tester to proceed.
The torque calibration function allows to view the torque value in Nm or in.lbs or kgf.cm directly on the
display.
ATTENTION: The displayed torque level is approximate and it’s determined by mathematical calculations.
The smaller the calibration interval the more precise the value on the screen.
IMPORTANT WARNINGS:
Calibration values will be referred to the parameters of the control unit which are set during
calibration. If you modify speed or type of joint, the unit will need to be recalibrated.
During calibration when a screwing isn’t carried out correctly or if you’re not sure of the value it’s
possible to repeat it. A wrong screwing can affect the precision of the calibration.
Calibration is carried out for two torque levels optionally chosen. The minimum calibration interval
is 5% (example: if I have to work at 30%, I can calibrate at 25% and 35%) but we recommend a
minimum of 10% interval.
Torque percentages which are higher than the maximum one set during the calibration will be
analyzed and displayed anyway. They will be theorized by the system and they won’t be based on
effective data, therefore the analysis won’t be precise.
During the calibration it’s impossible to go back to the previous screen. Press ESC to stop
calibration and then repeat the screwings.
CALIBRATION PROCESS:
1. Select Calibration at point 17 of the menu and press OK.
2. The following screen will appear on the display:
 Loading...