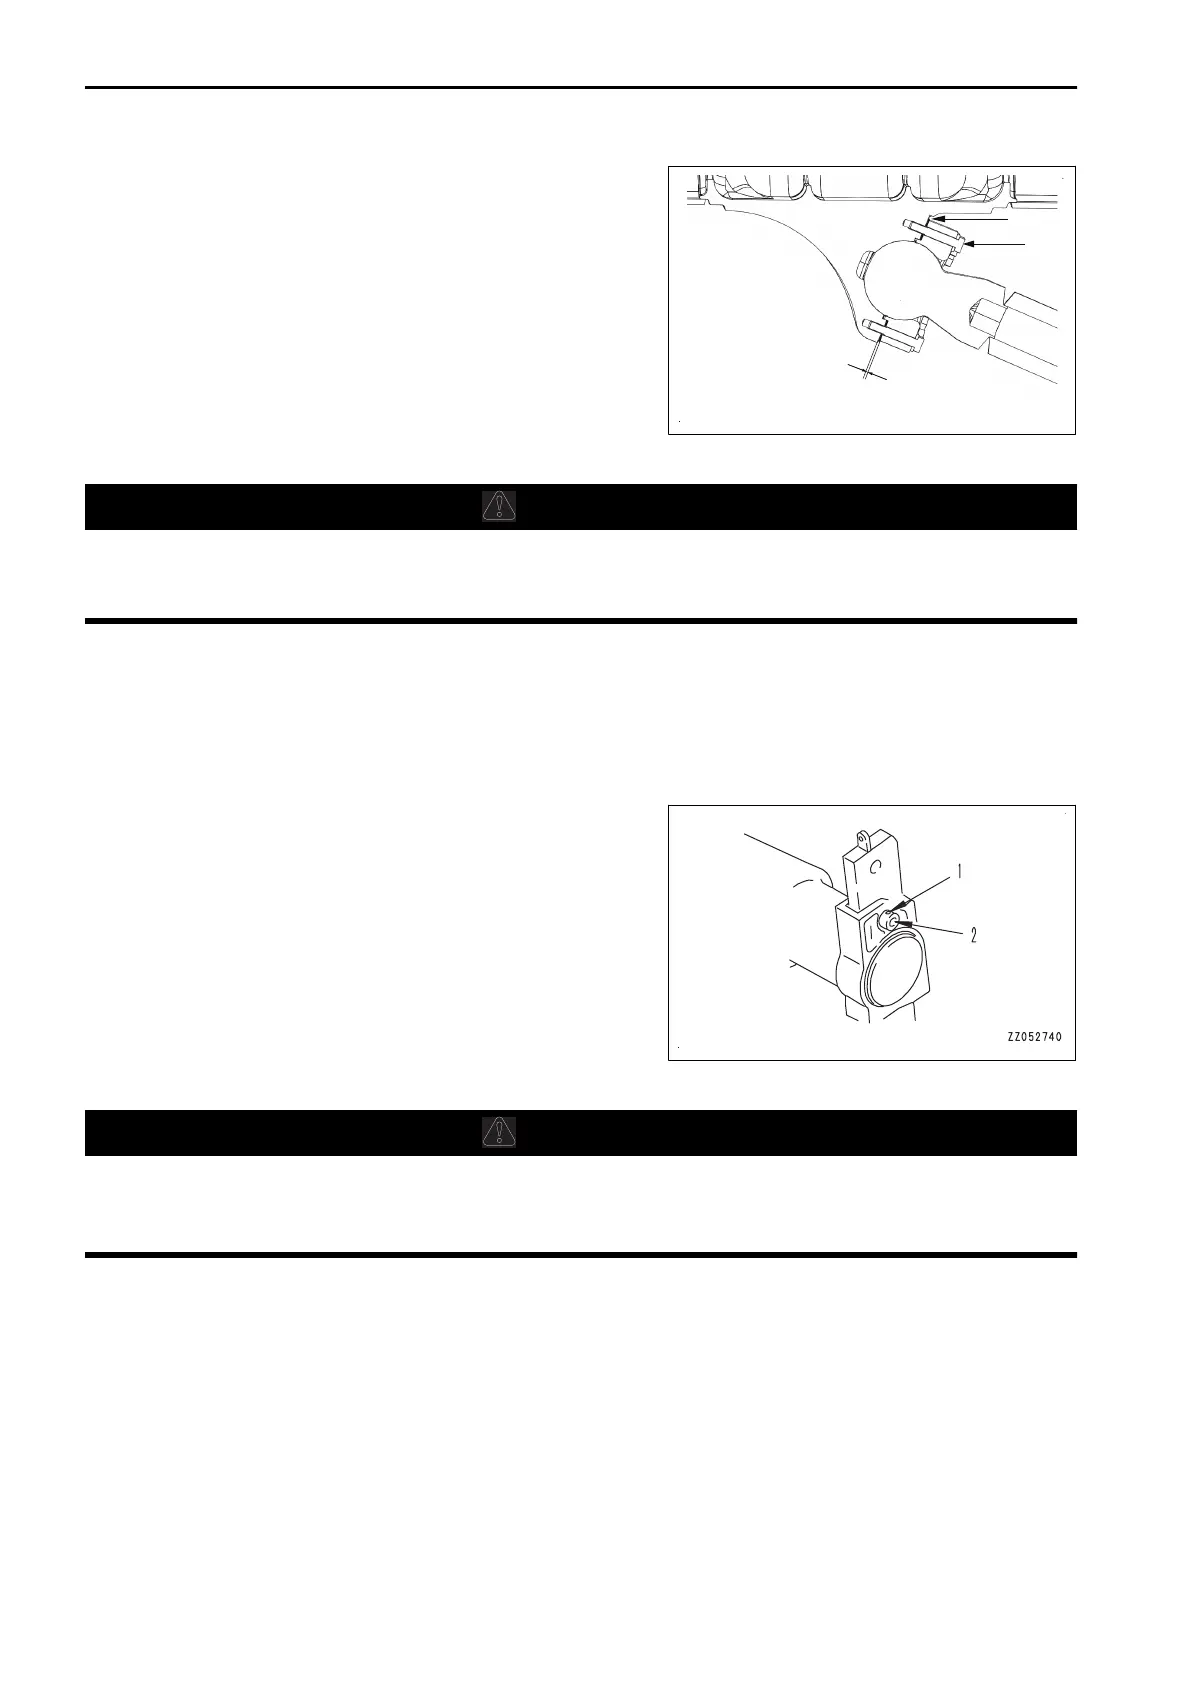
1.
Remove shim (1) and tighten bolt (2).
T
ighten until the play in the ball joint is eliminated.
2.
Measure clearance (A) and remove bolt (2).
3.
Adjust thickness of shim (1) to (A) +0 to 1 mm.
4.
Tighten bolt (2).
5.
Check that the ball moves smoothly while the bolt is tight-
ened.
METHOD FOR ADJUSTING RIPPER
WARNING
It is dangerous if the work equipment moves by mistake when the ripper is adjusted. Set the work
equipment
in a stable condition, stop the engine and set the work equipment lock lever securely to
LOCK position.
ADJUST DIGGING DEPTH
There are mounting pin holes on the shank. Use either of them according to the digging depth. Use the lower
hole for the ordinary digging, and use the upper one for deep digging.
When changing the digging depth, see “METHOD FOR OPERATING PIN PULLER”.
(when the multi-shank ripper is installed)
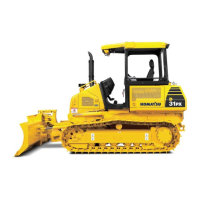
1.
Put a pointed rod to the pin (1) and drive it out to the oppo-
site side by hitting with a hammer
.
2.
Pull out the pin (2) and change the position of the shank
hole.
3.
Insert the pin (1) half way by hand, then drive it in with a
hammer.
Since the pin is made of one piece, insert the pin half way
by hand first, then drive and hit it with a hammer.
METHOD FOR REPLACING POINT AND PROTECTOR
WARNING
• For safety, do not drive out the point directly with a hammer.
• Just
after ripping work is finished, the point and protector are very hot. To avoid burn injury, wait
until the point and protector are cooled, and then start the work.
For protection of the shank, replace the point and protector installed to the end when they are worn.
MACHINE OPERATIONS AND CONTROLS OPERATION
3-204




 To Next Page