6
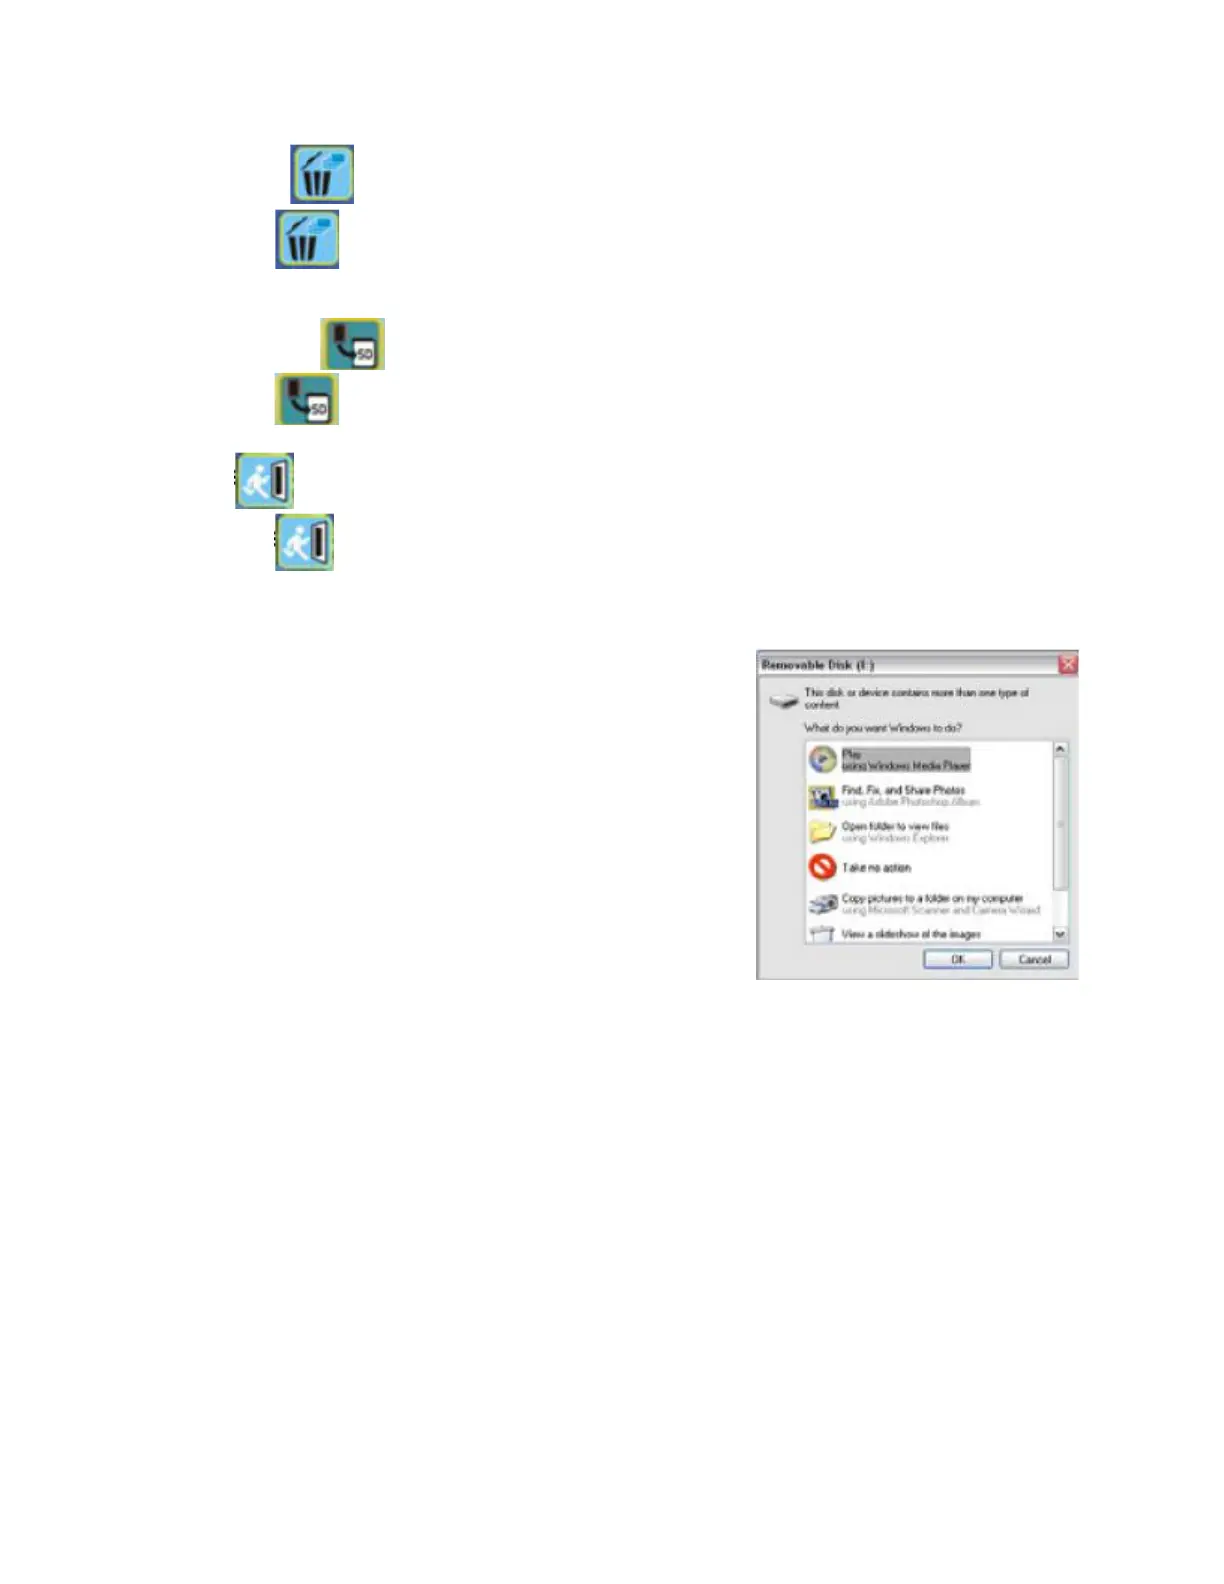
• Delete All
Select the icon will delete all the stored images from the internal memory or SD card.
Files that are erased cannot be recovered. Make sure you select the image you want to delete.
• Copy to card
Select the icon, and press Start button to confirm, copy all images into SD card.
• Exit
Select the icon, and press Start button to confirm, then you will back the playback.
Images Download to PC
For Windows 98/ME customers:
When connected the scanner to the computer with the USB
cable, the “USB Mass Storage driver” appears on the
computer screen.
For Windows XP:
A dialogue box with options appears as shown on the Right
side. The options are Play, Find/Fix/Share Images. Open
folders to View files / Take no action, / Copy images to a folder
on my computer / View a slide show of image and etc. Please
select one of them and click on “OK”.
For Windows 2000/ME/98:
Double click on “My computer”, and then double click on
Removable Disk (i:) in the DCIM files. (All the photos and
videos are stored here)
Using the microscope in PC-CAM mode
NOTE: Please install microscope drive before you can use the microscope in PC-CAM.
Setting Up PC-CAM
1. Turn the microscope power on and press the Function mode to select the setup the setup
function. Press the OK button to confirm. Press the right button to select USB Connection
items, select the PC CAM. Press OK button to confirm.
2. Connect the microscope and the computer use the USB cable.
3. There are many methods to view your image in PC-CAM mode if you have Video software.
For example: Double click “My computer” (or “Computer” in Windows Vista), then click the
“standard camera”, you can live view in PC-CAM mode now.


 To Next Page
 Loading...