3
Add to the SYSTEM: “DiskUtil” tab page
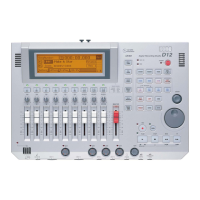
(→D1600, D12; p.79)
4. SelOperation.......[EjectRMD, CheckDrive, Initialize,
Format, LoadSystem, Format/DOS, EraseCD-RW]
Format/DOS: Execute DOS formatting (FAT) on an external
SCSI device.
If you DOS-format a drive that is larger than 4 GB, the
capacity will be a maximum of 4 GB.
When you execute “Format/DOS,” all data on that
drive will be lost.
It is not possible to execute Format/DOS on the drive of
the currently selected song.
5. Exec. ......................................................................
Execute DOS formatting.
5a
5a. Quick SW ......................................... [On, Off]
Select the DOS format type.
On: Select this if the media has already been physically
formatted. Since only the system area need be initialized,
this will not require much time.
Off: Select this when formatting media that has not been
physically formatted.
If “Quick” is turned “Off,” a certain amount of time
will be required for DOS formatting. Executing
Format/DOS on a 100 MB Zip disk with “Quick”
turned “Off” will take approximately 10 minutes.
EraseCD-RW:
Data written to CD-RW media will be erased. If the data has
been erased in this way, the entire capacity of the disc will be
available once again as blank media.
When you execute “EraseCD-RW,” all data on that
media will be erased.
It is not possible to execute “EraseCD-RW” on a drive
other than CD-RW.
5. Exec .......................................................................
Execute erasure of a CD-RW.
5a
5a. Quick SW ......................................... [On/Off]
Select how the CD-RW will be erased.
On: High-speed erasure will be performed on the entire
CD-RW media. Since only track-information data will be
erased, this allows the disc to be erased quickly. This will
not affect rewriting. Normally you will select this setting.
Off: The entire CD-RW media will be erased. All the
written contents will be lost.
○○○○○○○○○○○○○○○○○○○○○○○○○○○○
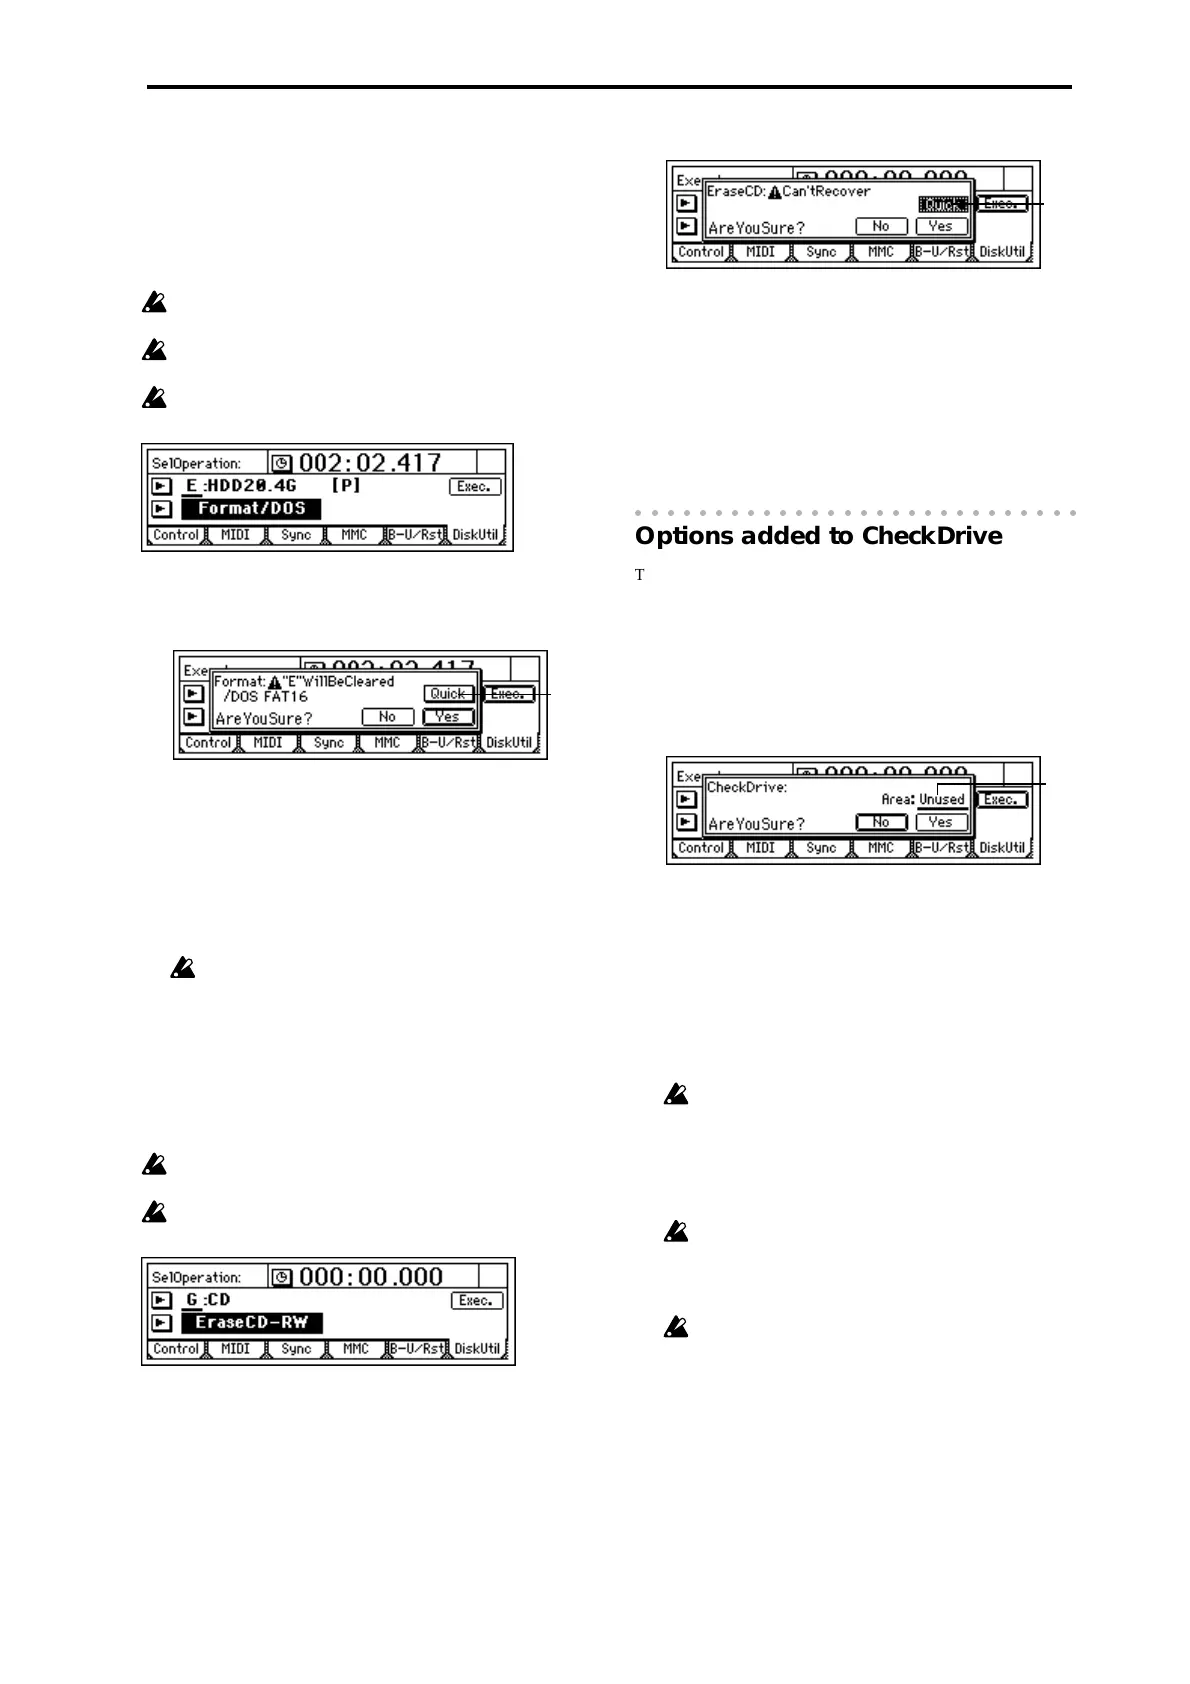
Options added to CheckDrive
The Disk utility “CheckDrive” now allows you to choose
from three types: “Full” which checks the entire area,
“CurSng” which checks the currently selected song, and
“Unused” which checks the area available for further
recording.
Change “CheckDrive” in the “DiskUtil” tab page
(’D1600; p.80, D12; p.79)
5a
5a. Area ............................. [Unused, Full, CurSng]
Specify the area that will be checked by the CheckDrive
operation.
Unused: Check and repair the 2 GB of unused area that
will be used next.
Full: Check and repair the entire area.
CurSng: Check and repair the area used by the currently
selected single song.
The CheckDrive command requires a certain
amount of time. If the “Area” is set to “Full,”
approximately the following times will be required
(when using the internal hard disk drive).
6.0 GB: approximately 100 minutes
20 GB: approximately 240 minutes
If the “Disk Busy” message appears even after
CheckDrive has been executed, you will need to
execute the [TRACK] “EditTrk” tab page command
“Optimize Track” to optimize the track data.
Sometimes, ultra-low-frequency sounds such as
occurring in a studio may cause “DiskBusy” errors.
 Loading...