CREATING SOUNDS
@I
Use the NUMBER keys to select the program number
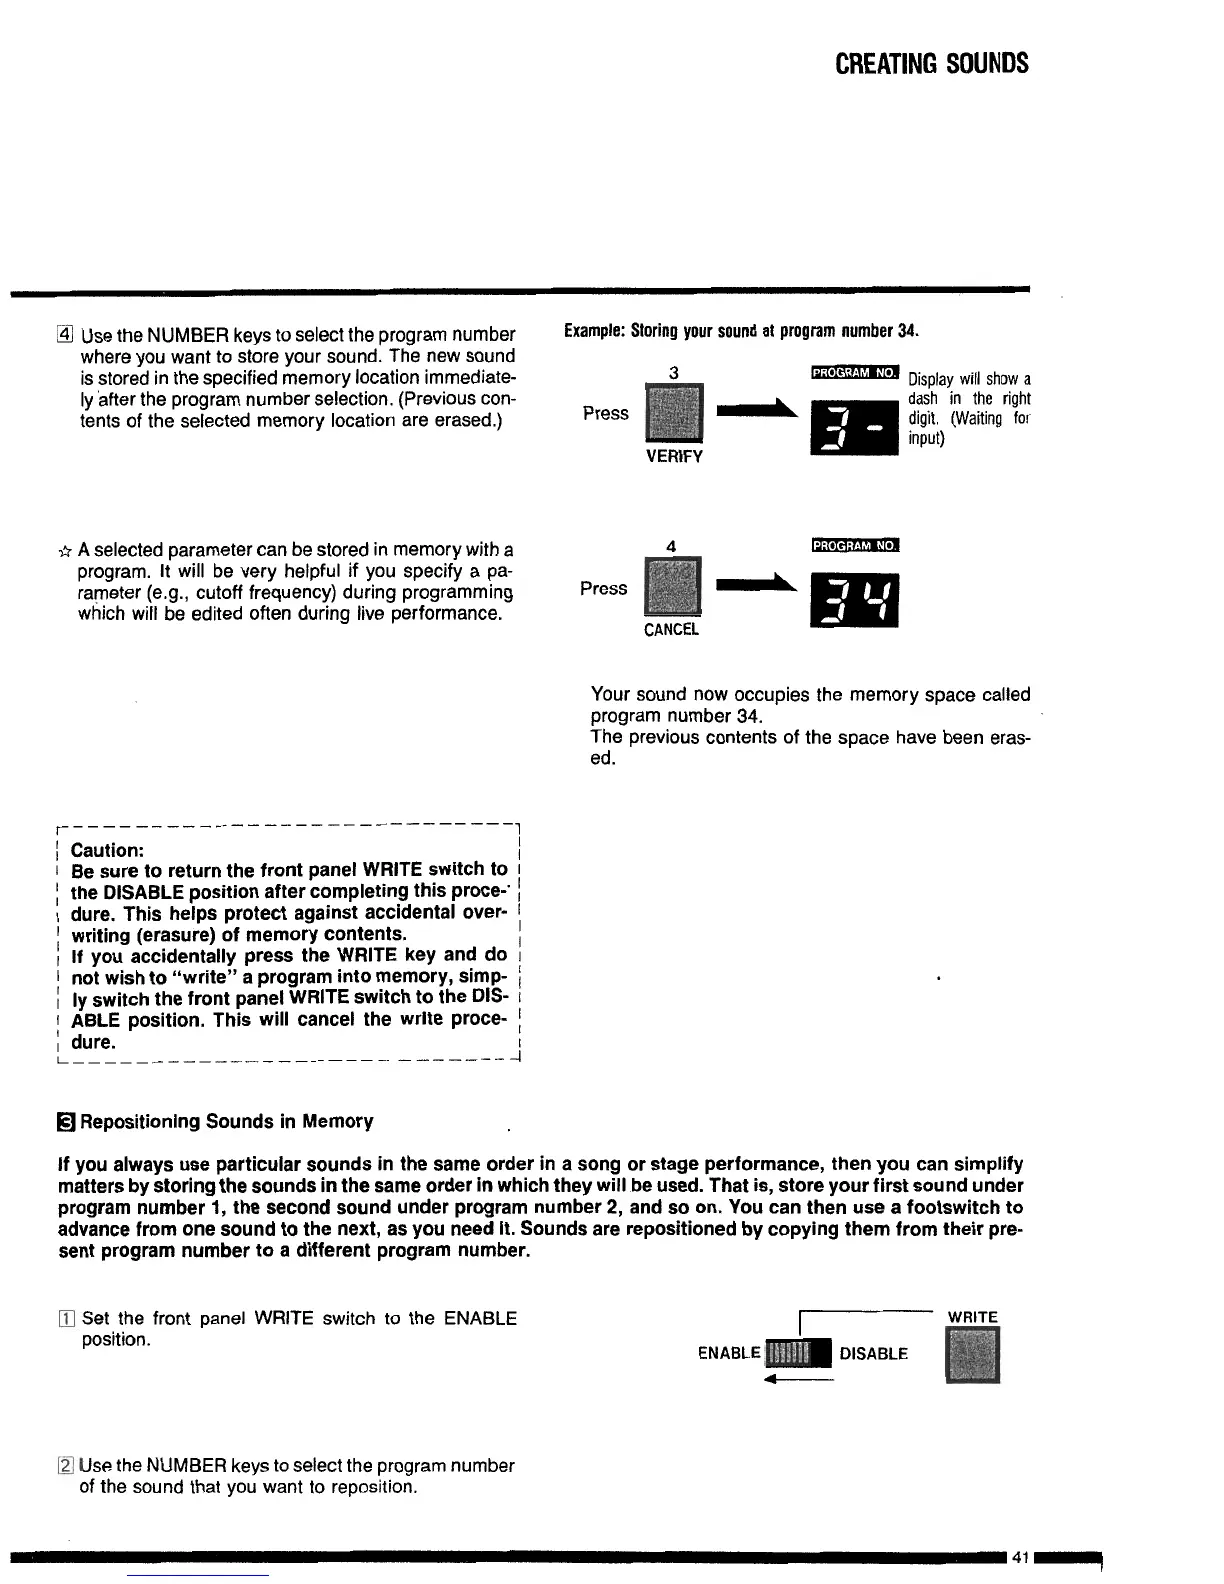
Example: Storing your sound at program number 34.
where you want to store your sound. The new sound
is stored in the specified memory location
immediate-
3
.‘,
. . ,
m
Display will show a
ly after the program number selection. (Previous con-
-m
dash in the right
tents of the selected memory location are erased.)
Press
digit. (Waiting for
input)
VERIFY
sr
A selected parameter can be stored in memory with a
program. It will be very helpful if you specify a pa-
rameter (e.g., cutoff frequency) during programming
which will be edited often during live performance.
4
Press
CANCEL
Your sound now occupies the memory space called
program number 34.
The previous contents of the space have been eras-
ed.
r-----
__________-___-_---_---
[
Caution:
1
Be sure to return the front panel WRITE switch to
1
the DISABLE position after completing this
proce-’
I
dure. This helps protect against accidental over-
;
writing (erasure) of memory contents.
I
If you accidentally press the WRITE key and do
1
not wish to “write” a program into memory,
simp-
i
ly switch the front panel WRITE switch to the DIS-
;
ABLE position. This will cancel the write
proce-
, dure.
L--
--____-______
---_-.
--_----
‘1
-I
q
Repositioning Sounds in Memory
If you always use particular sounds in the same order in a song or stage performance, then you can simplify
matters by storing the sounds in the same order in which they will be used. That is, store your first sound under
program number 1, the second sound under program number 2, and so on. You can then use a footswitch to
advance from one sound to the next, as you need it. Sounds are repositioned by copying them from their pre-
sent program number to a different program number.
0
Set the front panel WRITE switch to the ENABLE
position.
7
ENABLE
m
DISABLE
4
D
Use the NUMBER keys to select the program number
of the sound that you want to reposition.

 Loading...
