●
●
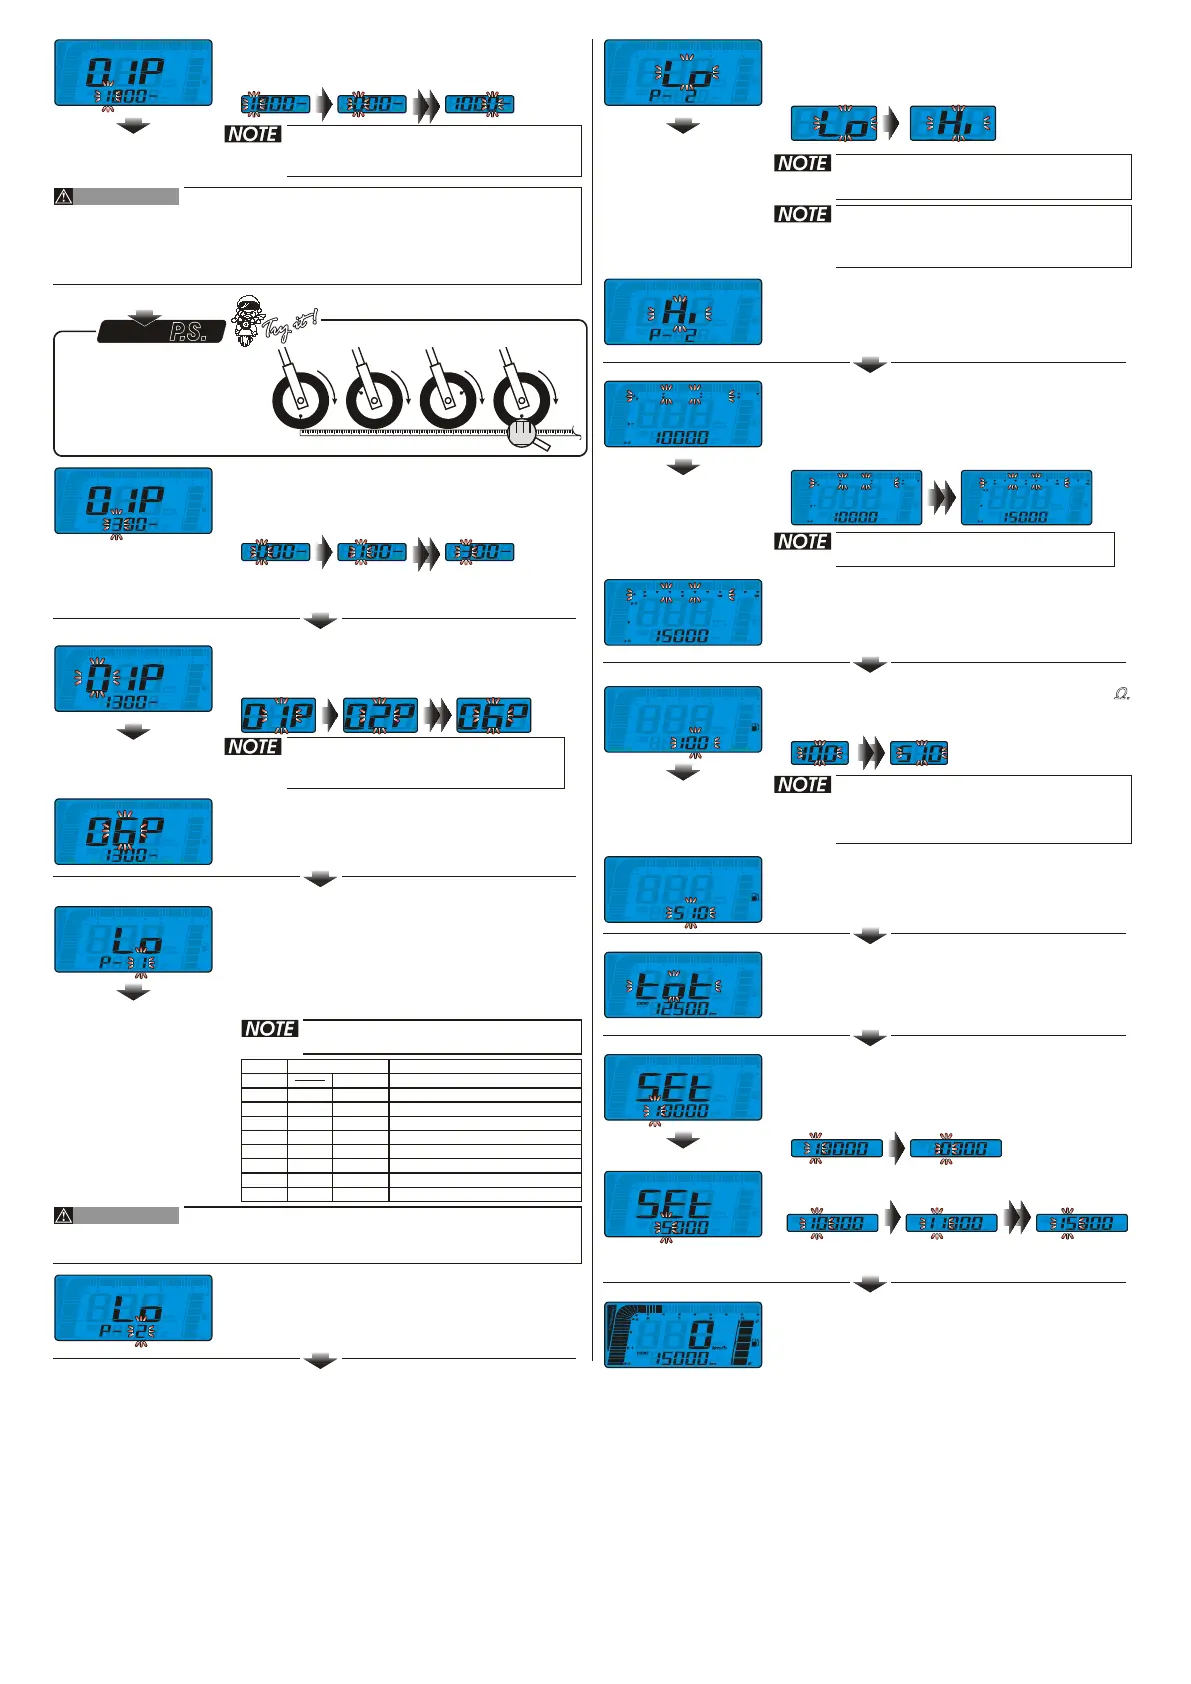
EX. The tire circumference is 1,300 mm.
Select buttonPress the to move to the digit
you want to set.
●
●
EX. The tire circumference setting is changed
from 1,000 mm to 1,300 mm.
Press the to choose the setting
number.
Adjust button
●Press the to enter the the
sensor point setting.
Select button
●
●
EX. The sensor point you want to set is 6.
Adjust buttonPress the to choose the setting
number.
●
●
EX. the sensor point setting is changed from 1
to 6.
Press the to enter the RPM
pulse setting.
Select button
●
●
4C-4P
EX. The ignition angle setting is changed
from 1 to 2 ( ).
Press the to enter the RPM
signal input setting.
Select button
Most of the 4-cycle bikes with one single piston are
igniting every 360 degree once, so the setting should be the same as
the bike with 2-cycle and one piston engine.
The sensor point setting range: 1~20
points. You could change the setting
from left to right.
●
●
Please measure the tire circumference (the tire you will install the sensor on)
and make sure the number of magnet sensor point (You could install the
magnet into the disc screw or the sprocket screw.)
The speed displayed on the meter will be affected by the setting, please
make sure the setting number is correct before you make the setting.
The tire circumference setting range
: 300~2,500 mm, and the digit you
set is from left to right in order.
130cm
EX. You want to change the current setting
value from 1 to 2.
●
●
●
Press the Adjust button to enter the
corresponding value for the RPM signal
number per ignition. (Please check the
reference table below!)
EX. The original setting is 1 (2C-1P).
The piston type can be set is 0.5, 1,
1.5, 2, 2.5, 3, 4, 5, 6.
The corresponding
stroke and pistons number.
The corresponding RPM signal number per ignition.
2 RPM signals per ignition.
1 RPM signal ignition.per
1 RPM signal 2 ignition.per
1 RPM signal 3 ignition.per
1 RPM signal 4 ignition.per
1 RPM signal 5ignition.per
1 RPM signal 6 ignition.per
4C-1P
4C-4P
4C-6P
4C-5P
4C-8P
4C-10P
4C-12P
4C-2P
4C-3P
●
●
EX. We would like to change the setting to
Hi (The positive impulse).
Adjust buttonPress the to choose the input
signal you want to set.
If the tachometer can't detect the
signal (No RPM is displayed on the
screen), you could choose another
setting, and check it again.
The impulse setting range is between
Hi (the positive impulse)& Lo (the
negative impulse)
●
●
EX. The impulse setting is changed from Lo
to Hi.
Press the to enter the bar graph
tachometer range setting screen.
Select button
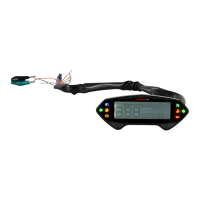
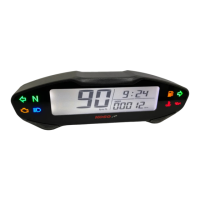
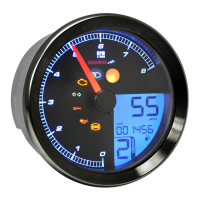
●The main screen.
●
●
EX. You want to set the external odometer to
15,000 km.
Select buttonPress the to move to the digit
you want to set.
●
●
EX. You want to change the bar graph
tachometer range from 10,000 RPM to
15,000 RPM.
Adjust button
Press the to choose the setting
number.
●
●
EX. Now the setting is changed from 10,000
RPM to 15,000 RPM.
Press the to enter the fuel gauge
resistance setting screen.
Select button
●
●
EX. Now the fuel resistance setting is changed
from 100 to 510 .
Press the to
Ù Ù
Select button
enter the internal
odometer display.
●
●
EX. The fuel gauge you want to set is 510
Ω.
Press the to choose the setting
number.
Adjust button
Press the to ● Select button enter the external
odometer display.
●To set external odometer from 10,000 km to
15,000 km.
●
the Press to back the main
screen.
Select button
The fuel gauge resistance setting
range:100Ω,250Ω,510Ω,1200Ω
If you don't install the fuel wiring, the
fuel gauge will not display.
Setting range: 10,000 12,000
15,000RPM
、 、
CAUTION!
CAUTION!
You could define the valve
as the starting point and the
terminal point to measure
the wheel circumference
with a measuring tape.
The setting
value
0.5
1
1.5
2
3
2.5
4
5
6
2C-1P
2C-2P
2C-3P
2C-4P
2C-6P
wh027ba01d(P6-5)
 Loading...