EasyManua.ls Logo

Koso EX-02 User Manual

Koso EX-02
7 pages
To Next Page IconTo Next Page
Page #1 background imageLoading...
Page #1 background image
External button
2
1-2
Optional accessory
Some optional accessories may not be sold in your area. For more details, please contact your local distributor.
1-1
Accessories
WARNING!
CAUTION!
Some procedures must be followed to avoid damage caused by a wrong installation.
Some procedures must be followed to avoid injuries.
Some procedures must be followed to avoid any damage to the vehicle.
MARK MEANING:
PRESS THE
BUTTON ONCE
PRESS THE
BUTTON 3
SECONDS
INsTRUCTION
Thank you for purchasing our Koso EX-02 Speedometer. Before operating the unit, please read the instruction thoroughly and keep it for future
reference.
Notice
1. .
2. For installation, please follow the steps described below. Any damage caused by a wrong installation shall be imputed to the users.
4. Do not disassemble or change any parts.
5. Repair and maintenance should be executed by our professionals only.
The meter requires DC 12V power only.
3. To avoid short circuits, do not pull the wires off the connector wh
en installing the unit. Do not break or modify the wire terminal.
1
Meter X1
2
Meter plate X1
3
Handlebar bracket X1
4
7/8" 22.2mm Rubber X1( )
M5 x 18 六角螺絲X1
65
1" 25.4mm Rubber X1( ) 1 1/8" 28.6mm Rubber X1( )
Please contact your local distributor if the items received are not the same as the above-listed ones.
14
Mid-way connector X2
13
4 mm Allen key X1
12
3 mm Allen key X1
11
M5 Washer X2
9
M4 x 12 Screw X1
10
M5 x 18 Screw X1
118
M4 x 10 S crew X2
7
1 1/4" 32 mm Rubber X1( )
External button (Optional accessory 1)
2-1
Wiring installation instruction
Mid-way connector Accessory 20( )
Black / Ground wire to connect to
the vehicle body or the engine
(must be a good ground)
Red / Postive pole (Connect to the
battery )DC 12V
Adjust the meter to the proper viewing angle before
tightening the Allen screw.
2-2
Installation instruction
1.Rubber Accessory 4 5 6 7
2.Handlebar bracket Accessory 3
3 M5 x 18 Screw Accessory 10
4.Meter plate Accessory 2
5.M4 x 10 Screw Accessory 8
6.M5 Washer X2 Accessory 11
7.Meter Accessory 1
8.M4 x 12 Screw Accessory 9
( )
( )
. ( )
( )
( )
( )
( )
( )
X2
5
5
6
6
1
3
2
4
7
8
Follow this procedure for proper installation
wh485ba04a-P1
Remove the waterproof plug before
connecting the optional external button.
Meter Accessory 1( )
Question and Answer IconNeed help?

Do you have a question about the Koso EX-02 and is the answer not in the manual?

Koso EX-02 Specifications

General IconGeneral
BrandKoso
ModelEX-02
CategoryMeasuring Instruments
LanguageEnglish

Summary

Accessories

Meter Unit

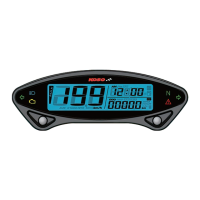
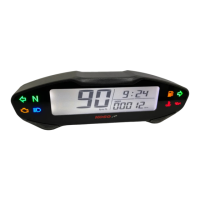
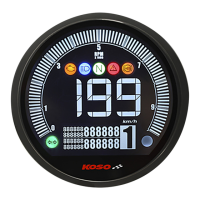
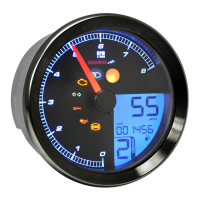
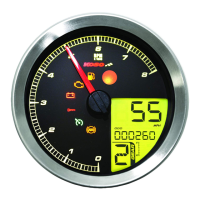
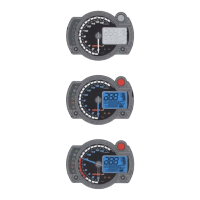
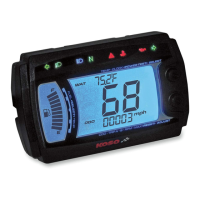
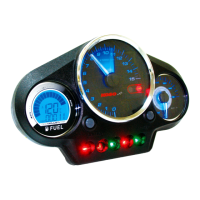
The main display unit of the speedometer.

Mounting Components

Includes meter plate, handlebar bracket, and rubber mounts for installation.

Fasteners and Tools

Assorted screws, washers, and Allen keys required for assembly.

Wiring Connectors

Mid-way connectors for electrical connections.

Optional External Button

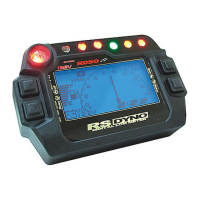
An optional accessory for expanded control functionality.

Wiring and Installation Guide

Wiring Installation

Instructions for connecting the meter and optional external button wiring.

Physical Installation

Step-by-step procedure for mounting the meter assembly.

Functionality and Specifications

Basic Function Overview

Explanation of speedometer, odometer, and trip meter operations.

Detailed Function Specifications

Technical specifications for all meter functions and ranges.

Internal Battery Replacement

Procedure for replacing the internal CR2032 battery.

Button Operation Instructions

Select Button Usage

Guide on using the Select button for mode switching and settings.

Adjust Button Usage

Guide on using the Adjust button for value changes and resets.

Setting Modes

Tire Circumference & Sensing Point Setup

Configure tire size and sensor points for accurate speed readings.

Clock and Minute Settings

Adjusting the hour and minute for the clock display.

Stopwatch Configuration

Setting up stopwatch modes (auto/manual) and activation methods.

Maintenance Oil Light Setup

Enabling/disabling and setting the maintenance reminder function.

Advanced Settings and Troubleshooting

Backlight Brightness Adjustment

Fine-tuning the display backlight intensity from 1 to 5.

ODO Value Customization

Setting a custom value for the odometer reading.

Troubleshooting Common Issues

Diagnosing and resolving common meter operational problems.

Specific Installation Guides

KTM Motorcycle Installation

Specific mounting instructions for KTM motorcycles.

Other Motorcycle Applications

Installation steps for Kawasaki, Suzuki, Yamaha, and Honda bikes.

Related product manuals