5
Step 1B: Install base with deck & putty plate
Place a bead of clear silicone
sealant (not included) around the
edge of the putty plate (C). Secure
deck & putty plate (C) on sink or
countertop. Insert base (J) into
hole of deck & putty plate (C) with
“ FR↑NT” facing forward. Tighten
screws on base (J) with 4mm hex
wrench (i2) until base is secure on
deck & putty plate (C)
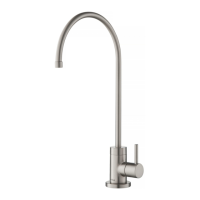
Step 2: Install faucet
Without deck plate:
With deck plate:
1/16” (1mm) min.
1-1/2” (38 mm) max.
Ø 1-3/8” (35 mm) min.
Ø 1-1/2” (38 mm) max.
1/16” (1mm) min.
1” (25.4 mm) max.
Ø 1-3/8” (35 mm) min.
Ø 1-1/2” (38 mm) max.
1
Designated Mark
Hot
Upward
Black
Cold
1A
1B
2
3
4
5
6
7
G
G
E
E
F
G
G
G
G
F
F
F
E
E
H
E
E
A
A
I
B
J
D
D
C
D
G
Half Moon Locking Nuts
Half Moon Locking Nuts
Rubber Caps
G
Installer Tip: Rotate the two
half-moon shaped locking
nuts inward before inserting
base (J) into deck plate (C)
J
i2
E
E
E
F
D
E
D
F
Remove Quick Connect (H)
from spray hose (F). Insert
spray hose (F) into small
hole of base (J). Insert hot
& cold waterlines(E) and
supply hose (D), one by
one, in large hole of base
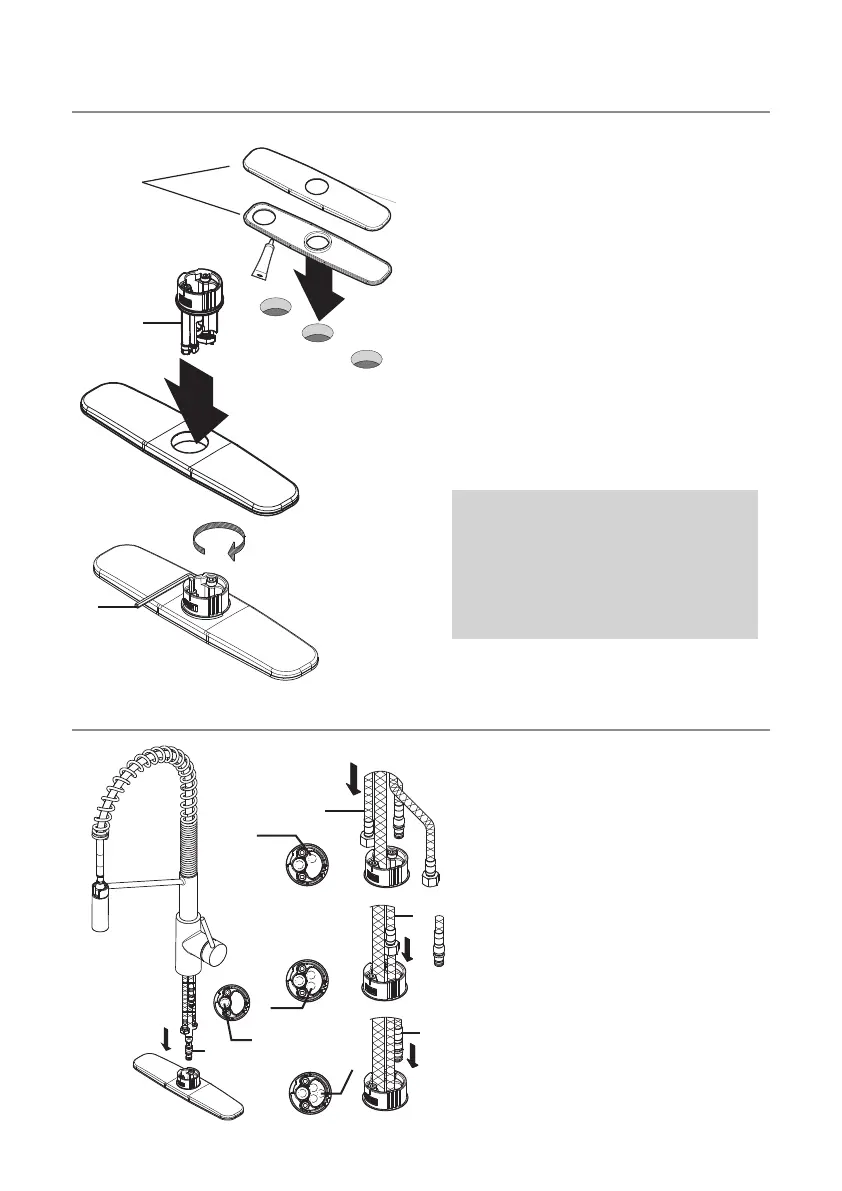 Loading...