WARNING:
!
Disconnect the saw from power before mounting it on
the sled.
Assembly
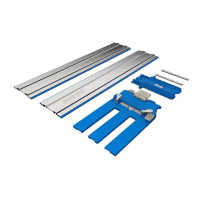
Sled Assembly (Accu-Cut™ XL only)
H
K
I
J
H
G
I
J
G
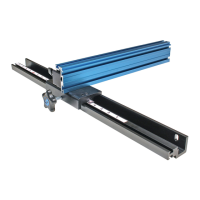
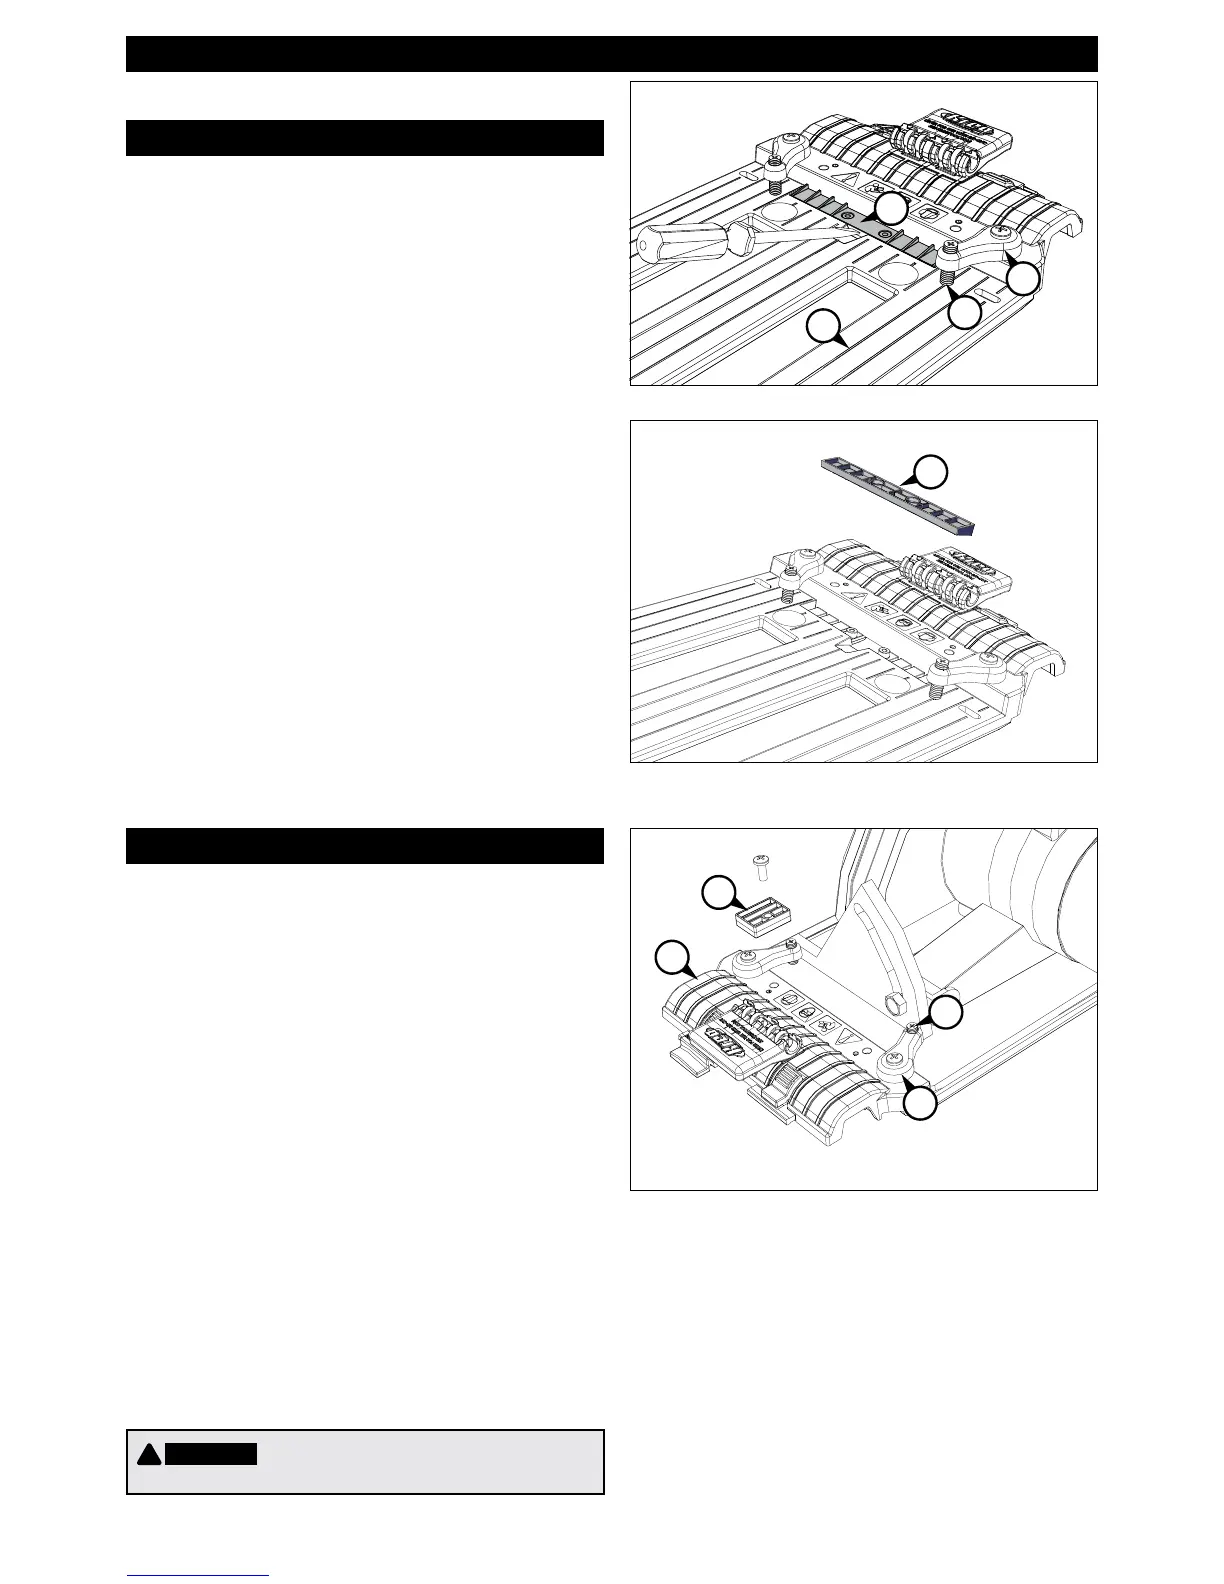
Orient the Filler Strip
Mount your Circular Saw on the Sled
2
The ller strip (G) on the sled (H) is
shipped with the angled ribs facing
up. These ribs support a saw base with an
angled leading edge, keeping the saw base
at on the sled when the set screws (I) in
the base-plate clamps (J) are tightened. For
a saw base with a at leading edge, lift the
ller strip from the sled recess with the tip of
a screwdriver, turn it over to expose the at
face, and press it into the recess.
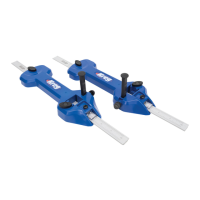
3
Remove the indexing stop (K) from the
sled (H). Loosen the set screws (I) in
the base-plate clamps (J) and slide your saw
base plate under them. Position the saw on
the sled with the front of the saw base plate
against the step at the front of the sled. For
saws with the blade on the left-hand end of
the motor, center the blade in the left sled
slot. For saws with the blade on the right-
hand end of the motor, center the blade in
the right sled slot. To accommodate dierent
saw base-plate congurations, there are two
holes for attaching each base-plate clamp
to the sled. For the most secure clamping,
choose the holes that provide widest spacing
allowed by your saw. The clamps can be
oriented at an angle. Tighten the set screws
onto the saw base plate just enough to hold
the saw in place.
ENGLISH
 Loading...