2 SETUP
4
V02693-01
– Together with an assistant, take the vehicle off the pallet.
– Position the vehicle on a lift stand.
– Check the vehicle for transport damage.
Info
The procedure in the event of transport damage is
described in the Customer Service Manual.
W00107-10
–
Remove cable ties on the side cover and remove film from
the handlebar.
Warning
Danger of accidents A repaired handlebar poses a
safety risk.
If the handlebar is bent or straightened, the mate-
rial becomes fatigued. The handlebar may break
as a result.
– Change the handlebar if the handlebar is dam-
aged or bent.
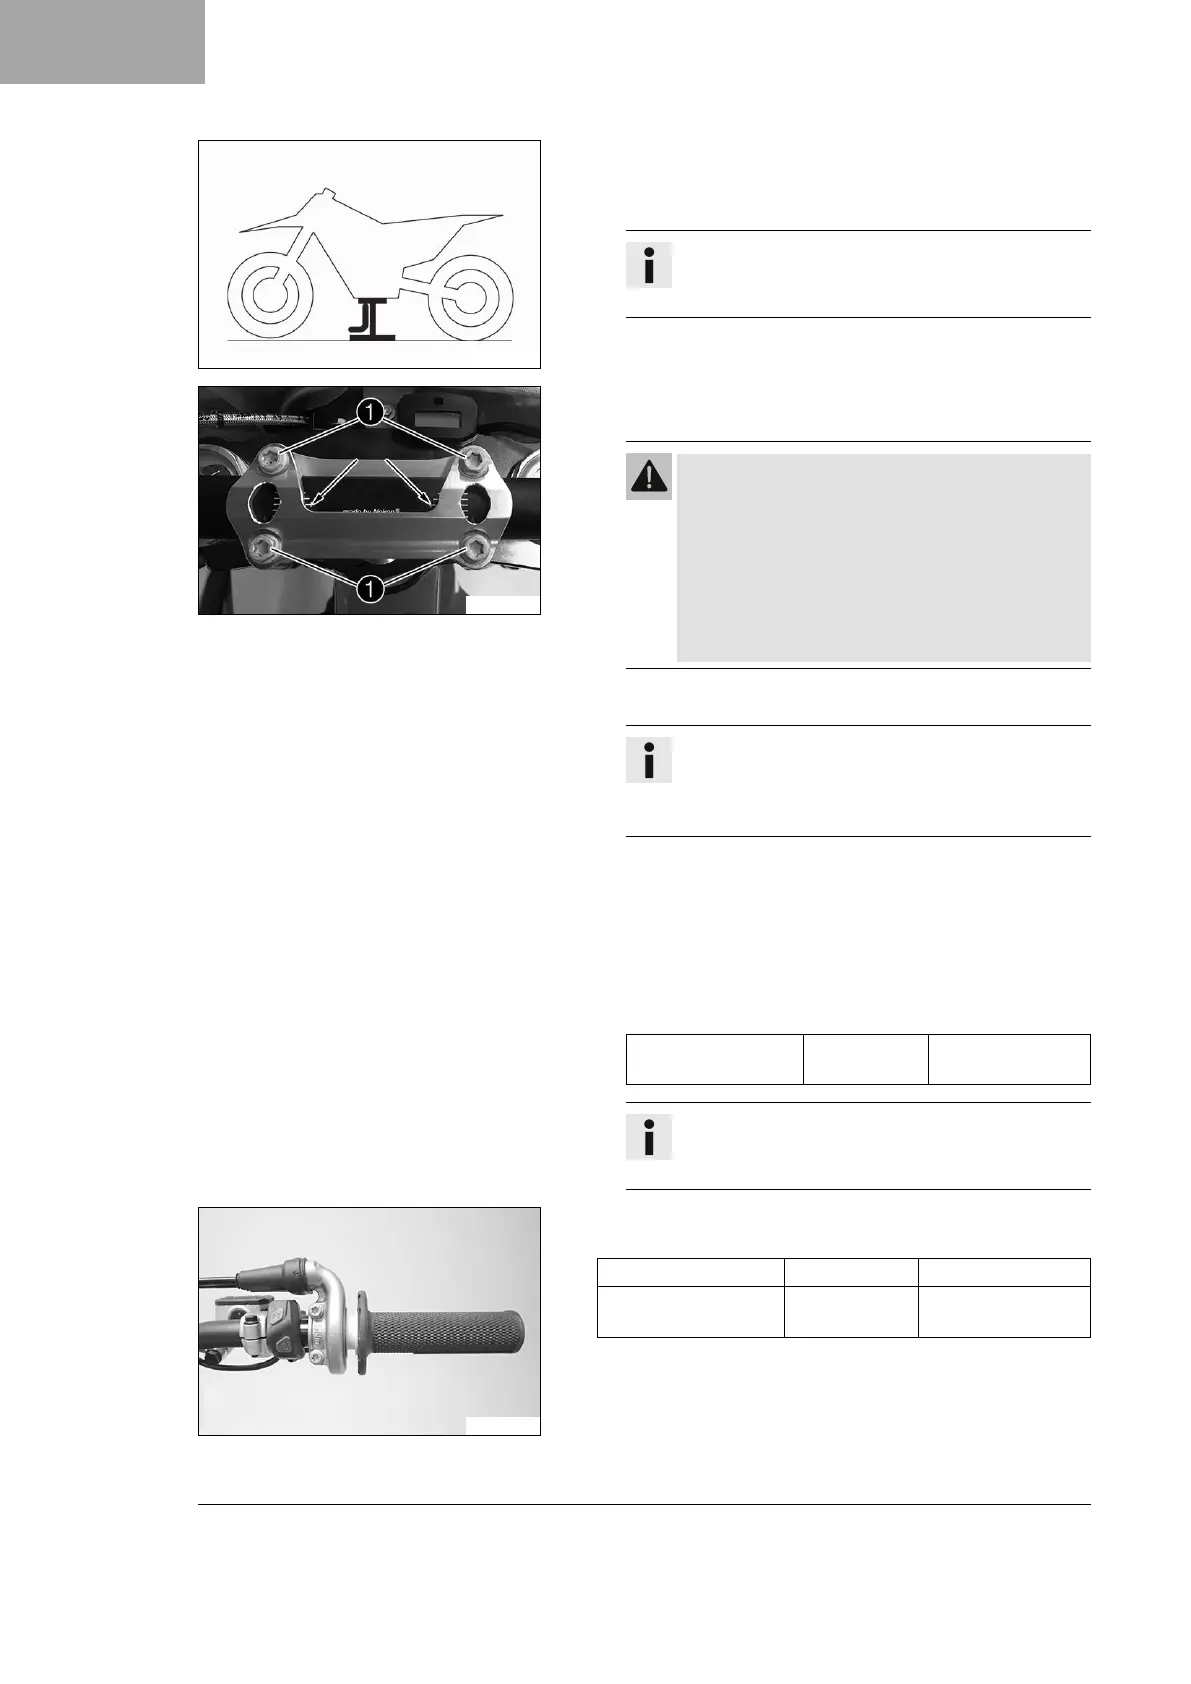
– Position the handlebar.
Info
Make sure the cables and wiring are positioned cor-
rectly.
Do not kink the cables or lines.
– Position the handlebar clamp.
–
Mount screws
1
, but do not tighten yet.
–
First bolt the handlebar clamp with screws
1
onto the
longer, higher side of the handlebar supports so that both
parts touch.
–
Tighten screws
1
evenly.
Guideline
Screw, handlebar
clamp
M8 20 Nm
(14.8 lbf ft)
Info
The markings on the handlebar should be at the
center of the handlebar clamps.
W00108-10
– Position the controls on the right half of the handlebar.
Guideline
Screw, throttle grip M6 5 Nm (3.7 lbf ft)
Screw, start/stop but-
ton
EJOT PT
®
K50x18 T20
2 Nm (1.5 lbf ft)
 Loading...