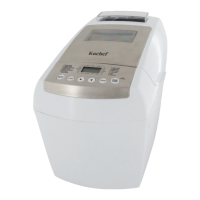
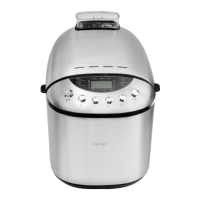
Recipes
Before you start baking
Baking bread in your new bread maker is easy and will reward you with delicious,
freshly baked bread to enjoy, day after day. However, it is important that you
follow a few basic rules, which we have listed again below. Take the time to read
this advice, be patient and experiment with different recipes or bread mixes until
you have found your perfect loaf. Happy baking!
A FEW IMPORTANT BREAD-MAKING RULES
Baking 'from scratch'
The recipes in this section are for baking bread using commonly available
ingredients from supermarkets or grocery stores. When baking bread 'from
scratch', it is most important that all ingredients are properly measured,
at room temperature and added in the order they are listed, starting with
water (and then other wet ingredients), and following with flour (and
other dry ingredients).
Maintaining this order of ingredients is very important to ensure all ingredients
are properly mixed and to prevent premature yeast activation when using the
timer. To ensure that the yeast does not mix with the salt immediately, make
a little hole in the our and add the yeast, close the hole, then make another
little hole at the opposite side for the salt.
Add extra ingredients such as fruit, nuts or seeds in the fruit and nut
dispenser on top of the machine where they will be released into the dough at
the appropriate time.
Using a bread mix
If you use a prepackaged bread mix with yeast included, pour it in the baking
tin rst and then add water to it. (If the yeast is separate, put it in the tin rst,
then add the bread mix and then then water.) Select a program that matches
the type of our in the bread mix.
Using the delayed start timer
If you use the delay timer, make sure the yeast is not in contact with water,
salt or sugar, which could affect the yeast activity.
NOTE: Tablespoon (tbsp) = at measuring spoon (large)
Teaspoon (tsp) = at measuring spoon (small)
Cup = standard Australian 250mL measuring cup (ll the supplied
measuring cup up to the 250mL marking)