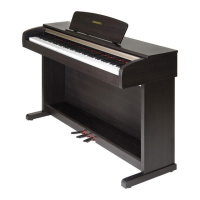
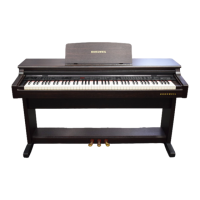
Keyboard Assembly
The procedure to remove the Keyboard Assembly is in two sections. Removing the Keyboard
Assembly requires disconnecting cables and removing hardware from the interior and exterior
of the cabinet. After following these procedures, the Keyboard Assembly will be removed
through the front portion of the cabinet.
Keyslip screws
Keyboard screws
Figure 4-11 Keyboard Assembly hardware locations (outer cabinet)
Removing the Keyboard Assembly
Inside the back panel
The following procedure assumes that you have followed the instructions to open the back
panel. If you have not done so, follow the procedure on pages 4-2 to open the back panel.
1. Remove the locking cable clips and disconnect the at ribbon cables from J4 (Treble) and J5
(Bass) on the Interface Board.
Note: When you disconnect the Bass and Treble at ribbon cables, always mark one or both
cables designating B for Bass and T for Treble to avoid reversing the cables when reconnecting.
2. Be sure the at ribbon cables are free to move forward toward the Keyboard Assembly.
Note: If the ribbon cables are taped to the cabinet, peel back the tape from one side so that it
remains properly positioned and you can reapply the tape when you reconnect the cables.
Disassembly/Assembly
Keyboard Assembly
4-15
 Loading...