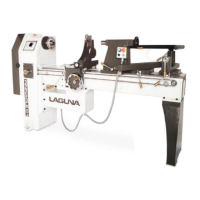
Turning parallel using the copy saddle.
The copy saddle can turn parallel jobs by simply using the slide travel limiter that is a
black knob mounted on the front of the saddle.
To turn repetitive parallel jobs simply adjust the knob till the sectioned being turned is
at the correct diameter. The lathe is now set and will turn jobs to the same diameter
repetitively. This is a handy function when turning dowels.
Note. Constantly check the finished product for size as the setting could change and
you could produce rejects.
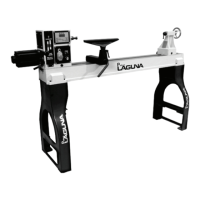
If you are turning short large diameter jobs you will probably not need to use the
rotating steady but if the job is long and thin it will be an advantage.
The most useful feature of the rotating steady is its ability to turn square stock round
in a single pass.
Assembling the pre cutter.
A second cutting tool is fitted onto the rotating steady that is used as a pre-cutter. This
tool turns the rough stock to a diameter that will fit the bushing that has been selected.
It has two bolts/nuts that clamp the housing in position and an adjusting knob. The
tool is clamped in position by two Allen screws.
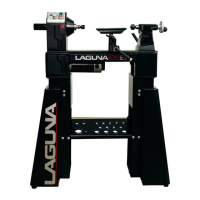
Selecting a support bushing in the rotating steady.
The rotating steady has a number of bushings that support jobs of various sizes. Select
a ring that is the next size up from the biggest diameter of the job. Remove the row of
screws and clamp plates that hold the ring in place and then remove the rings. Replace
the screws and the clamp plates in the removed ring, you do not want to loose them.
Using the pre cutter, turn the stock to a snug fit in the selected bushings. This will
support the job and provide a stable work piece for the copy cutter.
Assembly and adjusting the pre cutter.
1/ Fit the tool into the holder and clamp in position with the 2 Allen screws. The
cutter should protrude 28mm to 30mm [1 1/8”]
2/ Loosen the pivot bolt, clamp bolt / nut.
3/ Move the tool with the adjusting knob to the approximate position to cut the
diameter that you have selected. Ensure that the tool is on the centreline of the job,
tighten the clamp bolt and pivot bolt.
4/ Complete a trial cut and measure the diameter.
5/ Adjust the tool to compensate for the error by loosening the clamp bolt and turning
the adjusting knob. The top nut will act as a pivot. Once you have completed the
adjustment tighten the lower clamp bolt and complete a second trial cut.
6/ Refine the tool position if required.
 Loading...