8
GRILLCHEF
General instructions for successful
assembly
Please read the assembly instructions carefully all
the way through, and follow the safety instructions.
Allow yourself sucient time for assembly. Establish
a level work surface beforehand of approximately two
to three square meters. Remove the device from the
packaging! Organize the parts and the required tools
so that they are close at hand.
Please note: Firmly tighten all screw connections
only after concluding assembly. If you tighten screw
connections before assembly is concluded undesired
tension can occur.
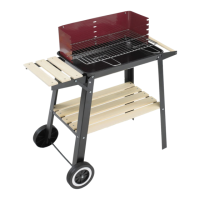
Part list
A. Grill element 2
B. Charcoal grate 1
C. Wind screen - rear wall 1
D. Wind screen, right 1
E. Side shelf 1
F. Side bracket 1
G. Crossbar 2
H. Stand element 2
I. Shelf holder 2
J. Axle 1
K. Wheel 2
L. Wheel stand 2
M. Shelf board 6
N. Fire bowl 1
O. Wind screen, left 1
P. Grate handle (pre-mounted) 4
Assembly preparations
Please use the list and drawing below to verify that
you have all of the parts. Organize the parts and the
tools required for assembly so that they are close at
hand.
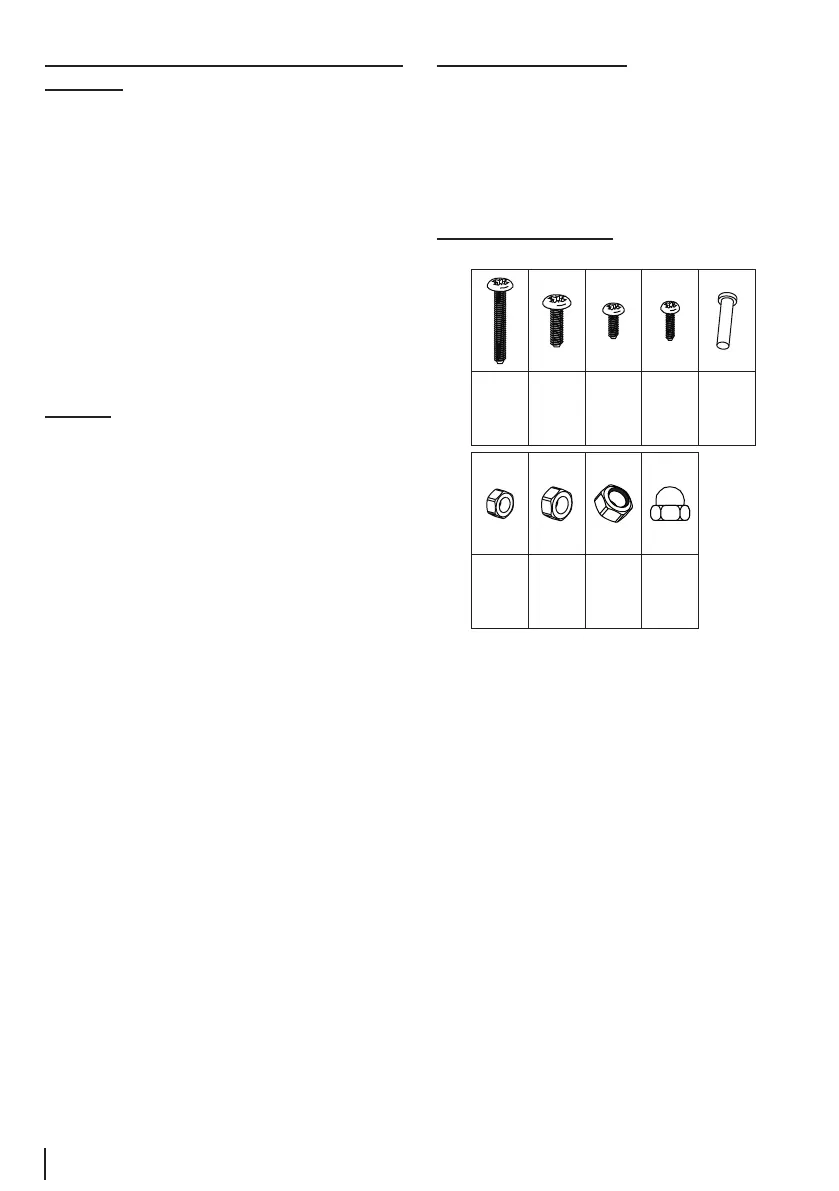
Connection elements
(pre-assembled connecting elements are included in the itemisation!)
M5
12x
M6
29x
M8
2x
M6
4x
M6x40
8x
M6x25
4x
M6x10
21x
M5x18
12x
Ø6,5x26
2x