18
5.4 Customization for Comfort and Eciency (cont.)
Tailor for comfort
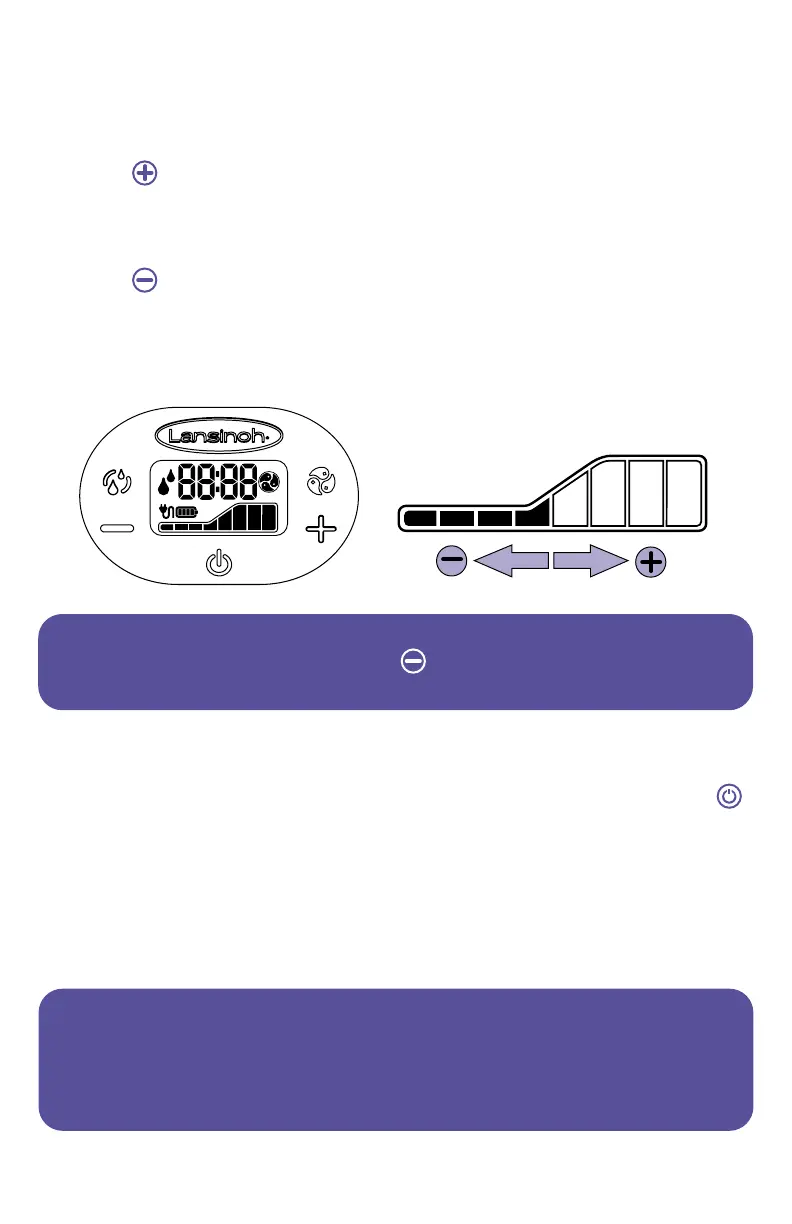
Within each pumping style, there are eight levels of suction to choose from:
1. Adjust for stronger suction by pressing the suction level increase control
button.
Whenever the pump is switching to higher suction levels (within a mode or when switching
modes) the targeted level will flash. The pump will slowly transition to the higher suction level.
The flashing will stop once the target level is reached.
2. Adjust for lower suction by pressing the suction level decrease control
button.
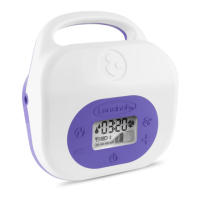
3. The current suction level will be indicated by the number of dark bars on
suction level indicator.
PLEASE NOTE: The LCD display light will automatically switch o if no control
buttons are pressed for 20 seconds in order to save power. If the pump unit
is left on and unattended for more than 60 minutes, the control system will
automatically power o. To turn unit back on, hold the power-on button for
several seconds.
NOTE: If at any time the suction on your breast reaches uncomfortable levels,
reduce the suction level by pressing the
button on the left side of the LCD
screen or disconnect the tubing from its receptacle on the electric pump.
5.5 Completing Your Pumping Session
1. When a pumping session is finished, turn the pump o with the on/o button.
2. After turning the pump o, the display will remain on for a few seconds.
3. Make sure there is no suction on the nipple(s) before removing the breast
flanges from the breast. If necessary, break the suction by inserting a finger
between the breast flange and the breast. Once the suction is broken, the
flange can be removed safely.
 Loading...