LANTRONIX UDS1100: CONNECTION AND DEVICE PROGRAMMING GUIDE (PN 9719-7031B)
PAGE 2 OF 7
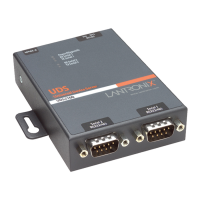
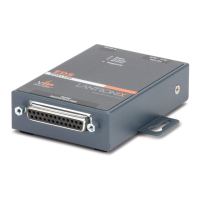
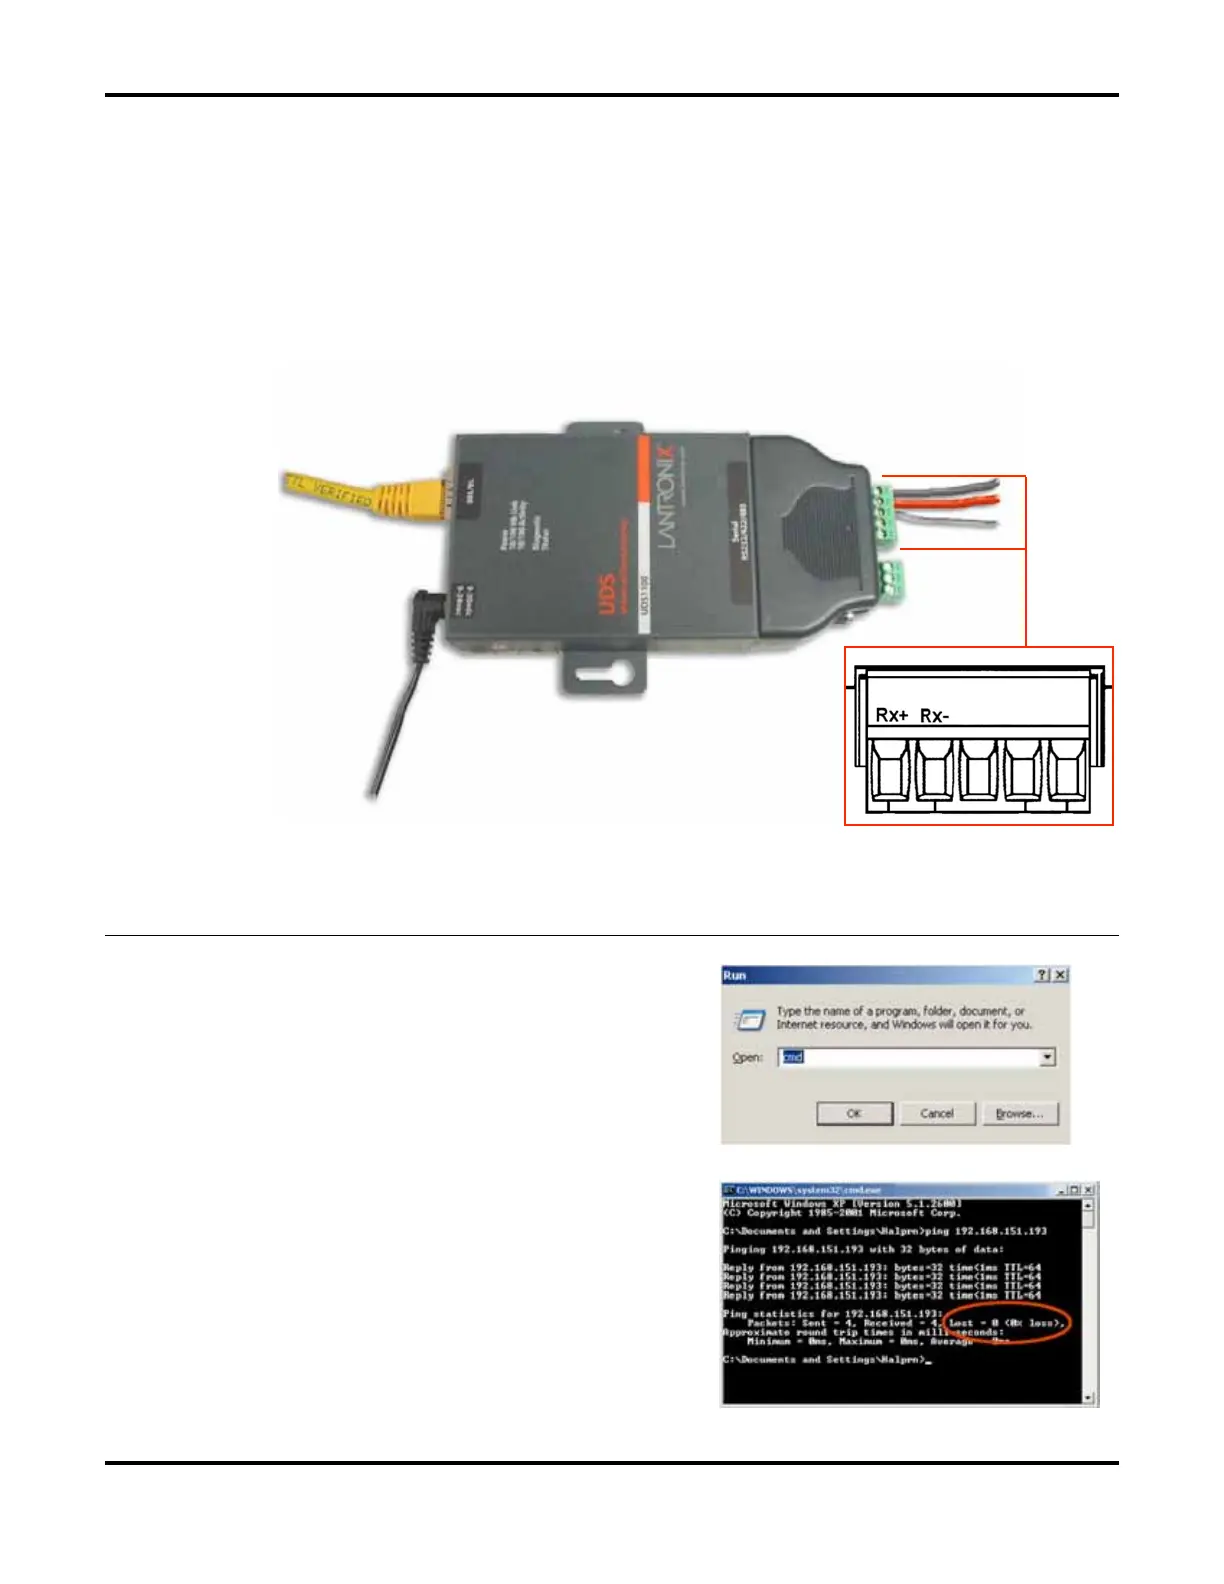
2. Connect the RS45(+) wire from the sign to TX+ connector on the Lantronix UDS1100 Device (see
inset on Figure 2).
3. Connect the RS45(-) wire from the sign to TX– connector on the Lantronix device.
4. Connect shield from the sign to GND connector on the Lantronix device.
5. Connect the port on the UDS1100 marked “10/100” to your network. See Figure 2.
6. Plug the included AC Power Adapter into a 120 Volt AC outlet. Connect the Power Adapter cable
to the UDS1100 port marked “9-30VDC” “9-24VAC”. See Figure 2.
Figure 2: Connection terminals on the Lantronix UDS1100 device.
Troubleshooting
Ping the Lantronix Device
1. Press the “Start” button located in the bottom
left corner of your screen. A popup window will
appear.
2. From the popup window, press the “Run” button.
The “Run” dialog box will appear (Figure 3).
Type “cmd” into the dialog box and press ”OK”.
3. A Windows dialog screen will appear (Figure 4).
Type in the following: “Ping
XXX.XXX.XXX.XXX” (the IP address of your
UDS1100 device).
4. The program will ping the Lantronix device four
times. You should see “0 % loss”, as shown in
Figure 4.
Figure 3
Fi
ure 4
Cable from Power Adapter
(9-30VDC / 9-24-VAC port)
Cable to
Building Ethernet
(10/100 port)
Cable from sign
GND TX- TX+
 Loading...