Do you have a question about the LaScoota 99 and is the answer not in the manual?
Ensure steering rod is tight, wheels secure, and supervise riding for child safety.
Ride on level ground, avoid hazardous conditions like traffic, dark, or wet surfaces. Mind dangerous surfaces.
Do not modify scooter. Stay on correct path side, observe traffic rules, and prevent finger injuries.
Grasp handles, push off, and balance on the deck. Avoid performing stunts or tricks.
Friction brake for speed reduction on flat surfaces. Avoid hard braking as it can cause falls and heat.
Insert handlebar, secure with sleeve, and adjust to rider's height. Note height range options.
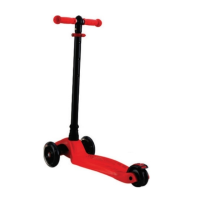
Release fixing sleeve, then press red button to detach handlebar from the scooter body safely.
Place seat at desired height, align screw, turn clockwise, and tighten securely for safe use.
Turn screw counterclockwise, remove screw cover, and then detach the seat from the scooter.
Loosen collar clamp, move handlebar up or down, and retighten clamp securely. Check height limits.
Check wheels for wear, tighten deck screws after use, and service the collar clamp as needed.
Remove wheel screw to access magnet, replace with new one, and re-secure the screw properly.
Covers warranty limitations including improper use, modifications, external damage, and wear and tear.