11. Mainsail reefi ng –
Dacron Sail only.
1. Lower the mainsail so that the reefi ng
cringle is just above the sail feed area of
the mast.
2. Unhook the mainsheet assembly from the
clew. Roll the sail around the lower batten and
parallel to the reefi ng eye.
3. Pass the hooks on the reefi ng elastic around
the rolled part of the mainsail and hook them
onto the elastic on the other side.
4. Hook the mainsheet assembly onto the clew.
12. Righting line
Must be on board and tied round the mast ball
neck at all times.
e tail end of the righting line should be
coiled neatly and stored in the halyard bag on
the trampoline ready for deployment.
13. Rudder Assembly Fitting
1. Identify the port and starboard rudders.
(Tiller arms bent inwards when mounted).
2. Hang the rudder assemblies on respective
transom pintles and gudgeons.
3. Attach circlips through hole in the lower part
of respective rudder pintles. (Stops the rudders
coming o in the event of capsize).
4. Ensure the retaining clips are located over
the lower part of the stock. (Stops the rudders
coming o in the event of capsize).
5. Assemble the connecting bar and exten-
sion using fl exible joints. (Make sure the joint
covers are well clicked in to prevent disengage-
ment while sailing).
14. Your First Sail
Your boat is now ready to sail, but before you
launch it is a good idea to familiarize yourself
with the boat’s equipment, the technique of
lifting and lowering the rudders, and the cor-
rect capsize recovery technique.
10. Mainsail
1. Make sure all battens are fi rmly fi xed in place using the
tensioning system at the aft end of the pockets.
2. Place your Dart 16 facing into the wind and attach the
mainsail halyard to the head of the sail checking the
halyard is not twisted.
3. Insert the sail head into the mast lu groove and hoist
the sail by pulling the end of the main halyard.
4. Guide the sail into the groove to help the hoisting.
5. When the sail is fully up, lock the halyard into the cam
cleat on the starboard lower rear face of the mast.
6. Store the halyard in the halyard bag.
7. e lower sail slide should be inserted into the lower
lu groove (below the sail feeder) and the downhaul
system hooked onto the tack eye.
8. Shackle the lower assembly of the mainsheet purchase
system on to the mainsheet traveler car and hook the
upper assembly onto the clew of the mainsail.
9. Tie a double stopper knot in the traveler rope then pass
it through fi rstly the deck clip on the aft face of the rear
beam then through the mainsheet traveler car and cleat,
before tying it to the loose end of the mainsheet. is
creates an endless mainsheet and traveler car system.
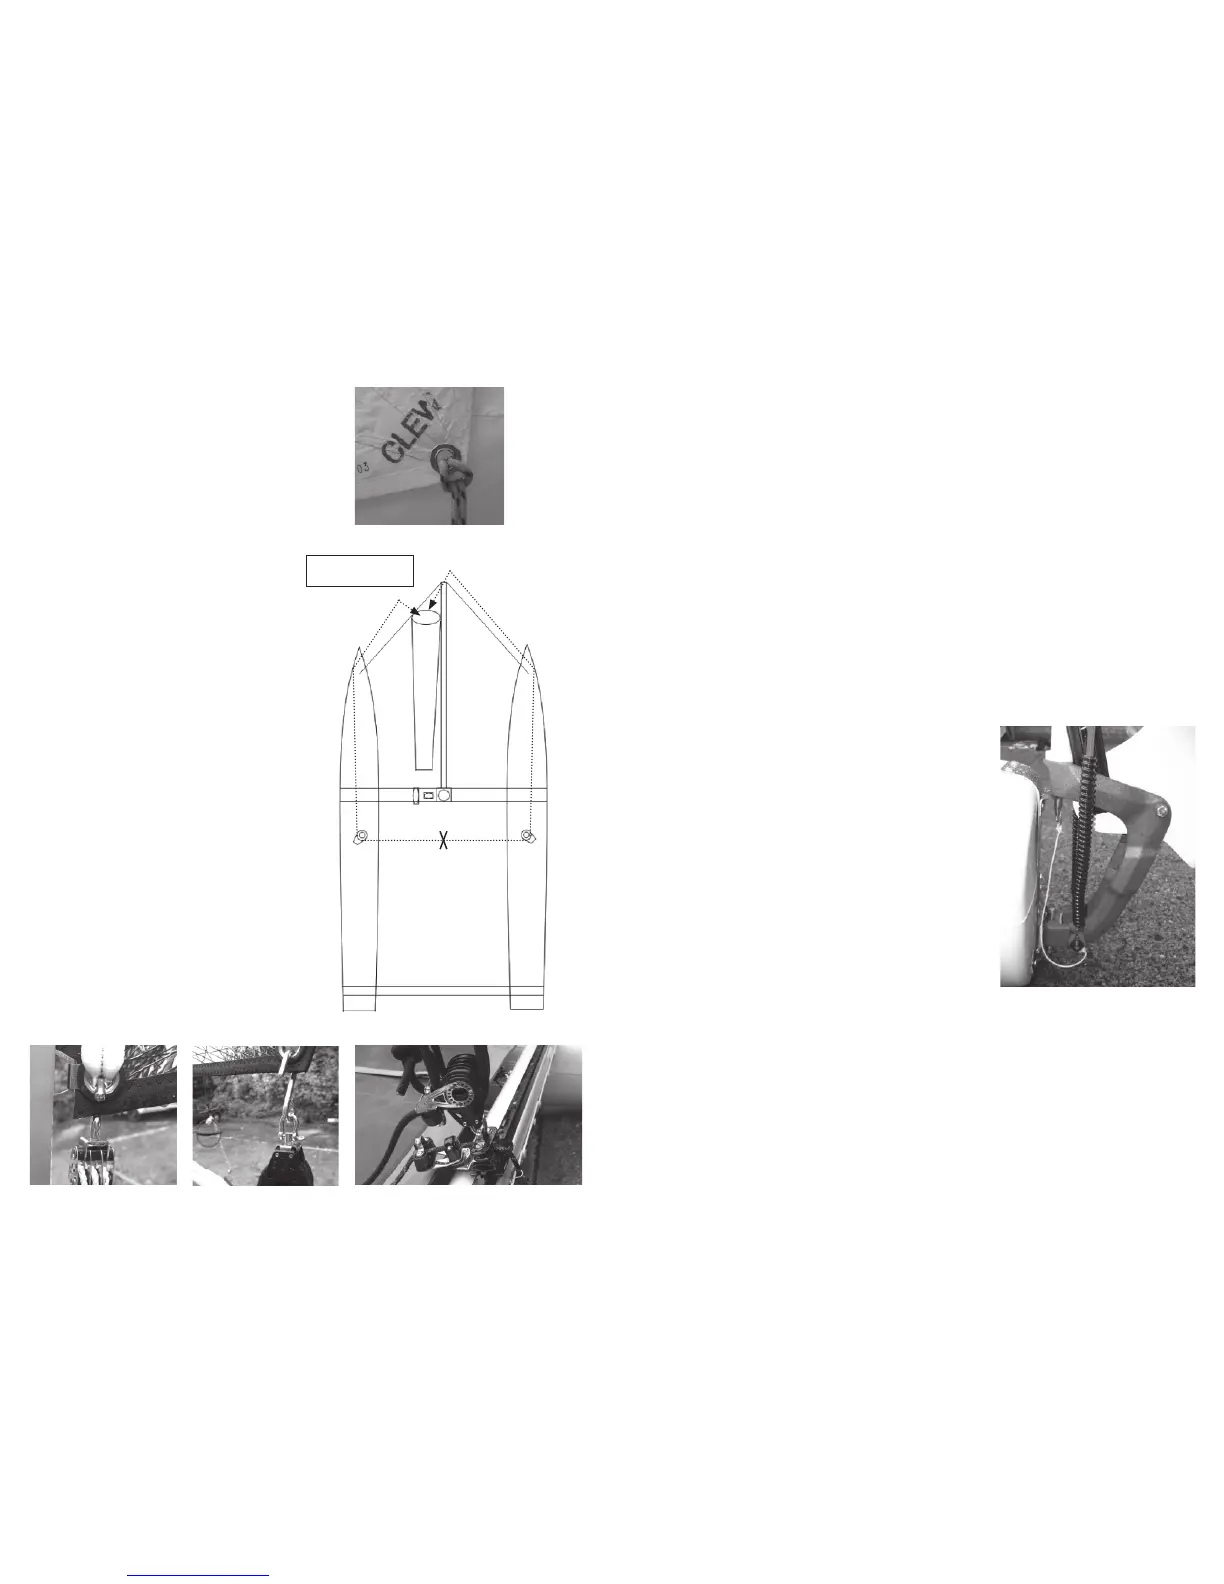
fi gure 47
15. Tie the gennaker sheet to the gennaker
clew by fi nding the center of the sheet,
passing it through the clew of the gennaker,
then passing the two tail ends of the sheet
through the loop that is formed.
(fi gure 47)
16. As depicted by the diagram: read the
respective gennaker sheet tails through the
blocks and knot the two ends together between
the gennaker sheet ratchet blocks attached to
either shroud anchor points.
17. To store the gennaker until use: Uncleat
the gennaker uphaul and tack line then pull
the downhaul rope from the aft end of the
gennaker chute sock until the sail is
completely stowed.
Attach to clew of
gennaker
 Loading...