10
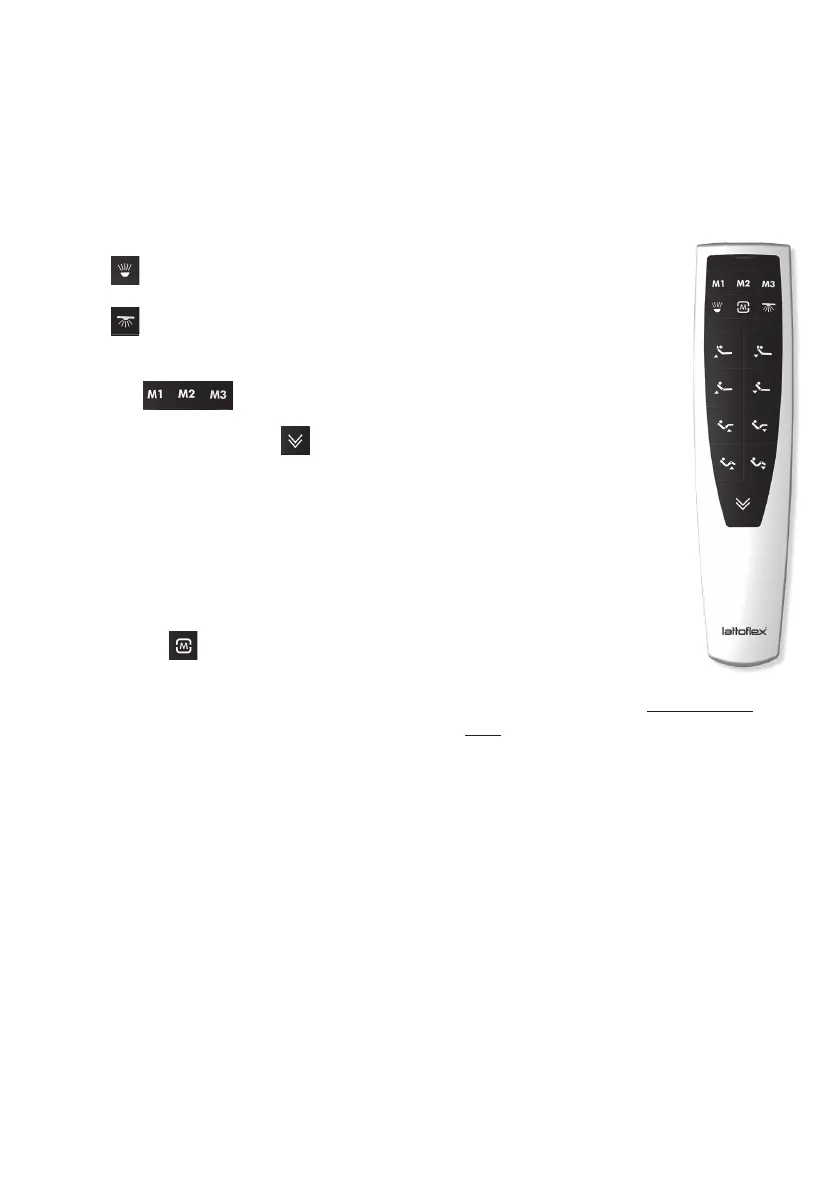
Adjust the settings
Use the various “up” and “down” buttons to adjust your frame. The corresponding
drive moves as long as you press and hold a button. In the 3-motor version, the two
top buttons (head adjustment) do not have a function.
Press to turn the integrated torch on.
Press to turn the underbed lighting on and off again
(optional accessory).
Press the buttons to activate your favourite settings.
Please press and hold the button to reset all drives to zero.
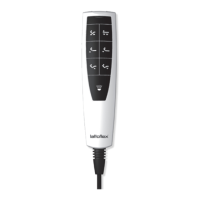
3-motor version (x83) with radio remote control
4-motor version (x84) with radio remote control
1 Adjust the frame to the required
position
2
Press the button briefly 3 times.
3
Then press one of the buttons
M1 - M3 immediately.
The current position is now allocated to
the corresponding M-button and can be
activated accordingly
Save your favourite positions Manual teaching after
initial commissioning:
1 Press teach button on
the control box;
white LED lights up.
2
Press the buttons “Head
up” and “Head down” at the same
time. The white LED goes off again.
The remote control has now been
configured to this motor frame.
Special parallel function:
If necessary, two motor frames can be
controlled at the same time with one
remote control. To use this function for a
double bed, take the remote control that
has already been configured and proceed
with manual configuration („teaching”) at
the second motor frame. This only refers
to simultaneous control.
Different loads can result in different
settings.
The positions saved for M1, M2 and M3
before changing over to the parallel
function remain saved individually for
each frame.
 Loading...