9
3-motor version (x83) with radio remote control
4-motor version (x84) with radio remote control
Please proceed as follows to
commission your motor frame:
1 Transport protection: Remove the
Velcro
®
fastenings and the card-
boards under the frame.
2
Hinge up the foot part of the frame,
access to the black fabric pocket
(connection accessories).
3
Unpack remote control and insert
batteries.
4
Unpack control box and power
adapter.
5
Control box can be pushed onto the
calf motor at the side.
6
Keep remote control at the ready!
Connect power adapter to the
control box and to the mains
7
As soon as the control has power,
press any button on the remote con-
trol within 30 seconds
(Plug & Connect function).
The remote control has now been confi-
gured to this motor frame.
If the configuration (“teaching”) was not
successful, the light in the button flashes
alternately with the status LED. In this
case, please press the teach button on
the control box.
Connection and commissioning
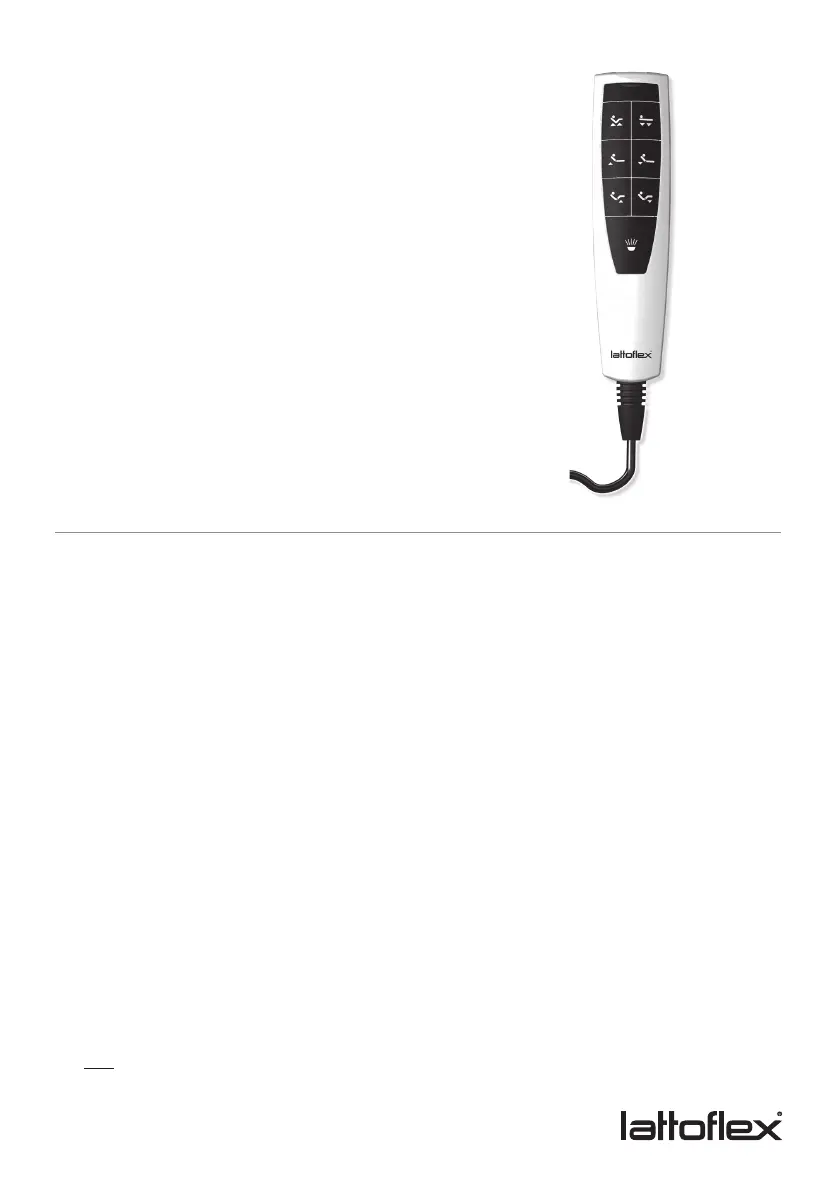
Adjust the settings
a All drives up at the same time
b
All drives down at the same time
c
Back adjustment up
d
Back adjustment down
e
Leg adjustment up
f
Leg adjustment down
Use the buttons
a
to
f
. The correspon-
ding drive moves as long as you press
and hold a button.
a
fe
dc
b
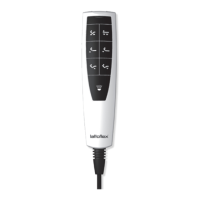
2-motor version (x82) with cable
hand switch